Topic: Cleaning up a heinous repair and cap damage in a SLT/286 PSU
Date: 2026 AUG 12
In the late 1990s, I purchased a used Compaq SLT/286 laptop, with the carrying bag, for $50 (plus $15 shipping, via UPS!) from The Obsolete Computer Museum’s Obsolete Computer Helpline (I don’t think the Swap Shop existed yet). Back then, anything newer was well beyond my kid budget! The machine served me well, and got used into the early 2000s.
At some point, I decided I wanted to be able to use the SLT/286 in the car, on long trips. I’d converted several non-portable items by probing around in the power supplies, figuring out where I could inject DC, what voltage was required, and how much current it would use. I thought the SLT/286 power supply couldn’t be that different – it’s unlikely I’d really encountered the insides of a switching supply yet! Probing around with my Radio Shack multimeter, I brushed something and got a bang! – the supply no longer worked.
I remember it being obvious that a bridge rectifier was blown out, probably cratered by the short or something. It was a little DIP-8 sized package, with only four legs. Radio Shack didn’t have anything that matched, and while I could sometimes get my parents or grandparents to take me to Baynesville Electronics when we were visiting family near Baltimore, we didn’t have anything like that near us in southern WV, or at least nothing I was aware of. As a kid, there weren’t too many options for ordering parts online, and most mail order places wouldn’t deal with you, so it was time to get creative with the junk bin…
I came up with a repair, and when I pulled the Compaq SLT/286 out of storage from my parents’ house in spring of 2025, I remembered it was in there, and needed to be properly fixed if I wanted to use the laptop safely. It needed some other care, too. Here it is, before the repairs:

Opening it up, you can probably, uh, understand my concern…
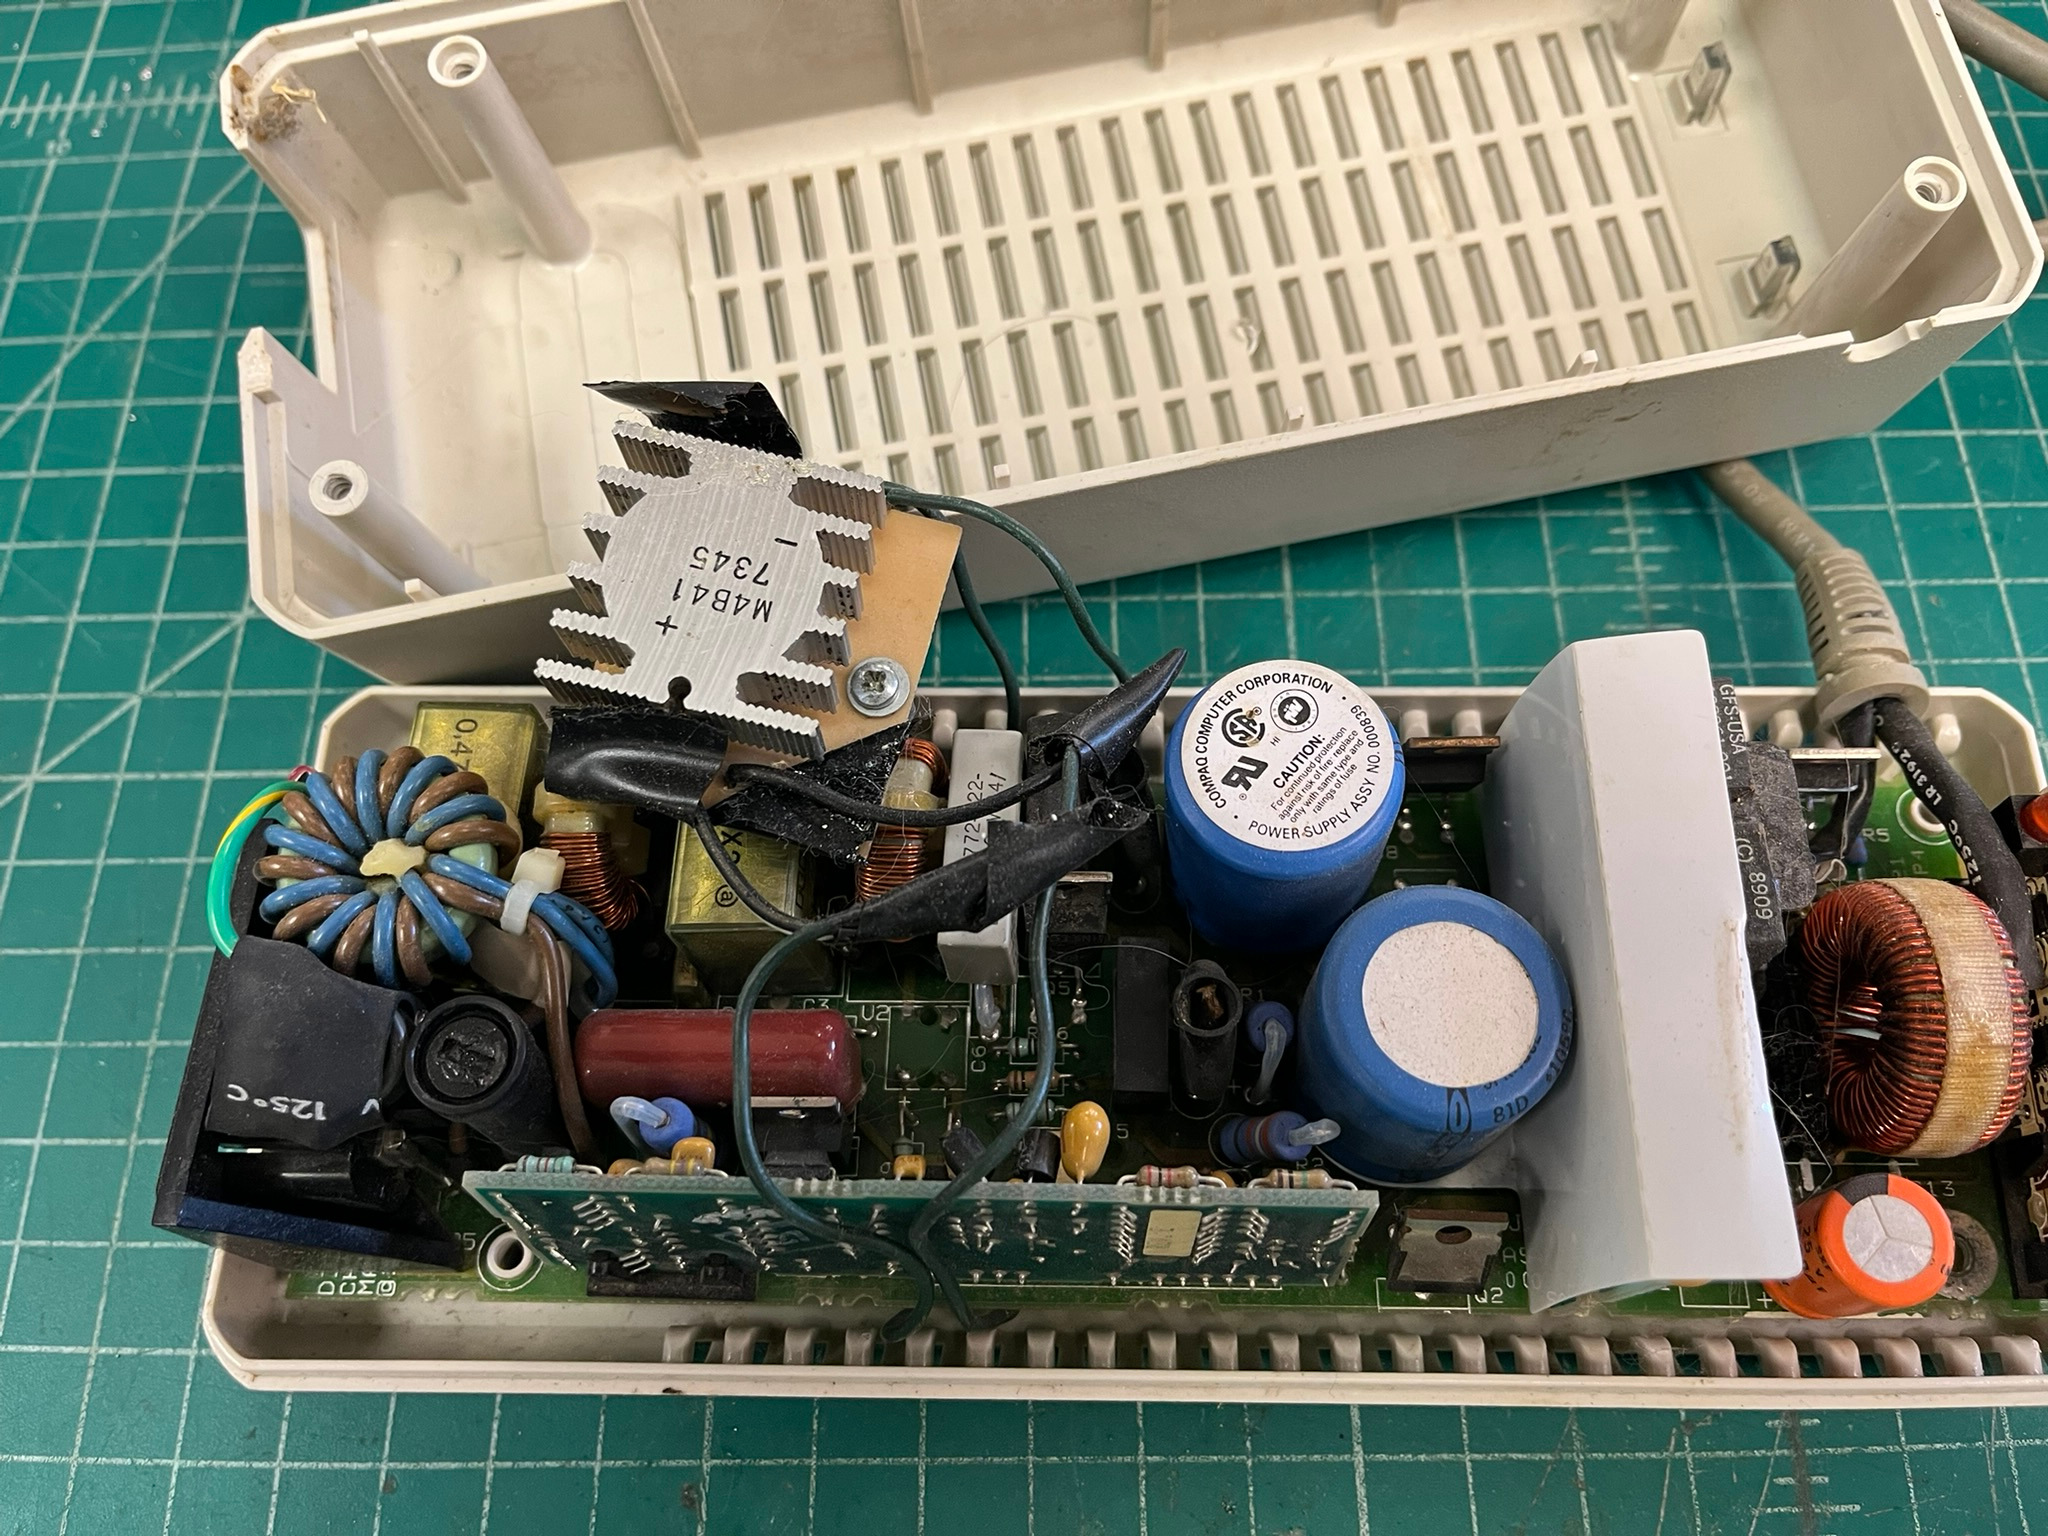
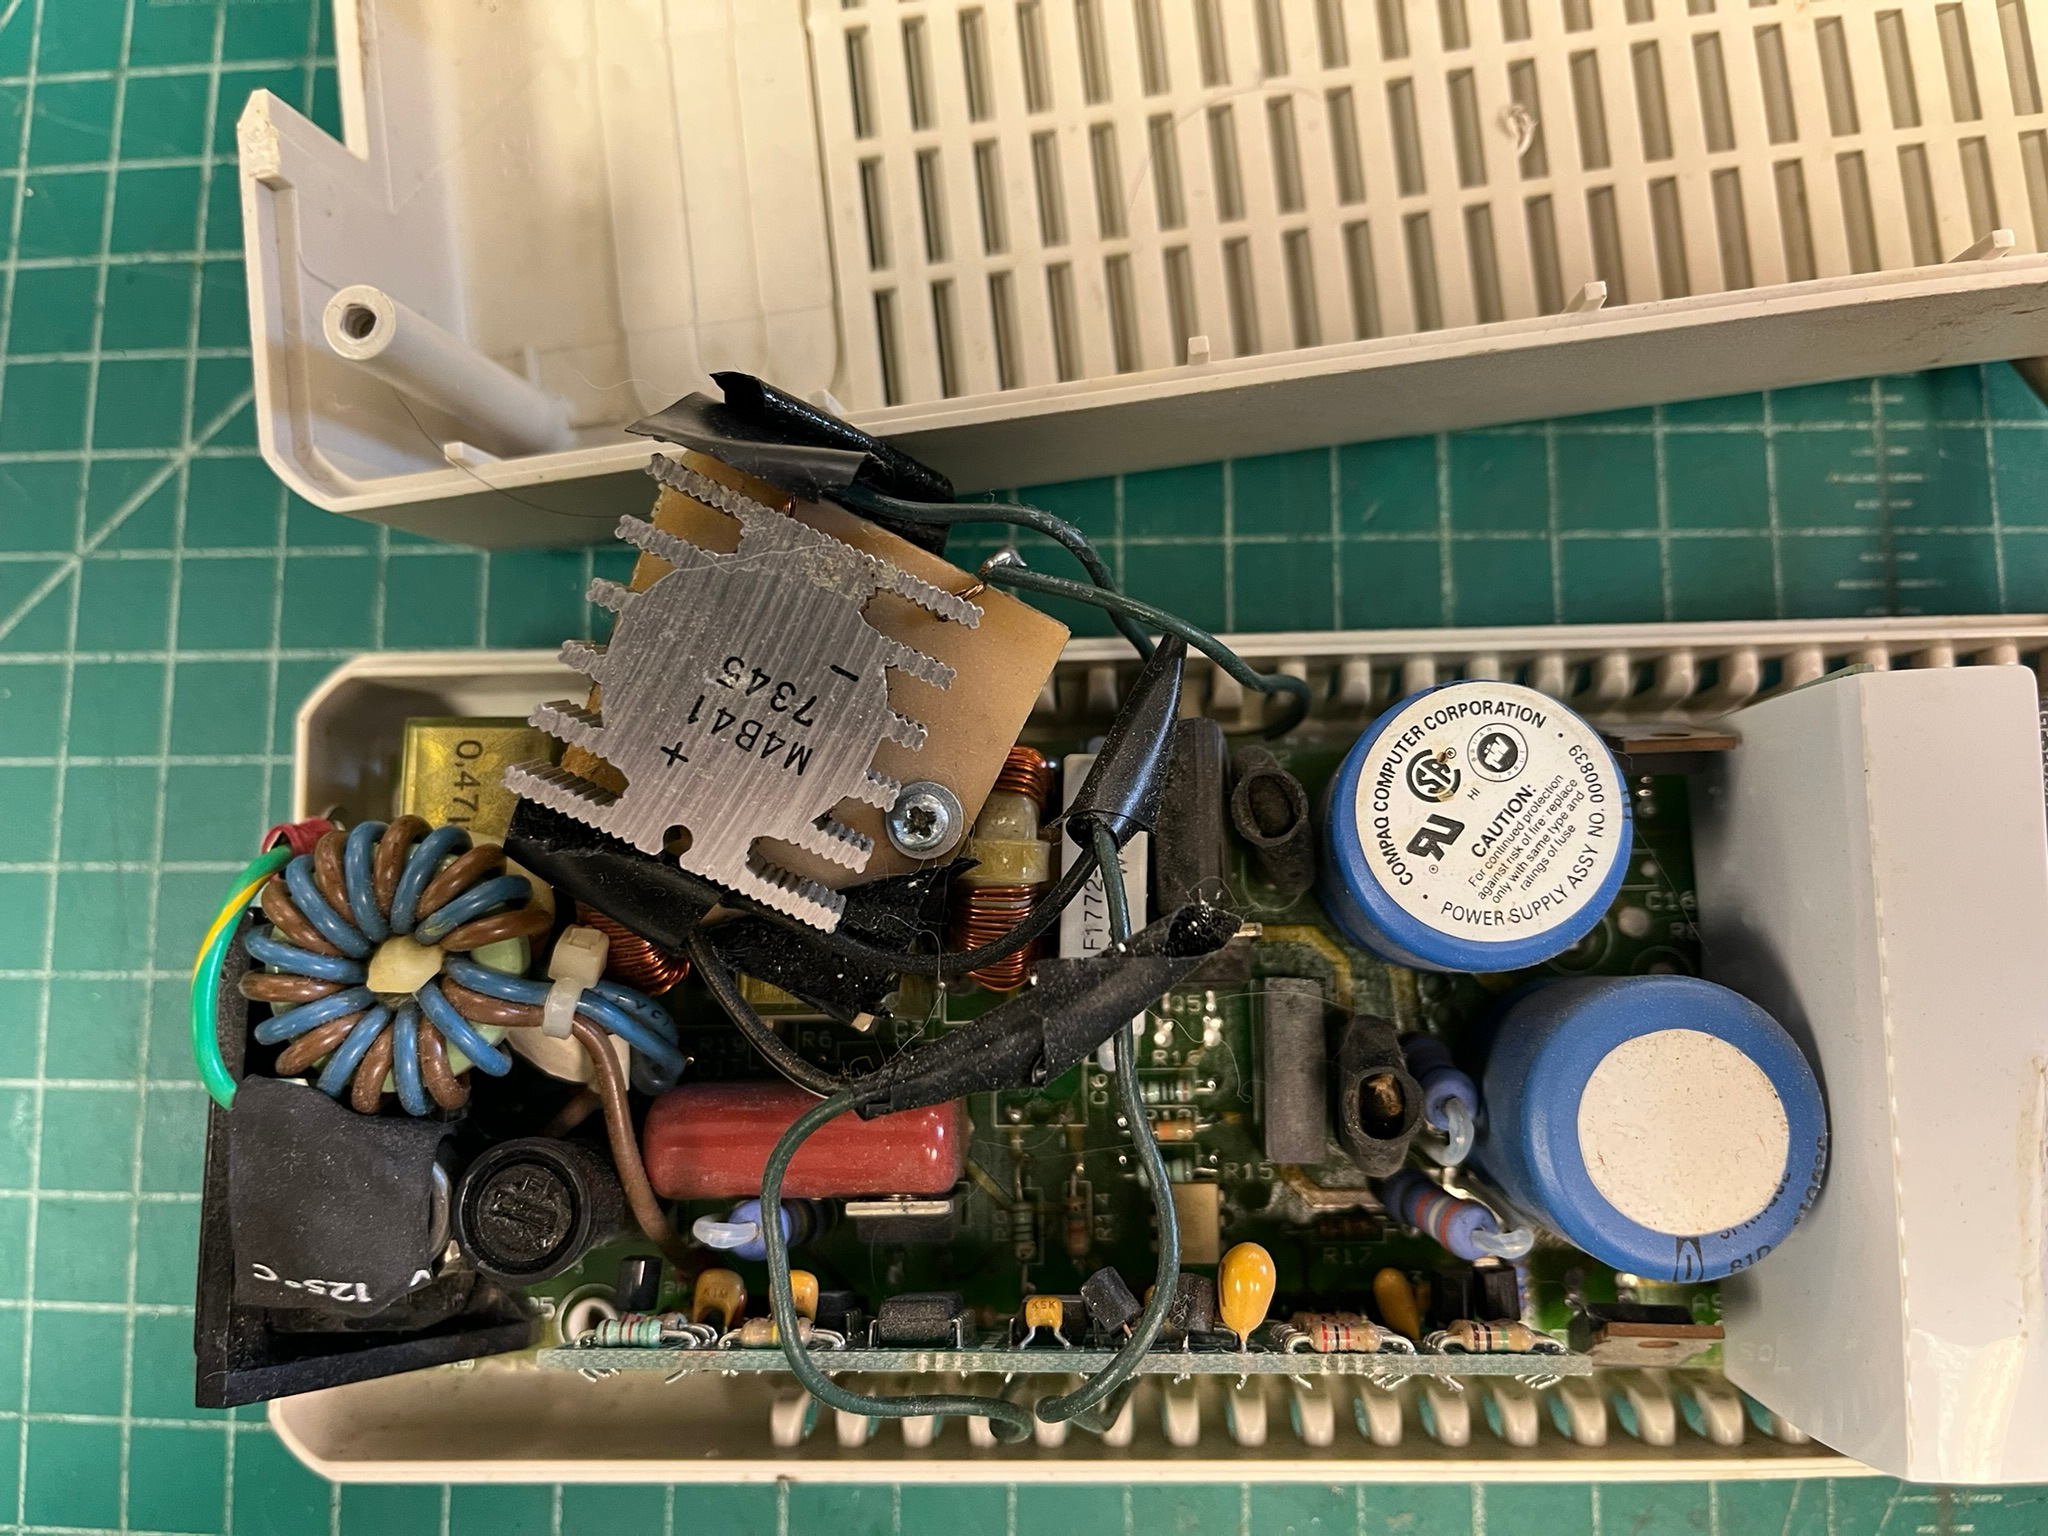
It’s tacked on OKish on the bottom, but not great, the leads should’ve been better tinned:
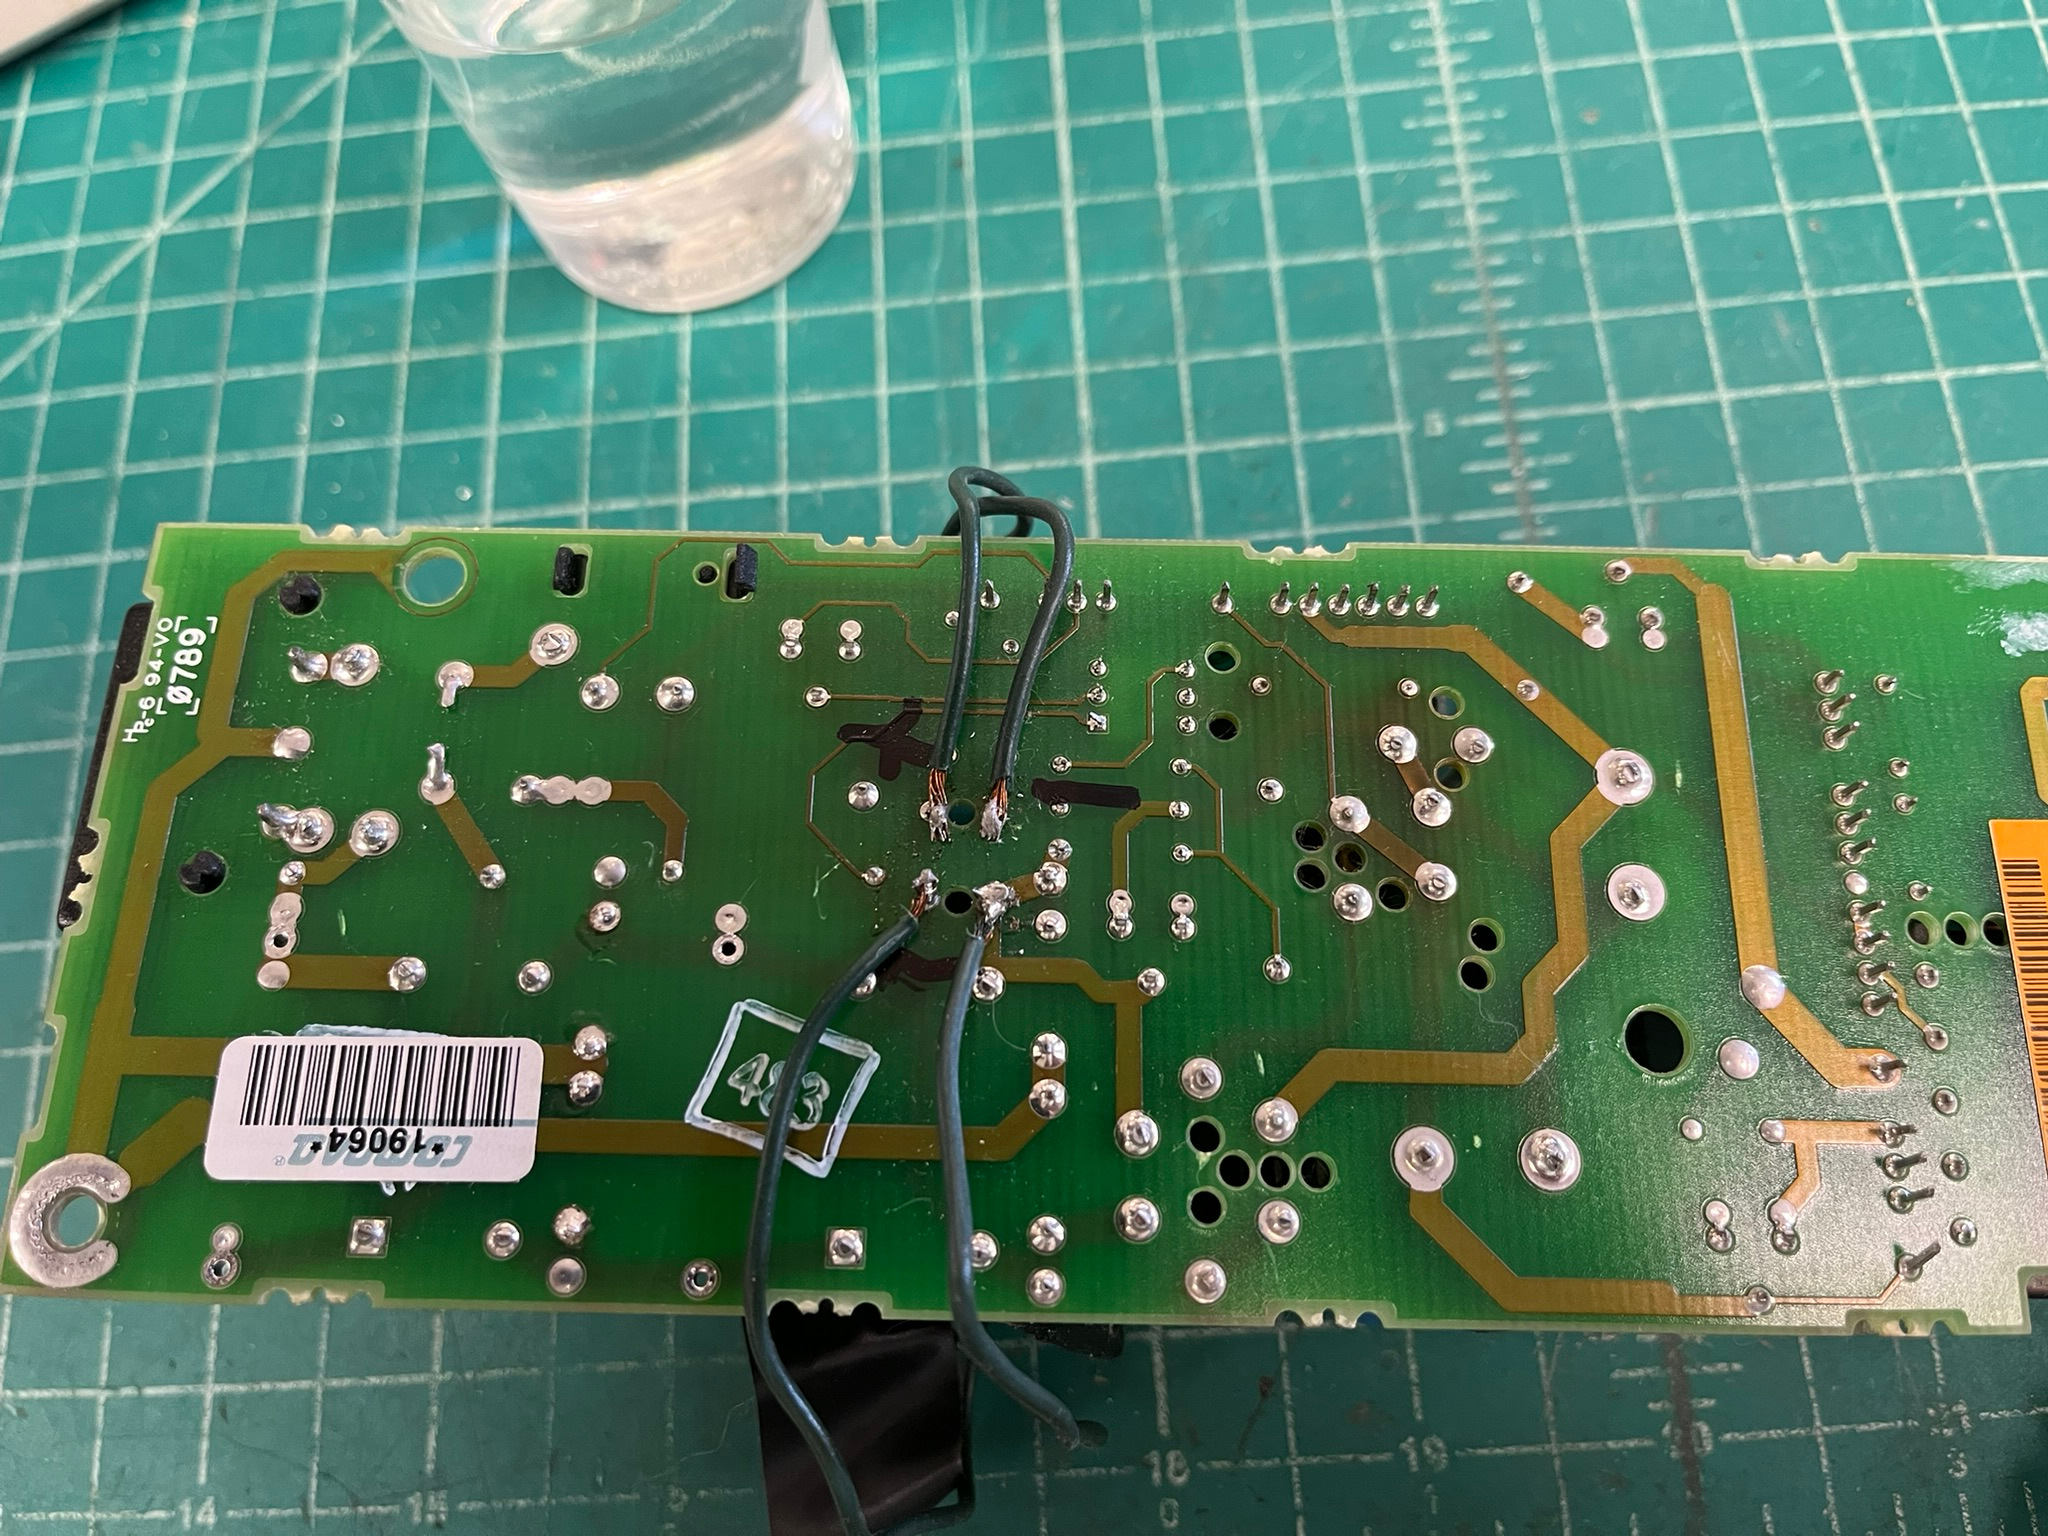
So, what’s going on here? Well, I didn’t have the correct rectifier, so I adapted another one! I remember this one coming from the power supply of an old Beta videotape recorder. I diked the old DIP-4 rectifier out, and soldered leads to the bottom. Since there was no room to mount the rectifier I did have on the board, I mounted it above it. It looks like I actually etched a little circuit board with my Radio Shack ferric chloride etch kit:
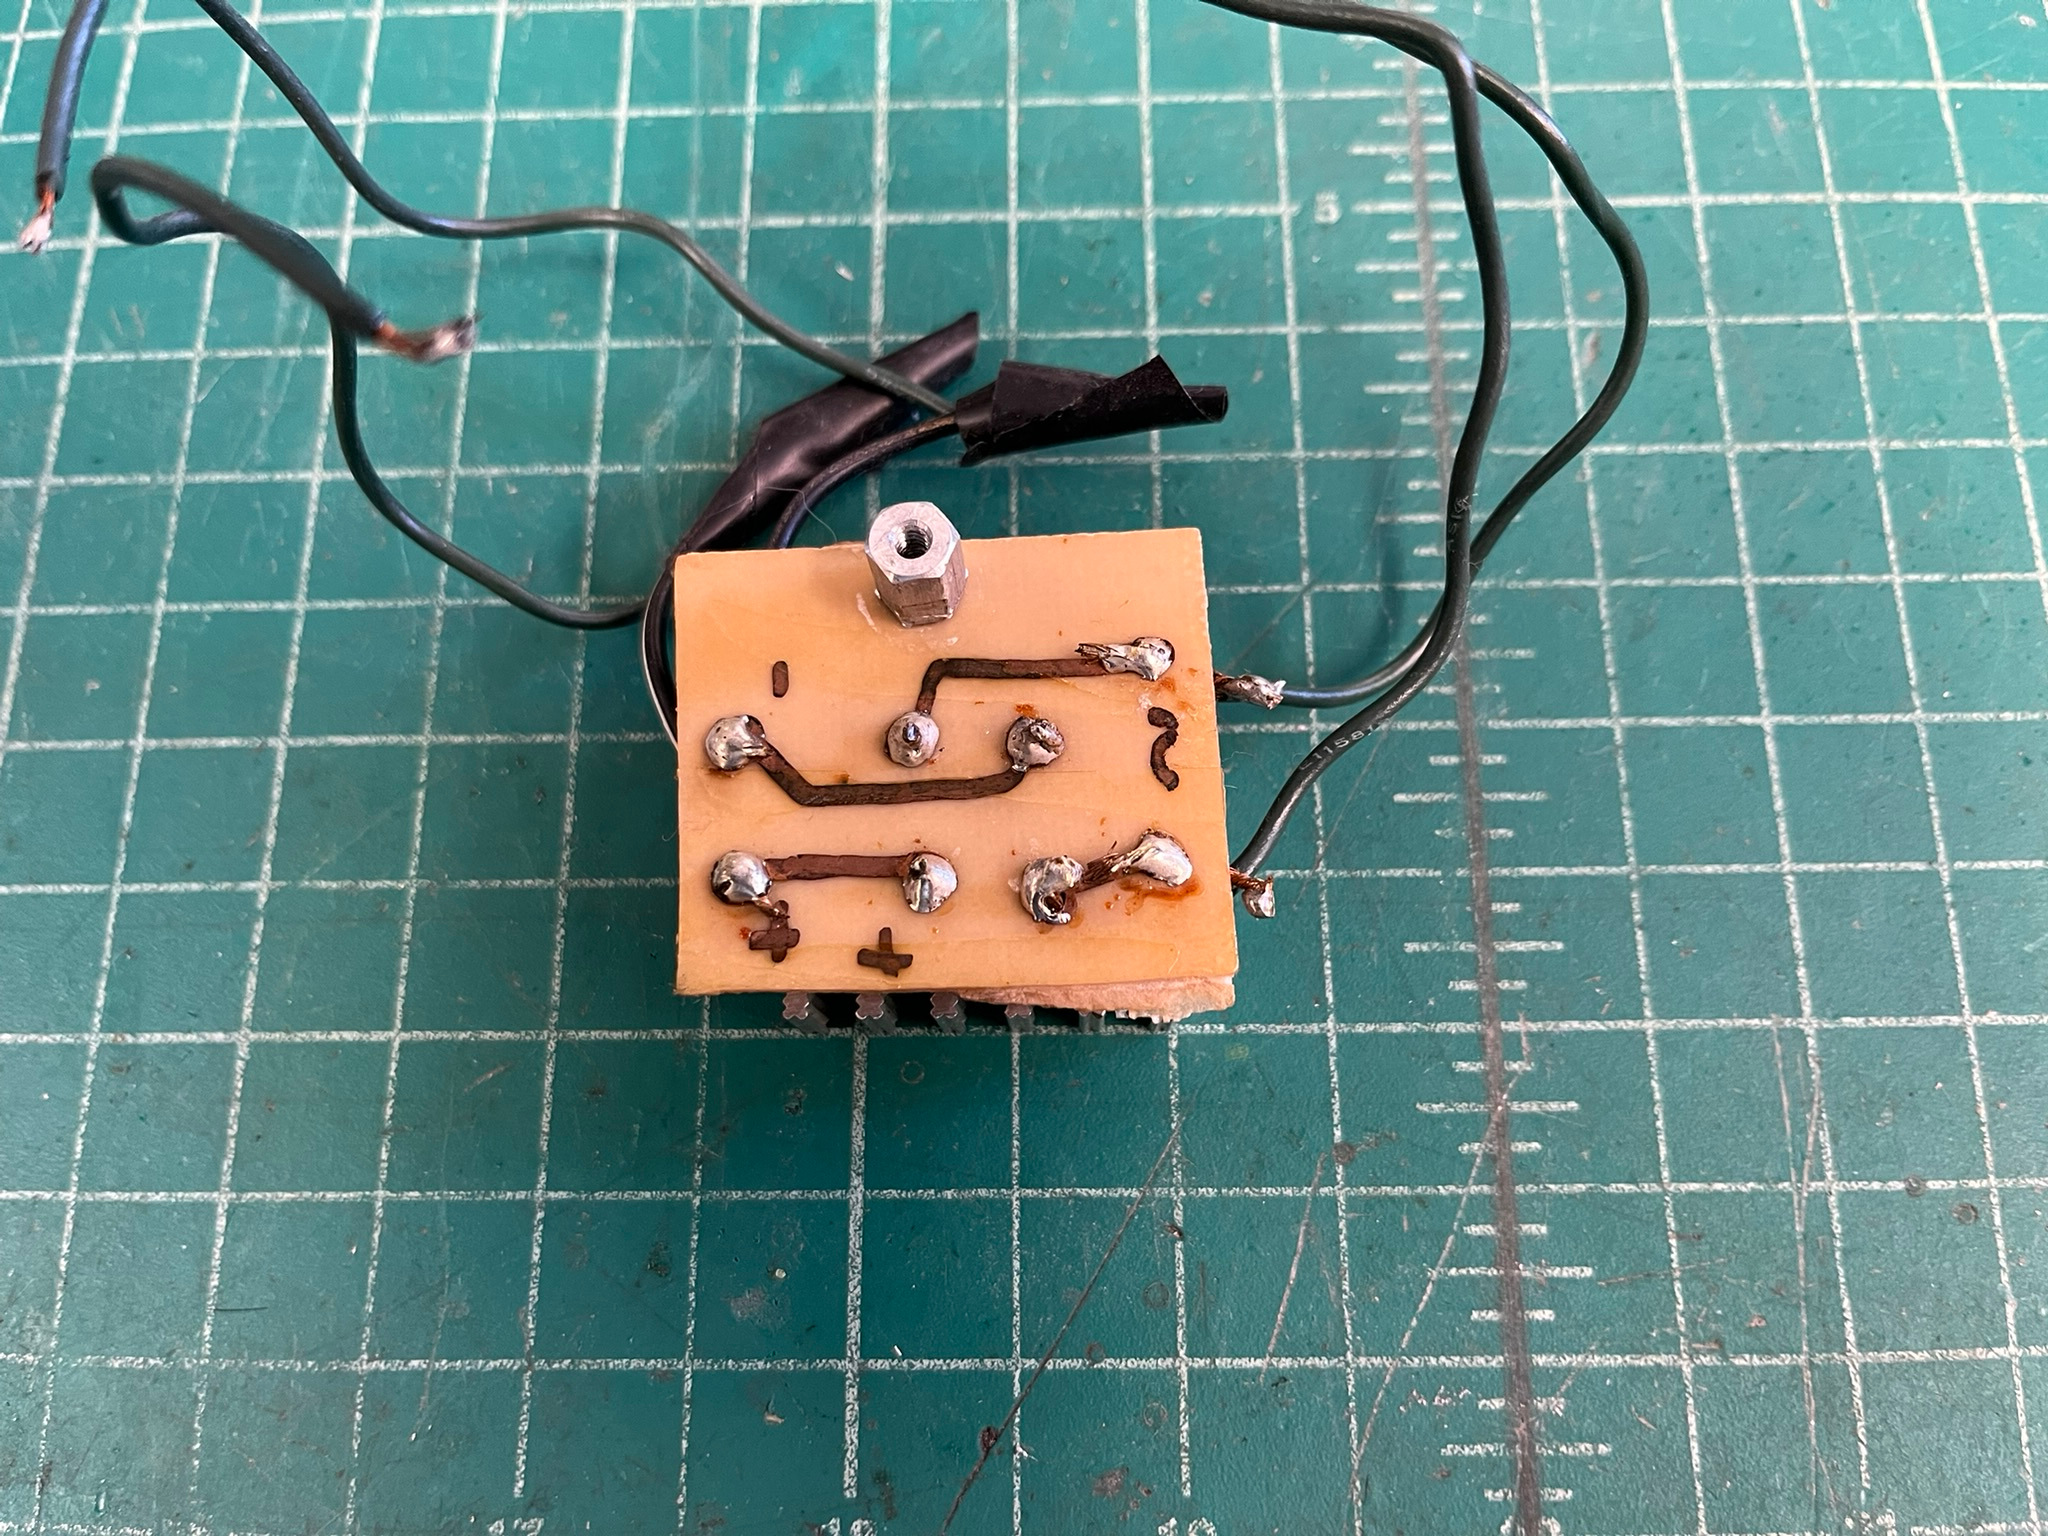
I’d clearly marked which pins were AC, positive output, and negative output. I’m pretty sure the wire is…stranded wire from dead Christmas light strands! With wires soldered to the repair board and the PSU, the circuit board was installed in the bottom of the enclosure (I apparently threw away the shielding), then twisted together, soldered, and insulated with electrician’s tape.
To kid-me’s credit, I did replace the fuse with another of the same rating! That was probably something I could get at Radio Shack.
I’d have been 11 or 12 years old when I made this repair, I distinctly remember that it happened before Y2K, which really was a big deal at the time. We’d bought two copies of Y2K patch software, one for the family computer, and one for my old SLT/286 laptop! The other computers I had were left to fend for themselves…on December 31, 1999, I had all of them booted and running, to see what would happen at midnight (spoiler: nothing).
Anyway, it was a good thing I’d opened the supply to repair it properly: I found the single low ESR electrolytic capacitor in the supply leaking:
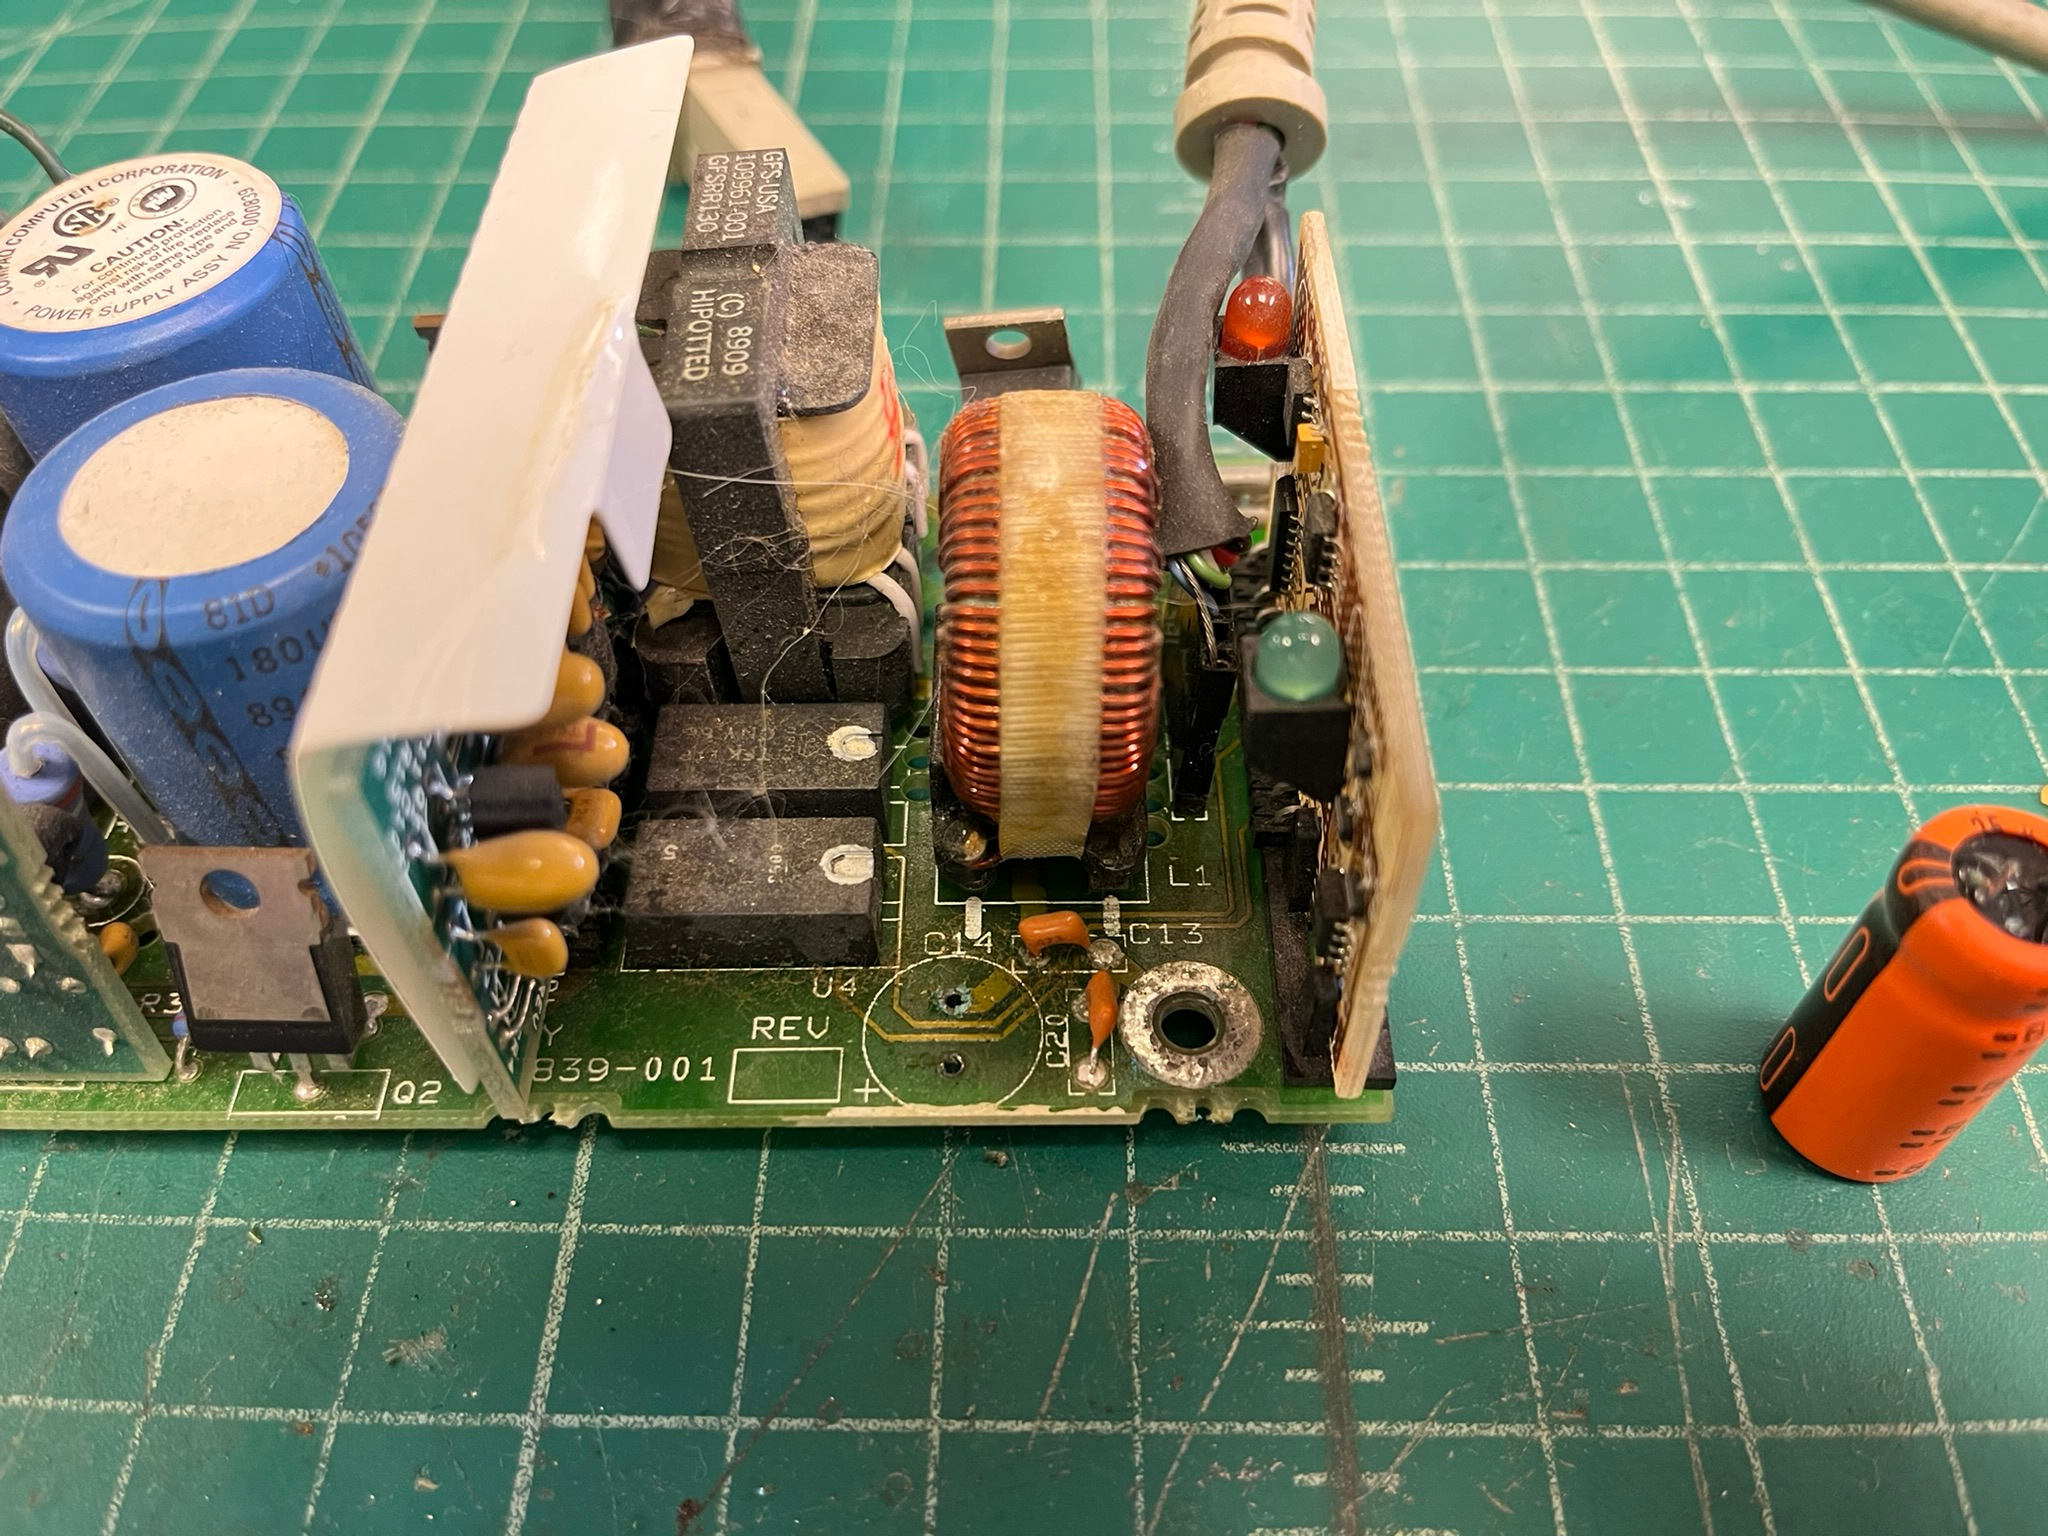
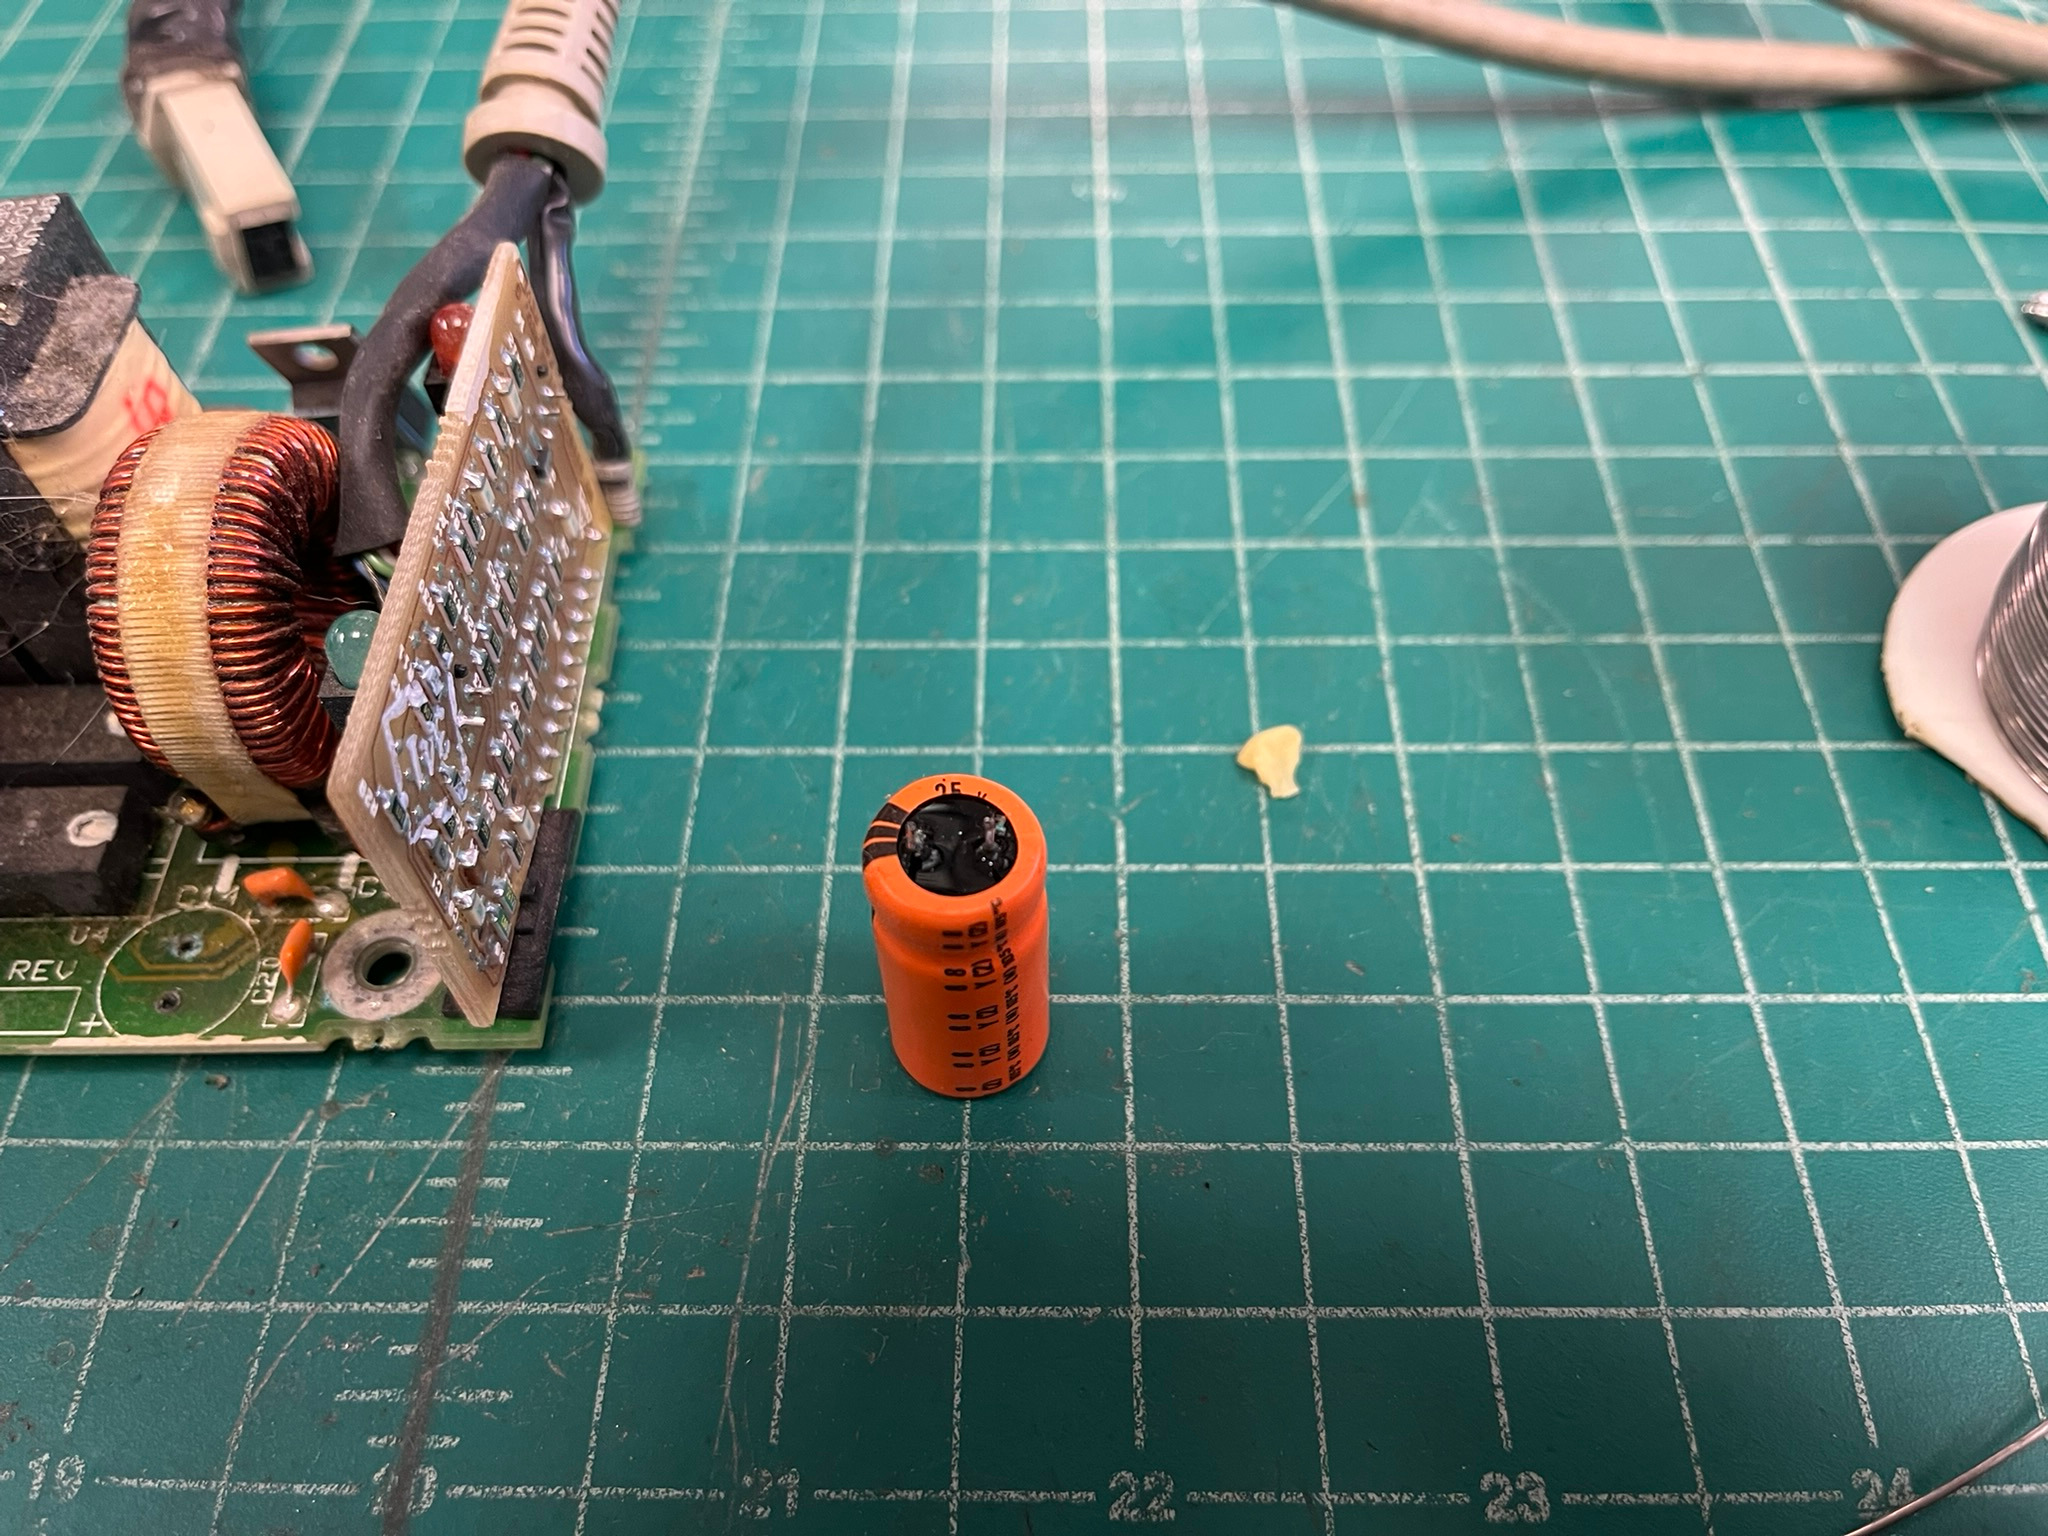
I ended up removing the submodule boards to better clean the supply. This is what I found when I removed the one closest to the capacitor damage:
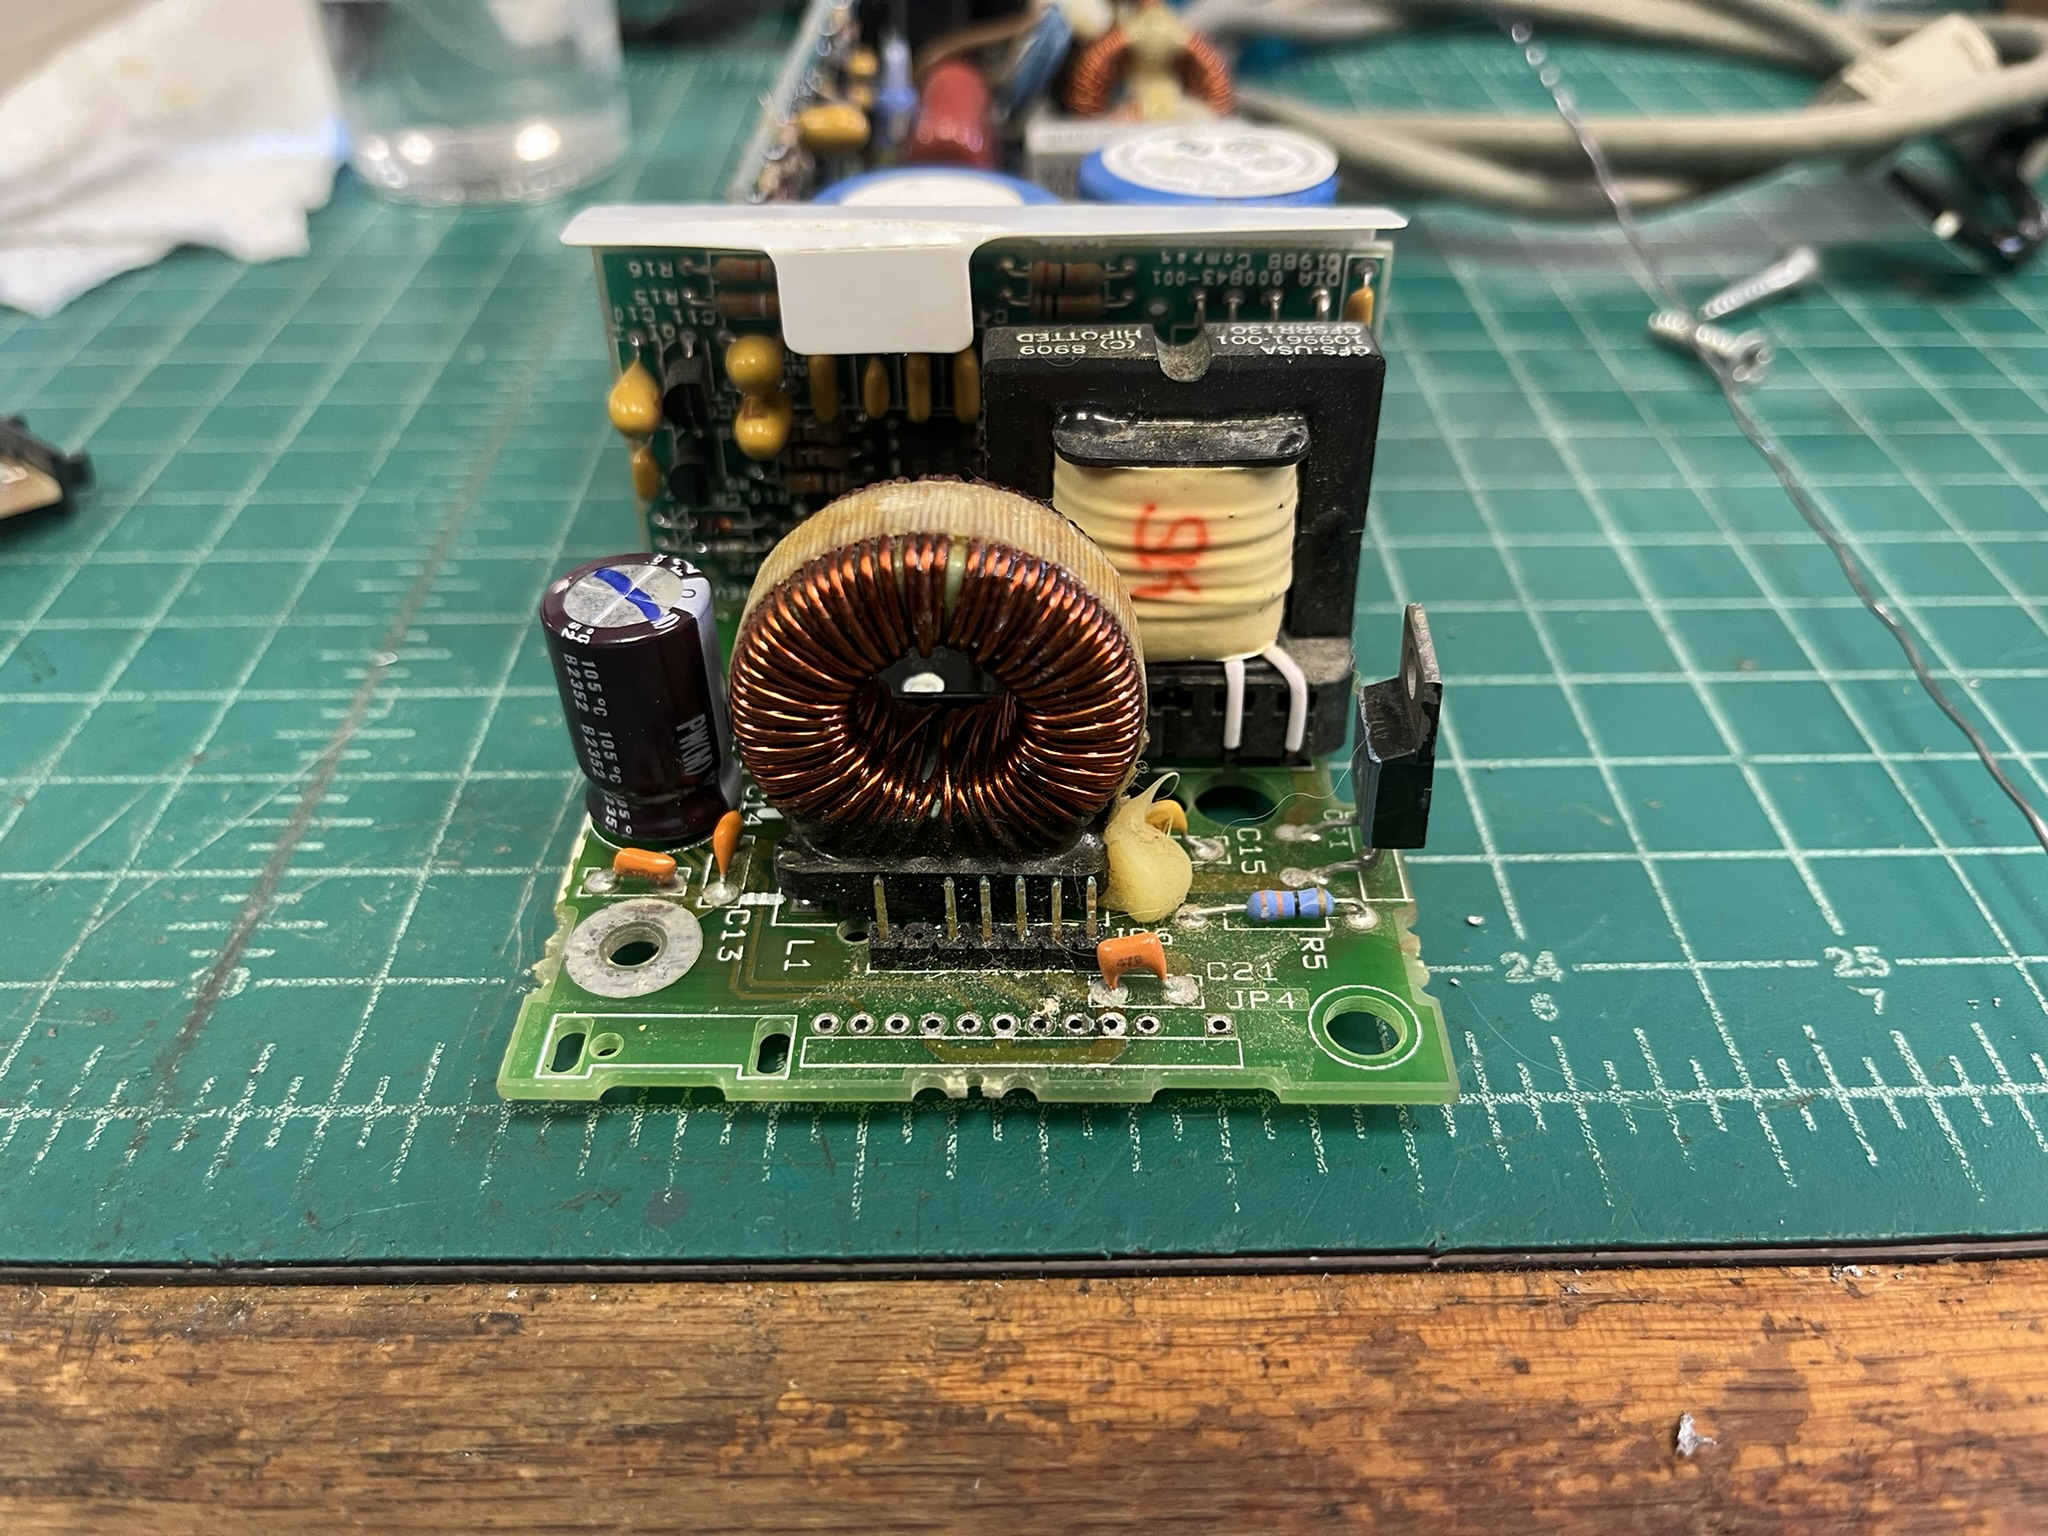
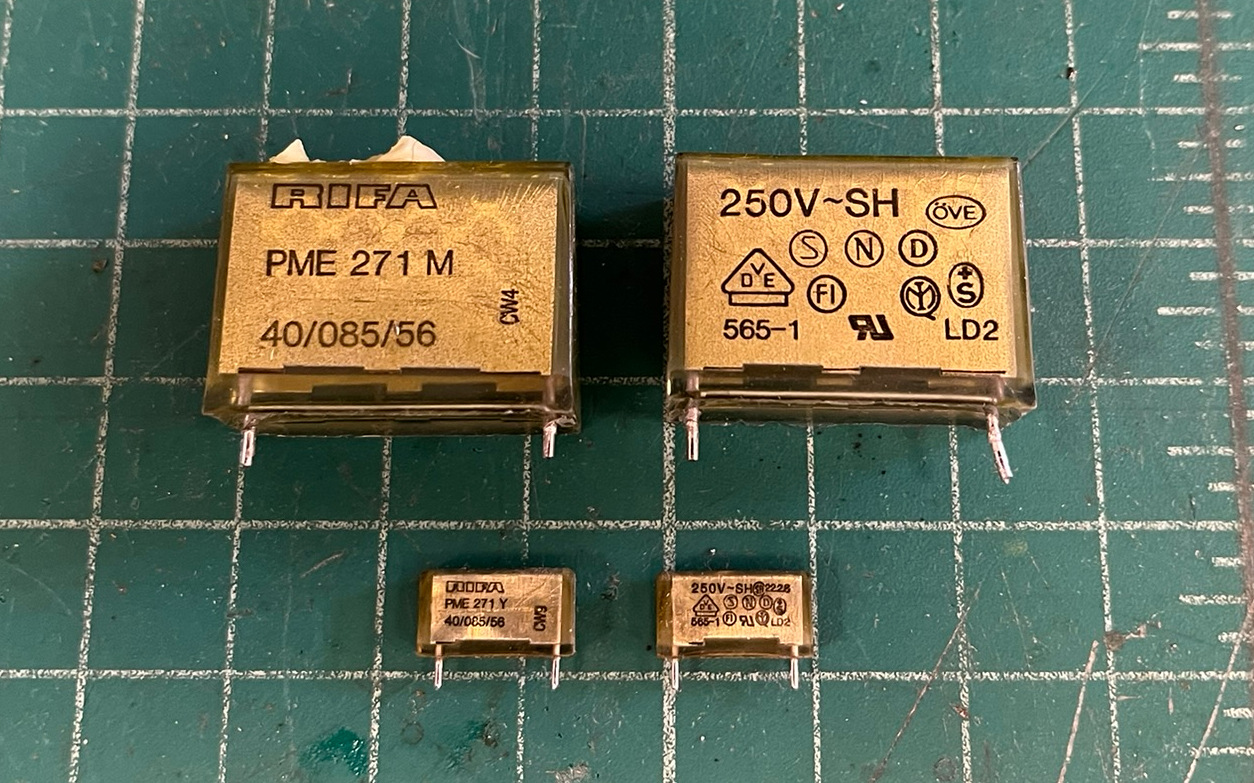
I discovered four RIFA filter capacitors at the input section of the supply. They were starting to crack, but hadn’t gotten bad yet. They were replaced with modern safety film capacitors. Here’s the old ones:
I don’t usually replace the line side electrolytic capacitors, but I did on this supply, as they were red epoxy sealed Sprague capacitors that I have had issues with before. I don’t know what happens, but the caps get lumpy under the heat shrink jacket, and the red epoxy turns to goo and runs out the bottom.
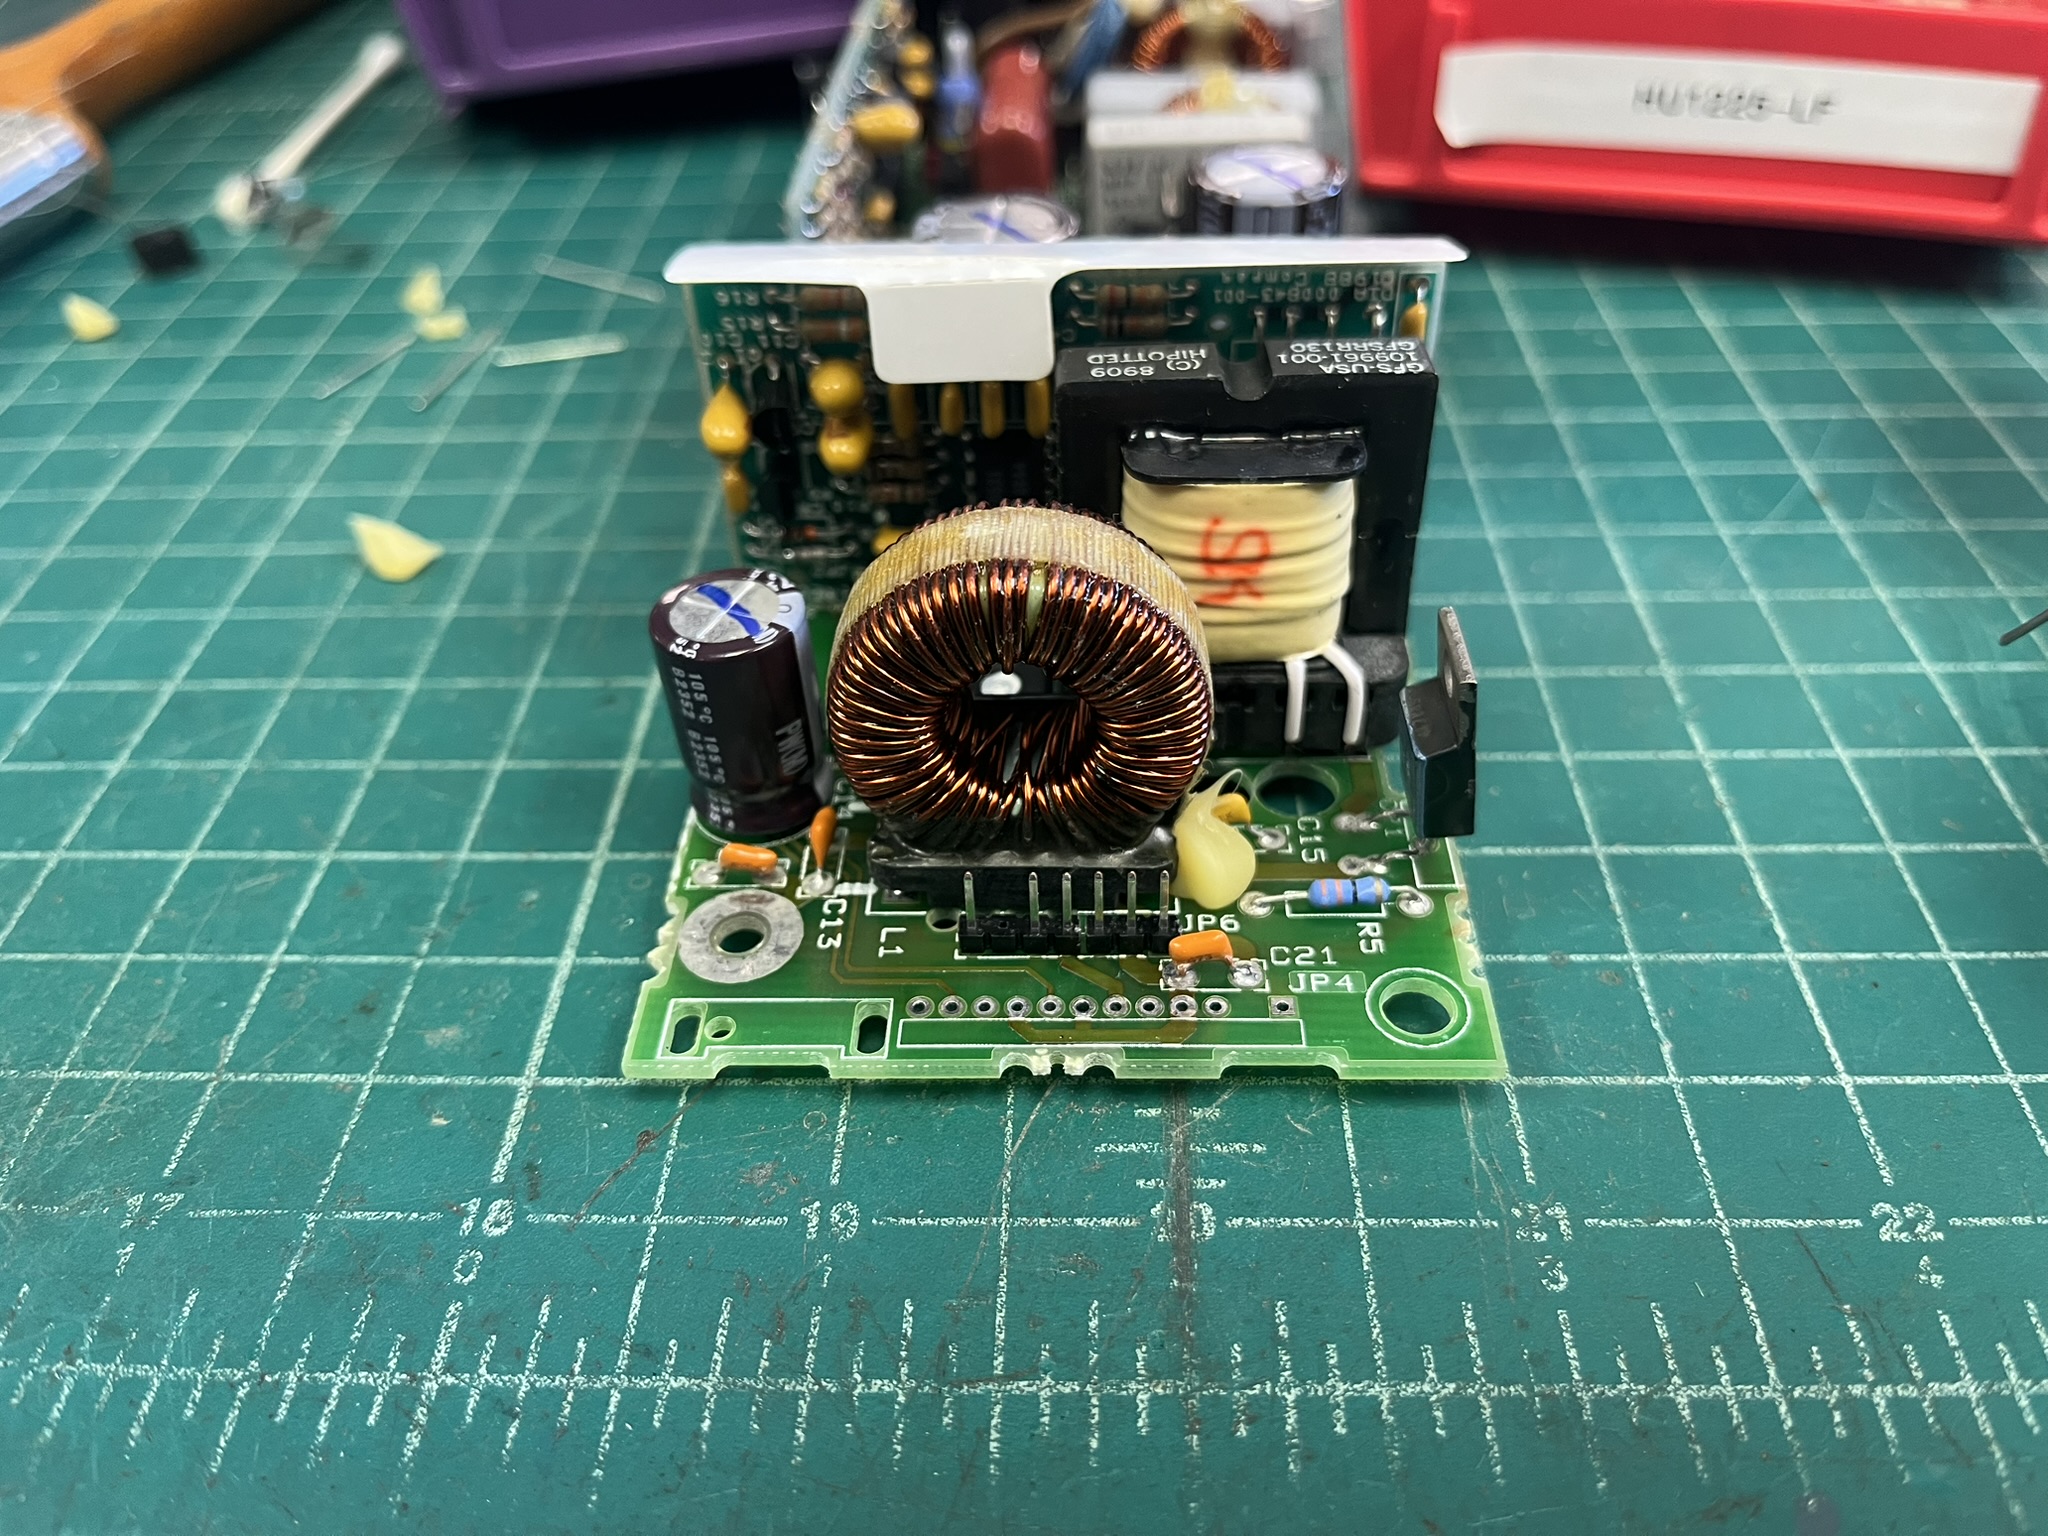
The pin header for the DC pigtail to the laptop was replaced, since it was corroded from the capacitors:
That’s it for PCB repairs!
DC Pigtail Repairs
As seen in the first picture, the DC pigtail needed some attention on this supply:
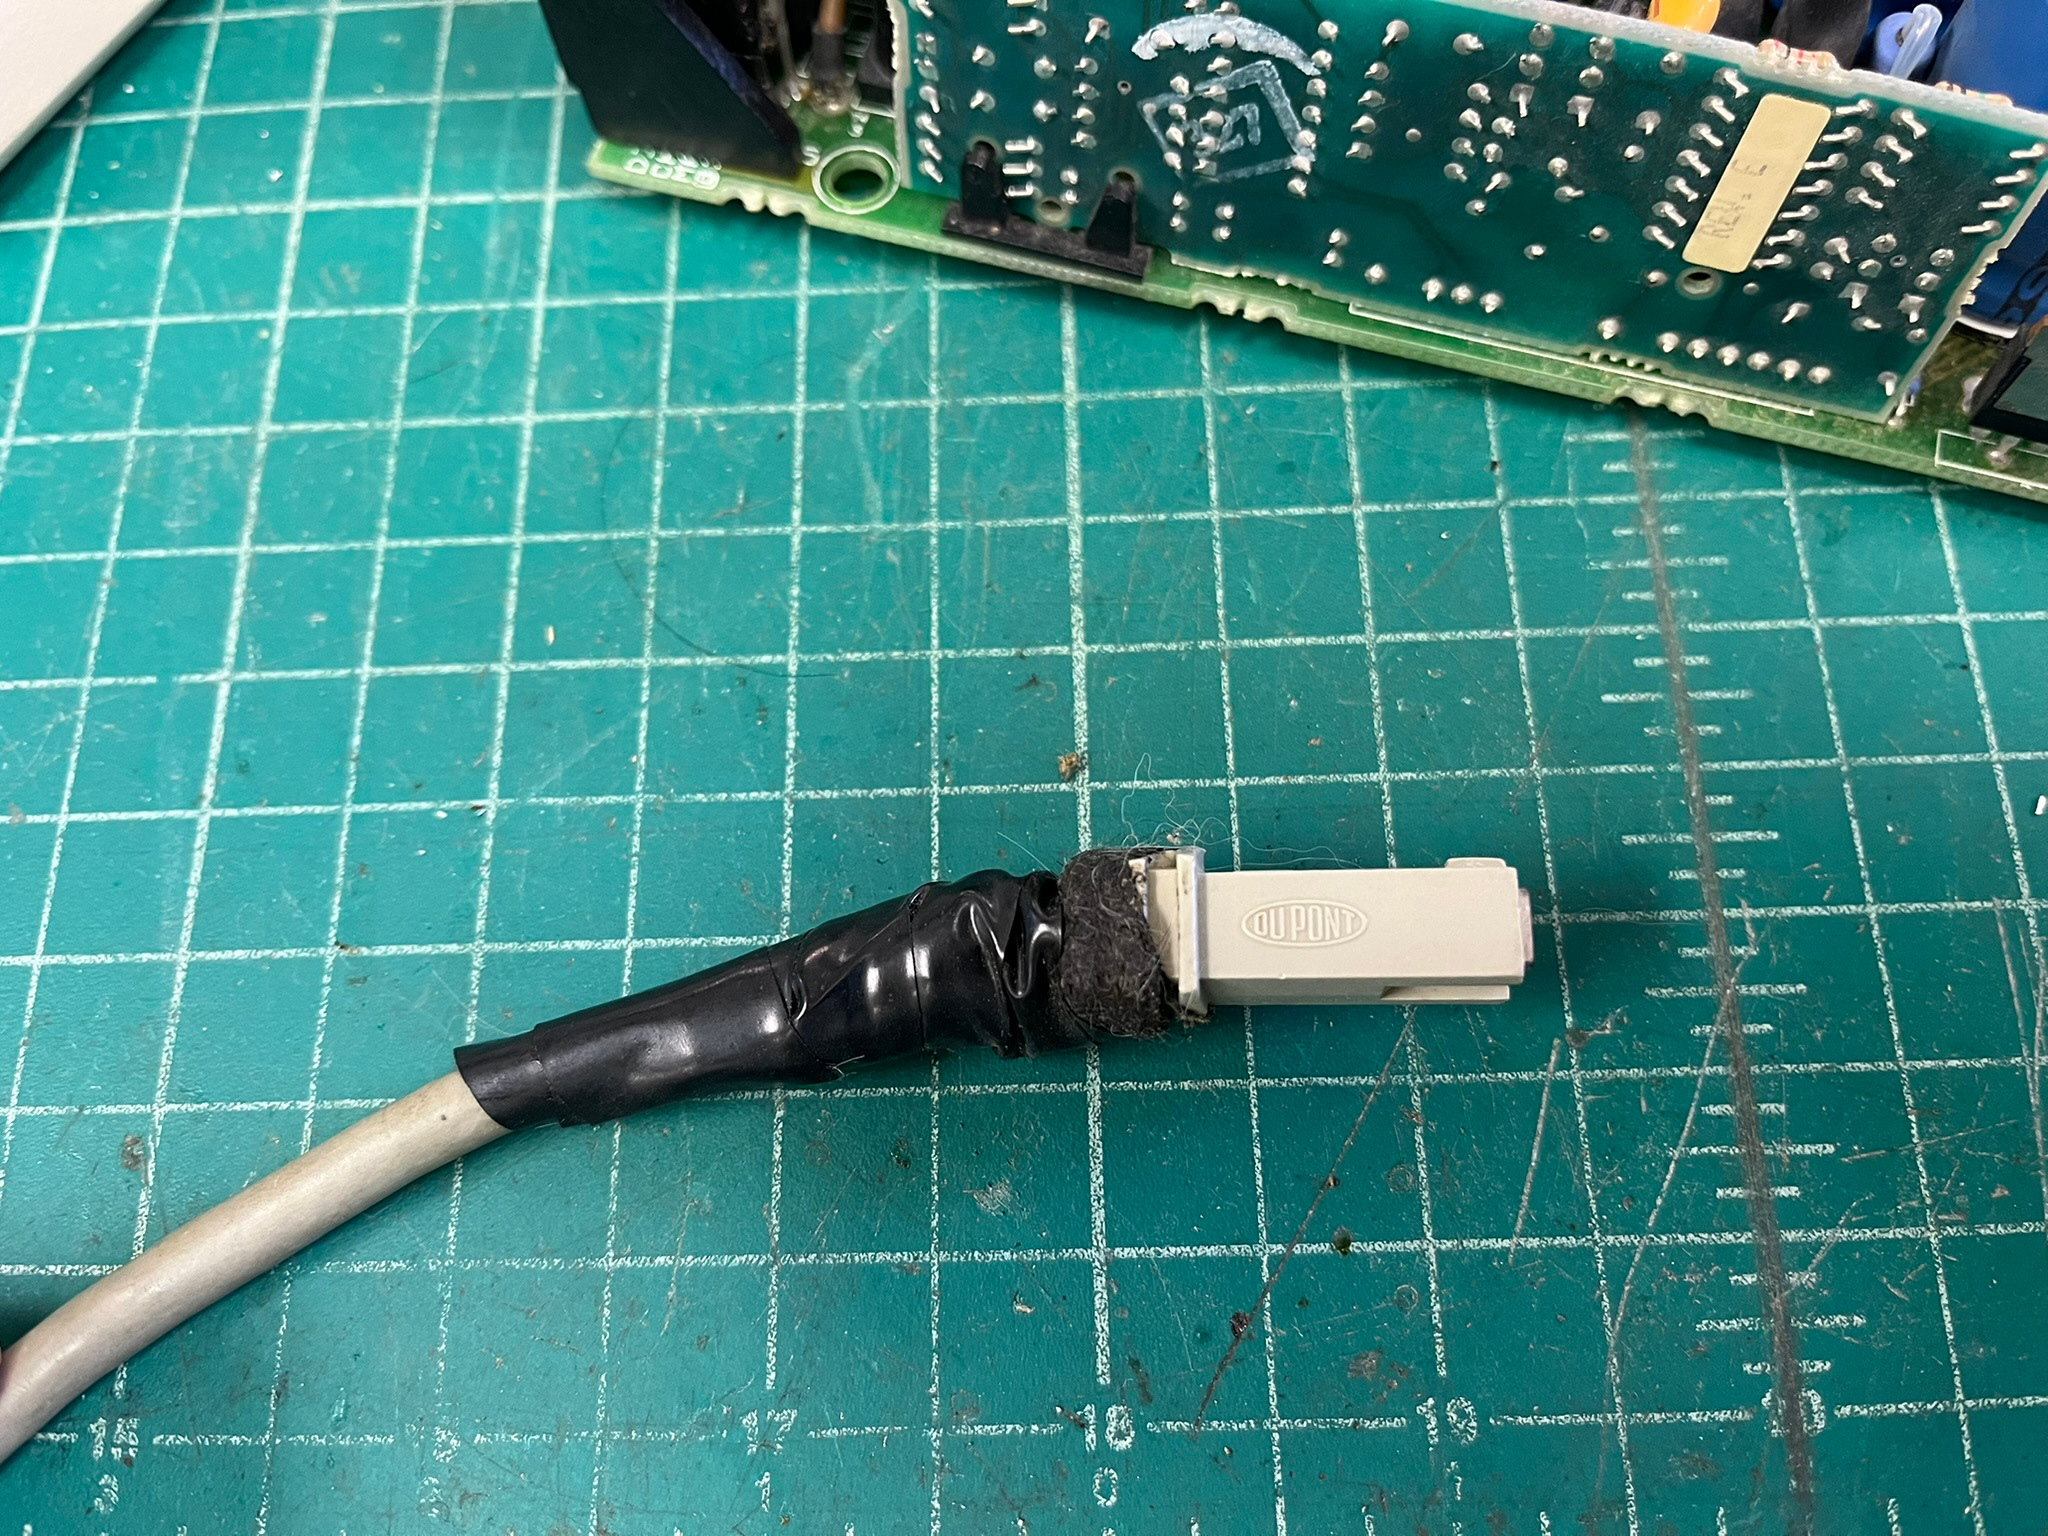
The strain relief at the plug had always been damaged, as long as I’d had the computer, anyway. The previous owner taped it up with friction tape (tar tape, hockey tape, whatever you like to call the cloth with tar on it). When I got the laptop, I added vinyl electrical tape over the friction tape to make it less sticky. Adequate repair for a kid, but we can do better now. I removed the tape ball, cleaned the residue off with alcohol, and covered the portion of the plug and cable where the original strain relief had covered the shield braid with Polygun adhesive:
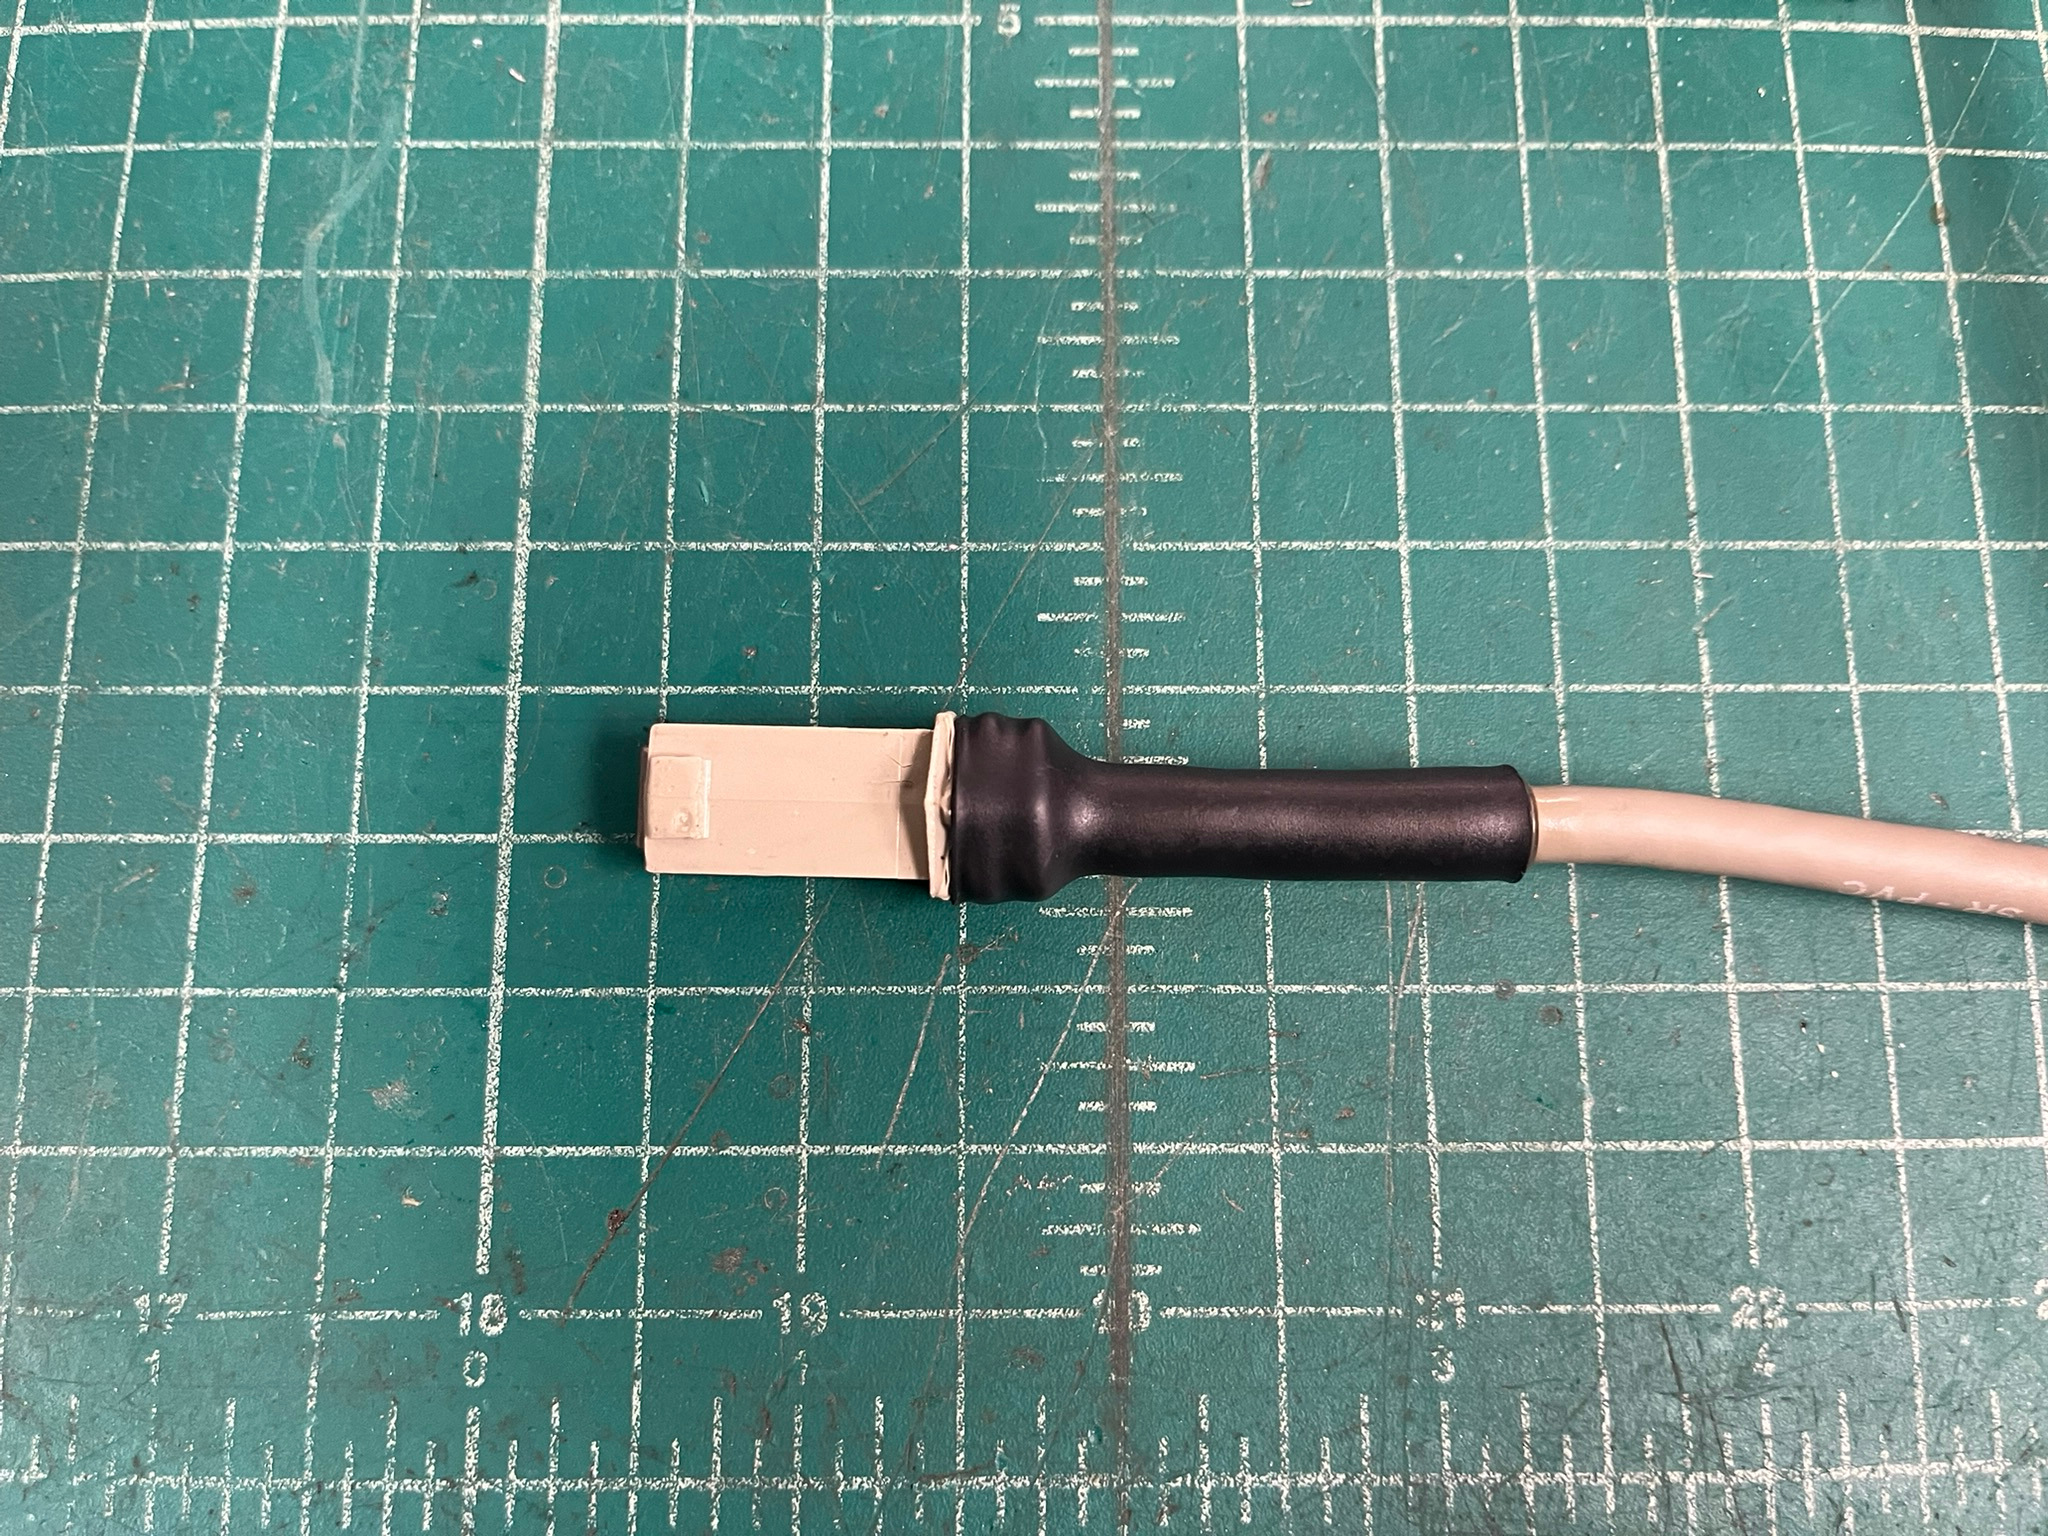
Rather than tape, I now have access to an industrial level solution to the broken strain relief: adhesive lined heat shrink tubing, with a 4:1 shrink ratio. This tubing allows for big differences in diameters of what needs to be covered. The adhesive lining is like hot glue: when you shrink it down, the adhesive melts, and gets squeezed into the joint as the tubing shrinks. It’s often used to make watertight underground splices in cable, or for waterproof RF connections, which is what we stock it for. It was perfect for this repair:
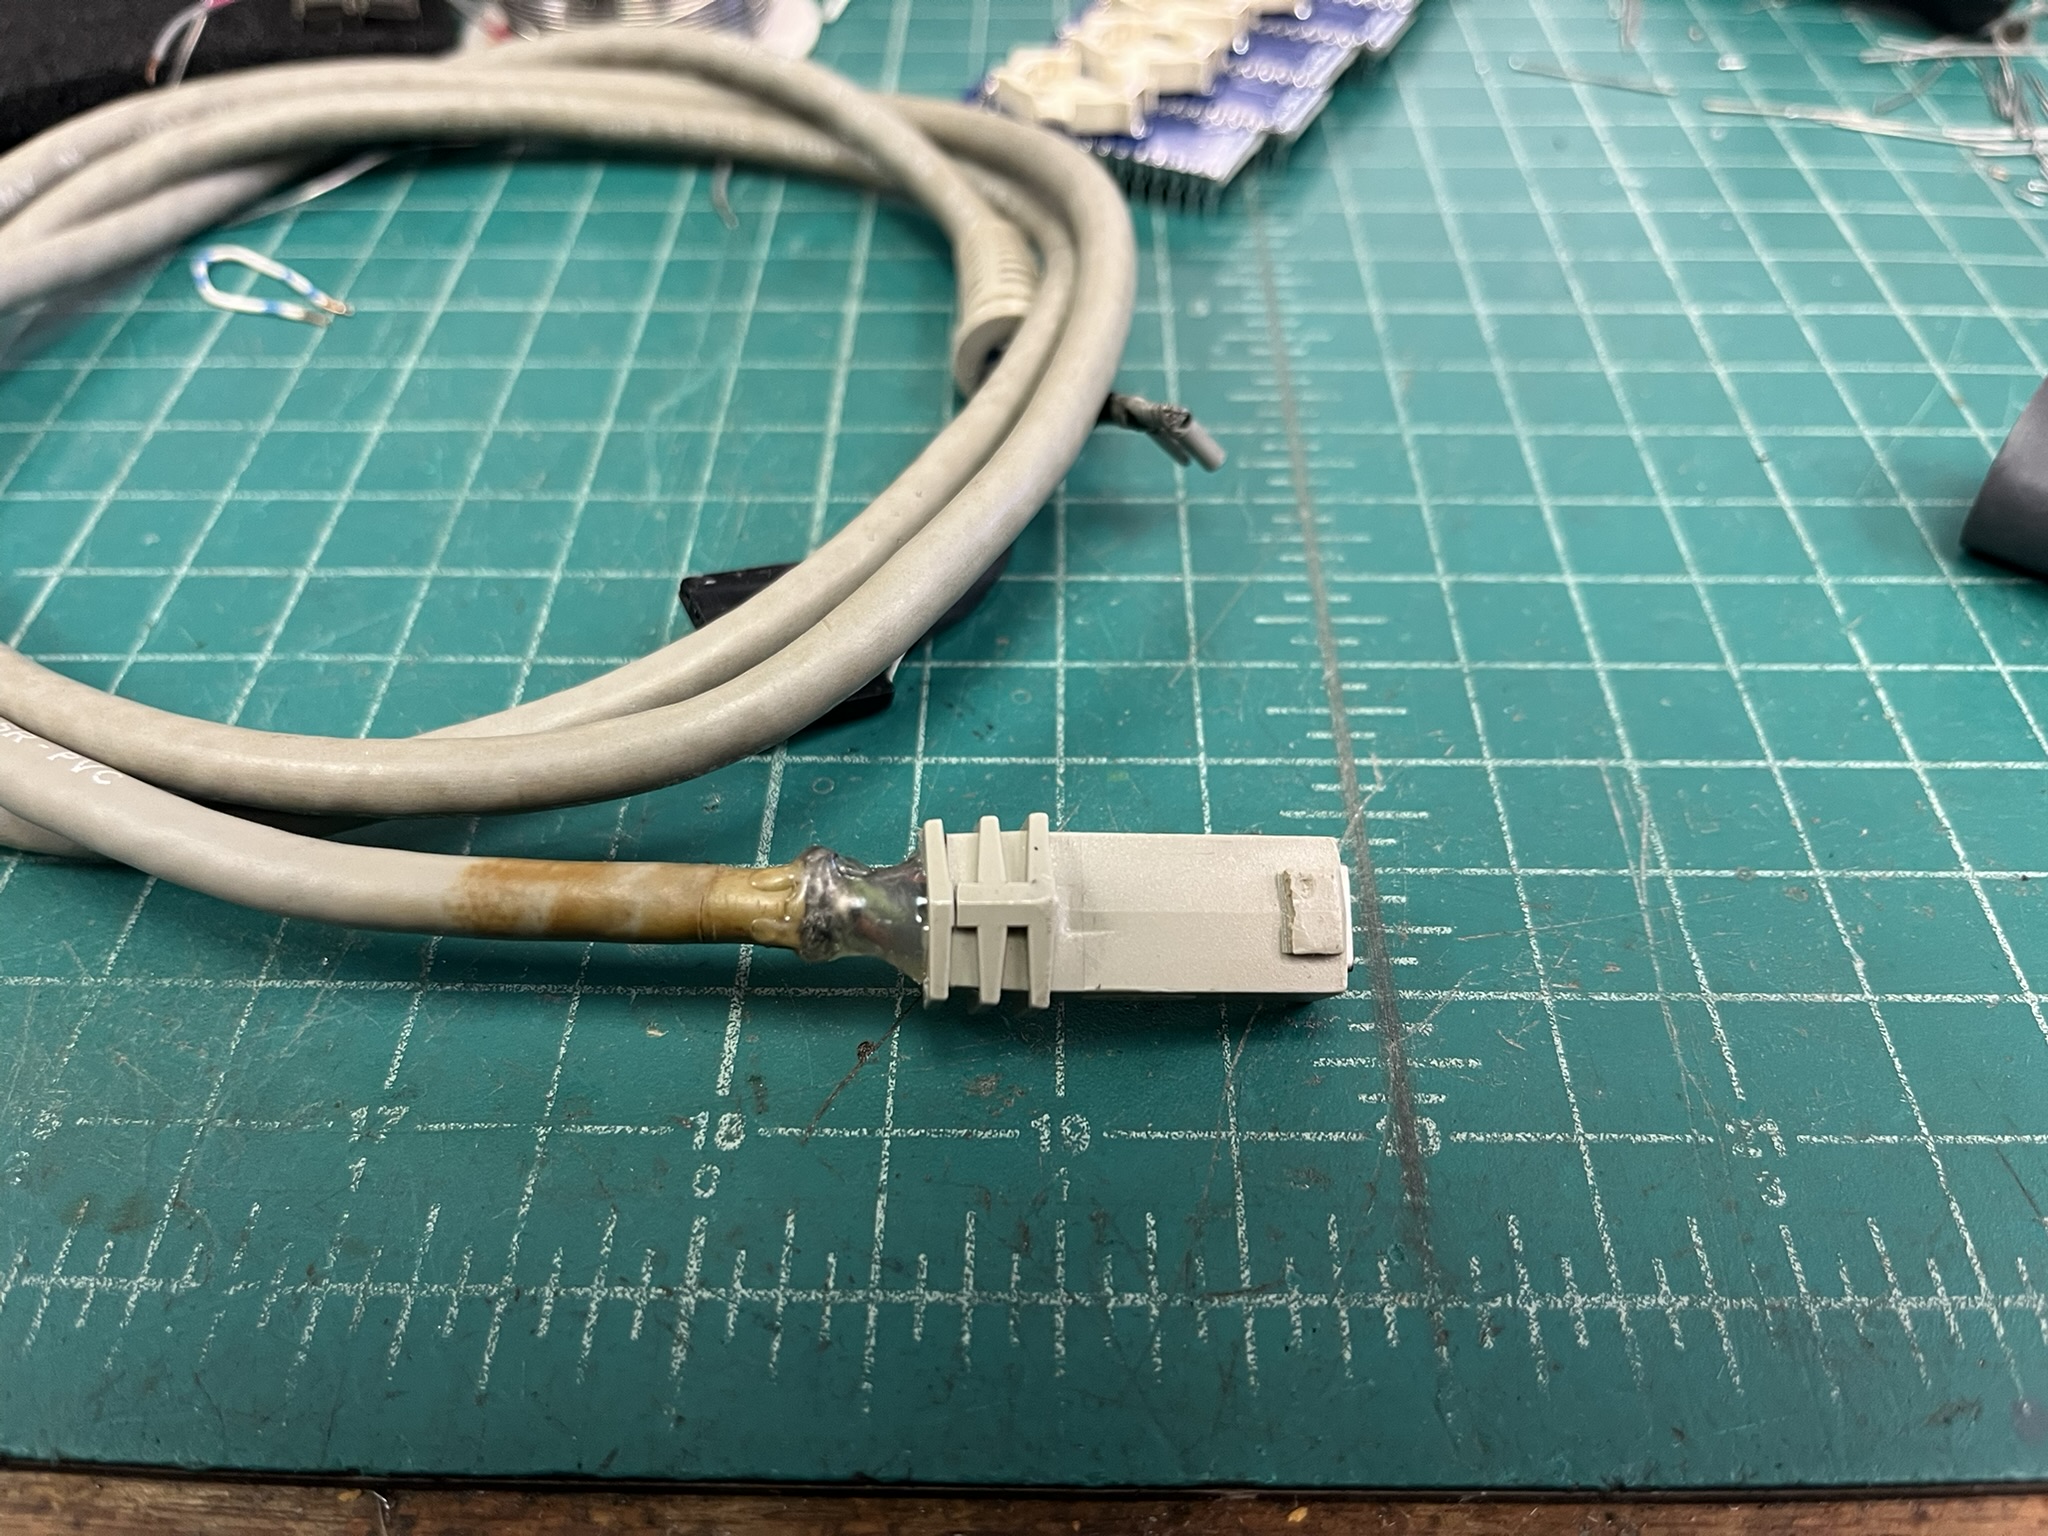
The last thing the DC pigtail needed was new terminations on the supply end. The capacitor leakage had crept into the connector and corroded it, especially the ground pin. There was enough heat in the ground pin from the higher resistance that the Dupont connector housing was distorted somewhat. Here’s a not-great picture where I tried to capture the corrosion:
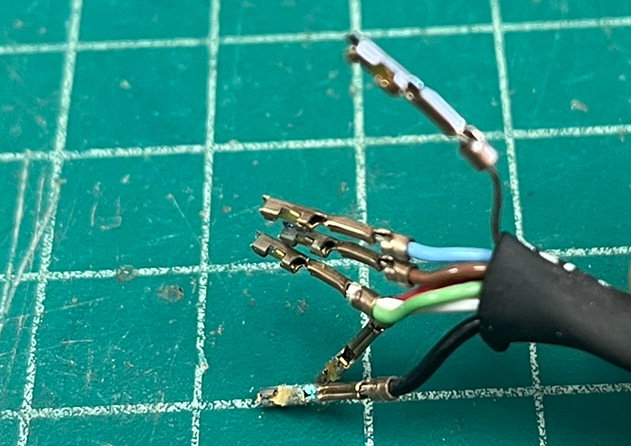
Fortunately, we stock Dupont crimps and have the actual Berg/Dupont crimper for them, so this repair wasn’t hard, though it was a little tedious. Do note that the white and green wires land on the same termination. I had to pull on the conductors a little to get more wire past the supply-side strain relief. The exposed shield was covered with Polygun adhesive, both for insulation and to prevent it from slipping back into the cable as the cable is moved.
Buttoning It Up
The last thing to address was my having thrown out the shielding when I did the repair as a kid. No shielding in the supply means that the ground braid in the DC pigtail was floating! I removed its bare Faston tab flag termination, and installed an insulated Faston flag termination. I then made up a short piece of ground cable, with a male Faston at one end. I insulated the male Faston with some heat shrink so that no conductor was exposed when it was plugged into the flag termination. I then soldered the other end of the ground wire to the grounding ring terminal near the IEC entrance fitting, and insulated with heat shrink:
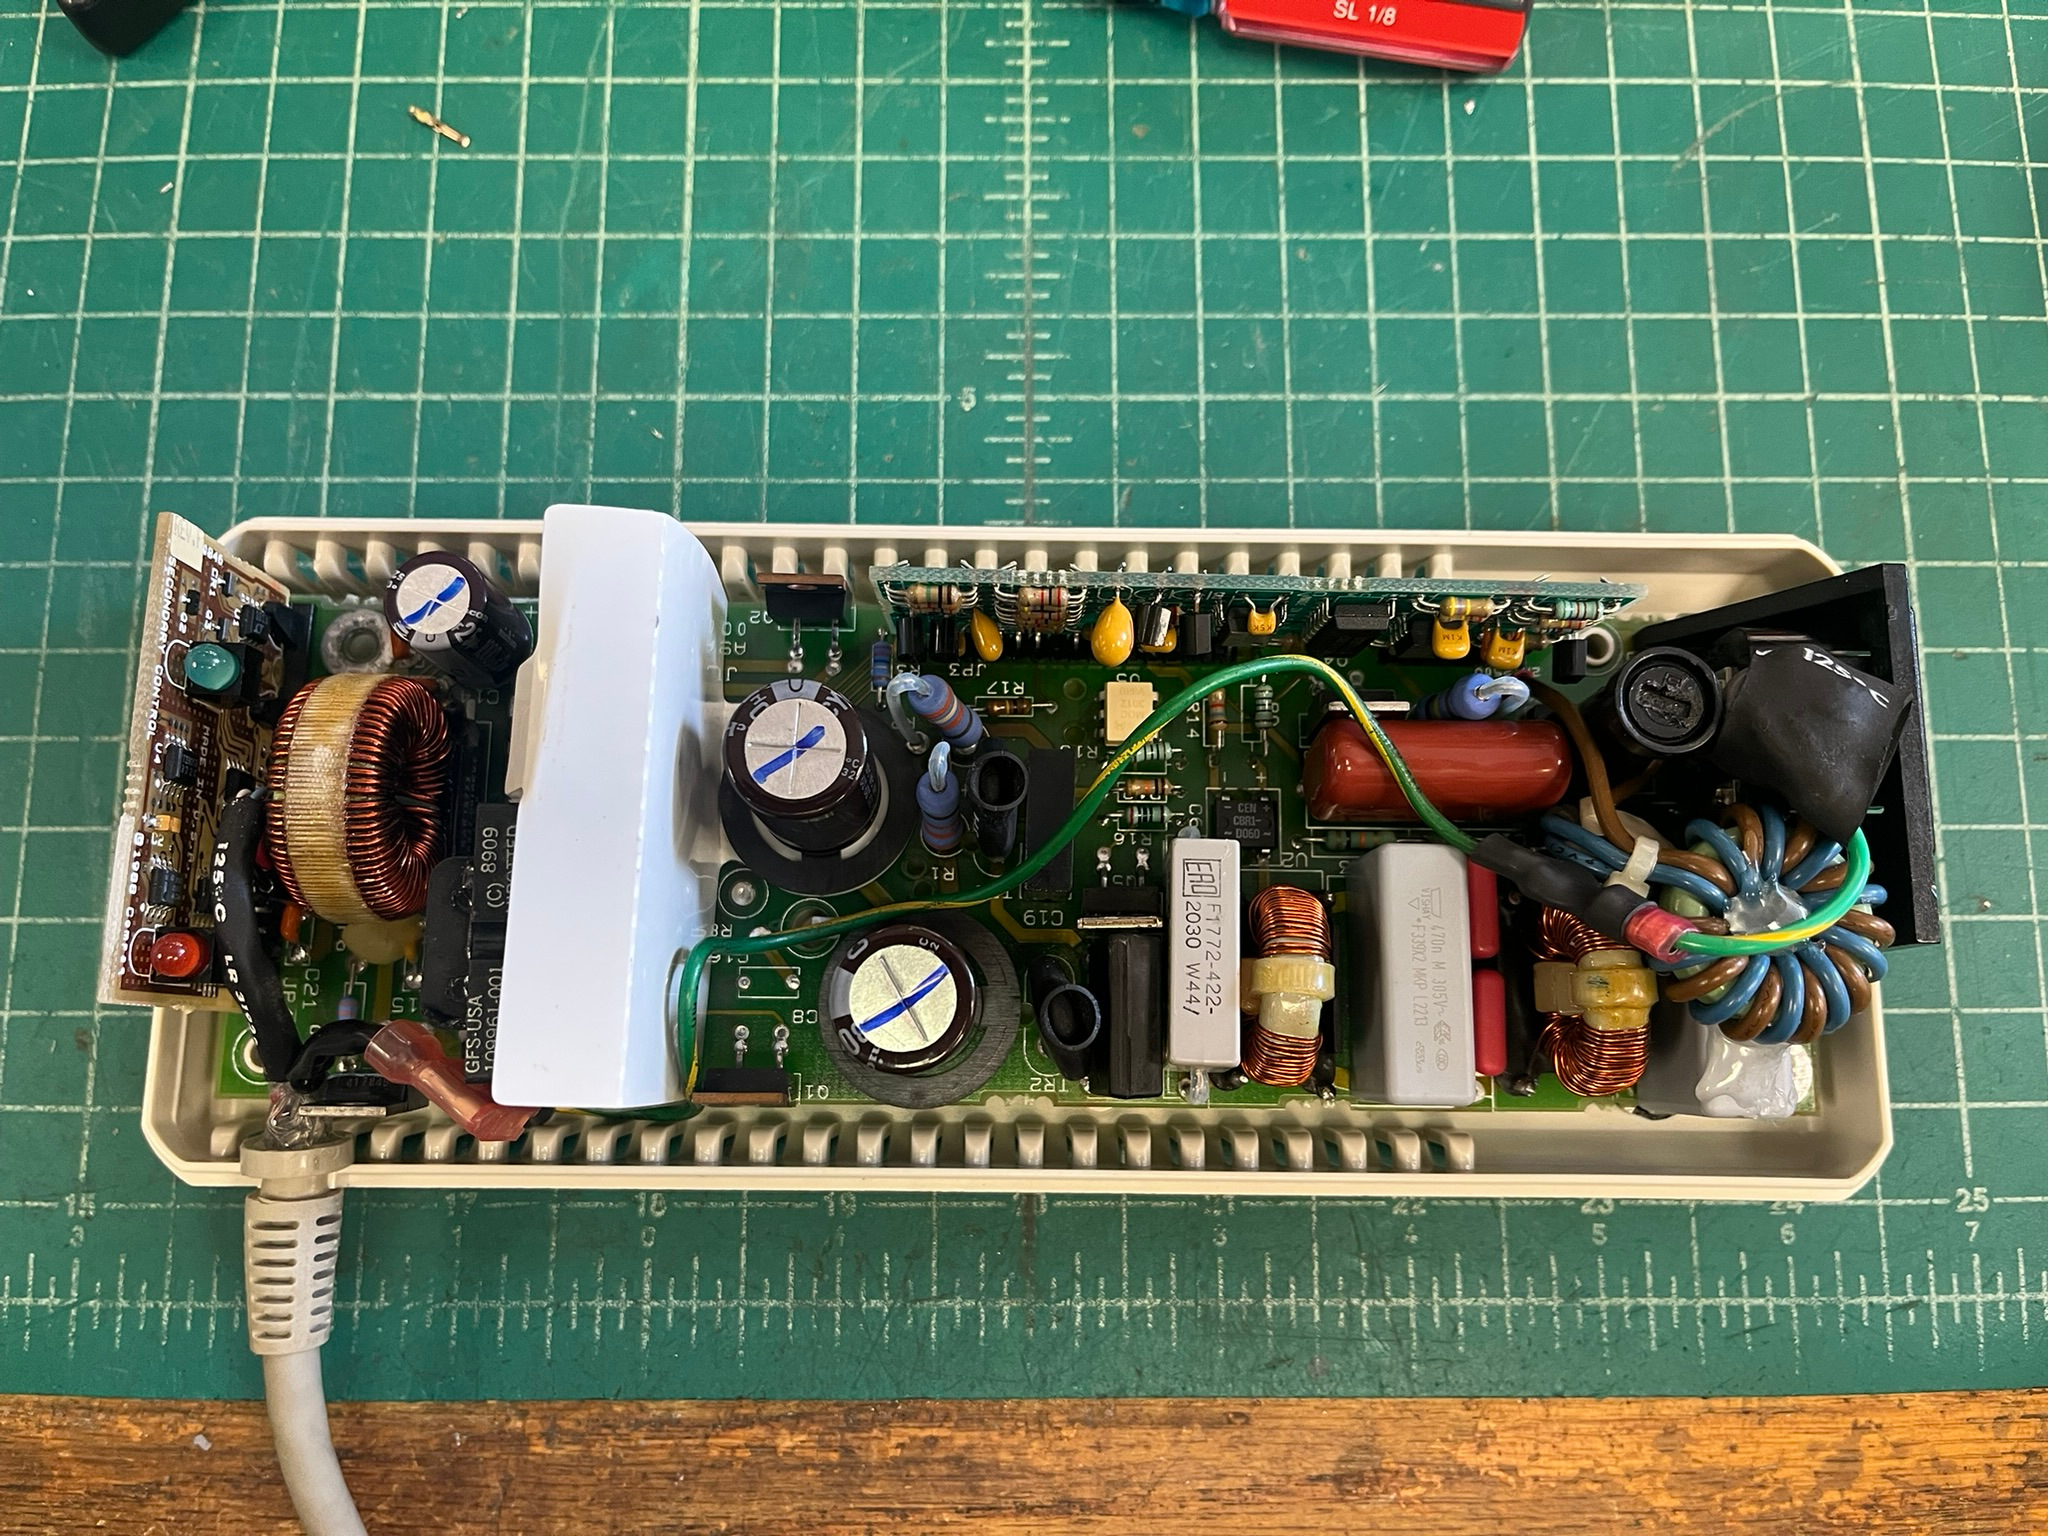
This modification is reversible, should I find another SLT/286 power supply with smashed plastics or something.
Finally, I wanted to address the missing standoffs in two of the corners that had disappeared with the shielding. The bosses in the bottom of the supply for the other two corners were slightly under 1/4 inch in height, so I stuck some 1/4 inch height rubber bumpers in the corners around the mounting holes. With the additional reinforcement from the top side by the bosses in the top cover, this limits the movement of the PCB sufficiently.
The last thing the supply got was four adhesive feet over the screws on the bottom. I plugged it in, got the green light, and powered up my beat up parts machine SLT/286 with it. Success! No smoke! Now I can continue working on the Compaq SLT/286 itself…
field expedient repairs corrected