Topic: Repairing a HP 10544A OCXO that does not regulate
Date: 2023 DEC 20
During the repair of a HP 5326B Timer/Counter/DVM, I decided to upgrade the timebase to an ovenized HP 10544A oscillator, but ended up with a defective unit! The 10544A produced an output, but never fully stabilized, and could not be adjusted to 10 MHz using the multi-turn trimpot. I decided to tear it down, find what died, and see if it could be fixed.
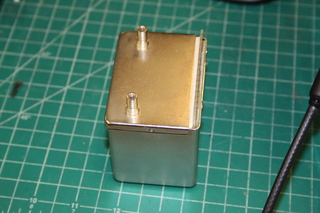
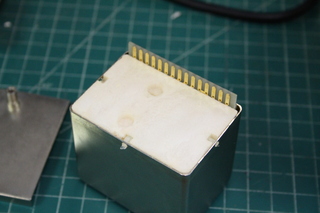
The HP 10544A can be opened by removing the plastic rivets around the perimeter of the bottom plate, which has the two mounting standoffs attached to it:
With the bottom plate removed, there’s a piece of insulating foam that has to come out:
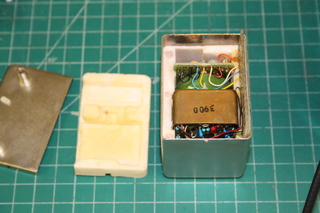
The foam is not glued in, and is held in by the bottom plate only. It can be lifted out carefully. Don’t destroy it if you plan on reassembling the module! Here’s what’s inside:
Make sure to note the edge connector wiring in case your module uses different colors – they’re not supposed to, but the HP 5326B had a factory wiring error, so watch out! The wires must be desoldered to remove the inner assembly. The part with the edge connector fingers will stay in the housing. With the wires to the edge connector desoldered, we can now gently pull out the oven assembly and its two control boards:
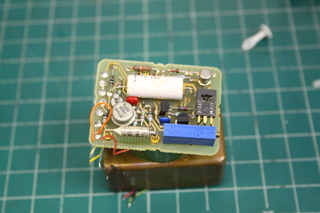
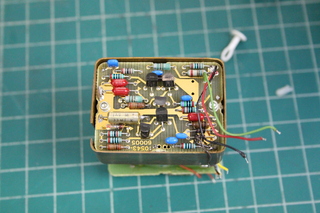
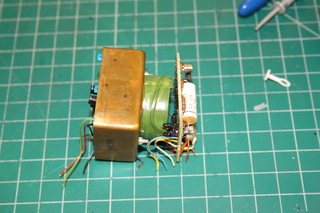
The first picture shows the control board responsible for the crystal oven. The second shows the oscillator board. Here are some better views of the oven and crystal assembly:
Testing symptoms suggested that the oven wasn’t operating properly, likely not receiving any power at all. This could’ve been a number of things:
- Open thermal fuse
- Dead OP-AMP in the feedback circuit
- Open drive transistor
- Open heater element
The schematics for the HP 10544 series of modules is available on leapsecond.com and offers some clues as to the nature of the fault – be sure to read the schematic errata! Measuring the oven monitor signal had produced weird results in the HP 5326B, but this was likely due to the wiring fault found in the counter itself. Measuring across the oven monitor and oven return signals in a test harness, it seemed that the heater element was intact.
Initially I had not read the errata or seen the corrected schematic, so I’d assumed from my measurements that the pass transistor for the heater regulator was bad. It was pulled and checked in a transistor tester, but to my surprise, tested good. At this point, the problem had to be the control circuit or the thermal fuse, but my measurements suggested the thermal fuse was good, as the original schematic showed it on the wrong end of the pass transistor.
Turns out it was the thermal fuse all along! This is actually a “best case” scenario, as HP kept the thermal fuse rating very close to operating temperature of the oven. Many folks have run into this problem with modules that have been operated for long periods of time (e.g. spending years with the heater on, in equipment that uses a heater standby mode when the instrument is “off”). I chose to replace the fuse with a similarly rated thermal fuse, though a lot of folks seem to bypass it with wire. If you do replace the thermal fuse, be sure to heatsink it while soldering, and do no dwell on the connection long!
Anyway, the module was reassembled and tested in a fixture, and adjusted to 10 MHz against our calibrated HP 5316B counter with OCXO:
I don’t currently have a dedicated use for this module, but chances are good it will end up in some other piece of vintage HP test gear, as an upgrade to a standard configuration timebase.
thermal fuses replaced
