Topic: Gen-Rad 1192B Cleanup and Repair
Date: 2023 MAR 14
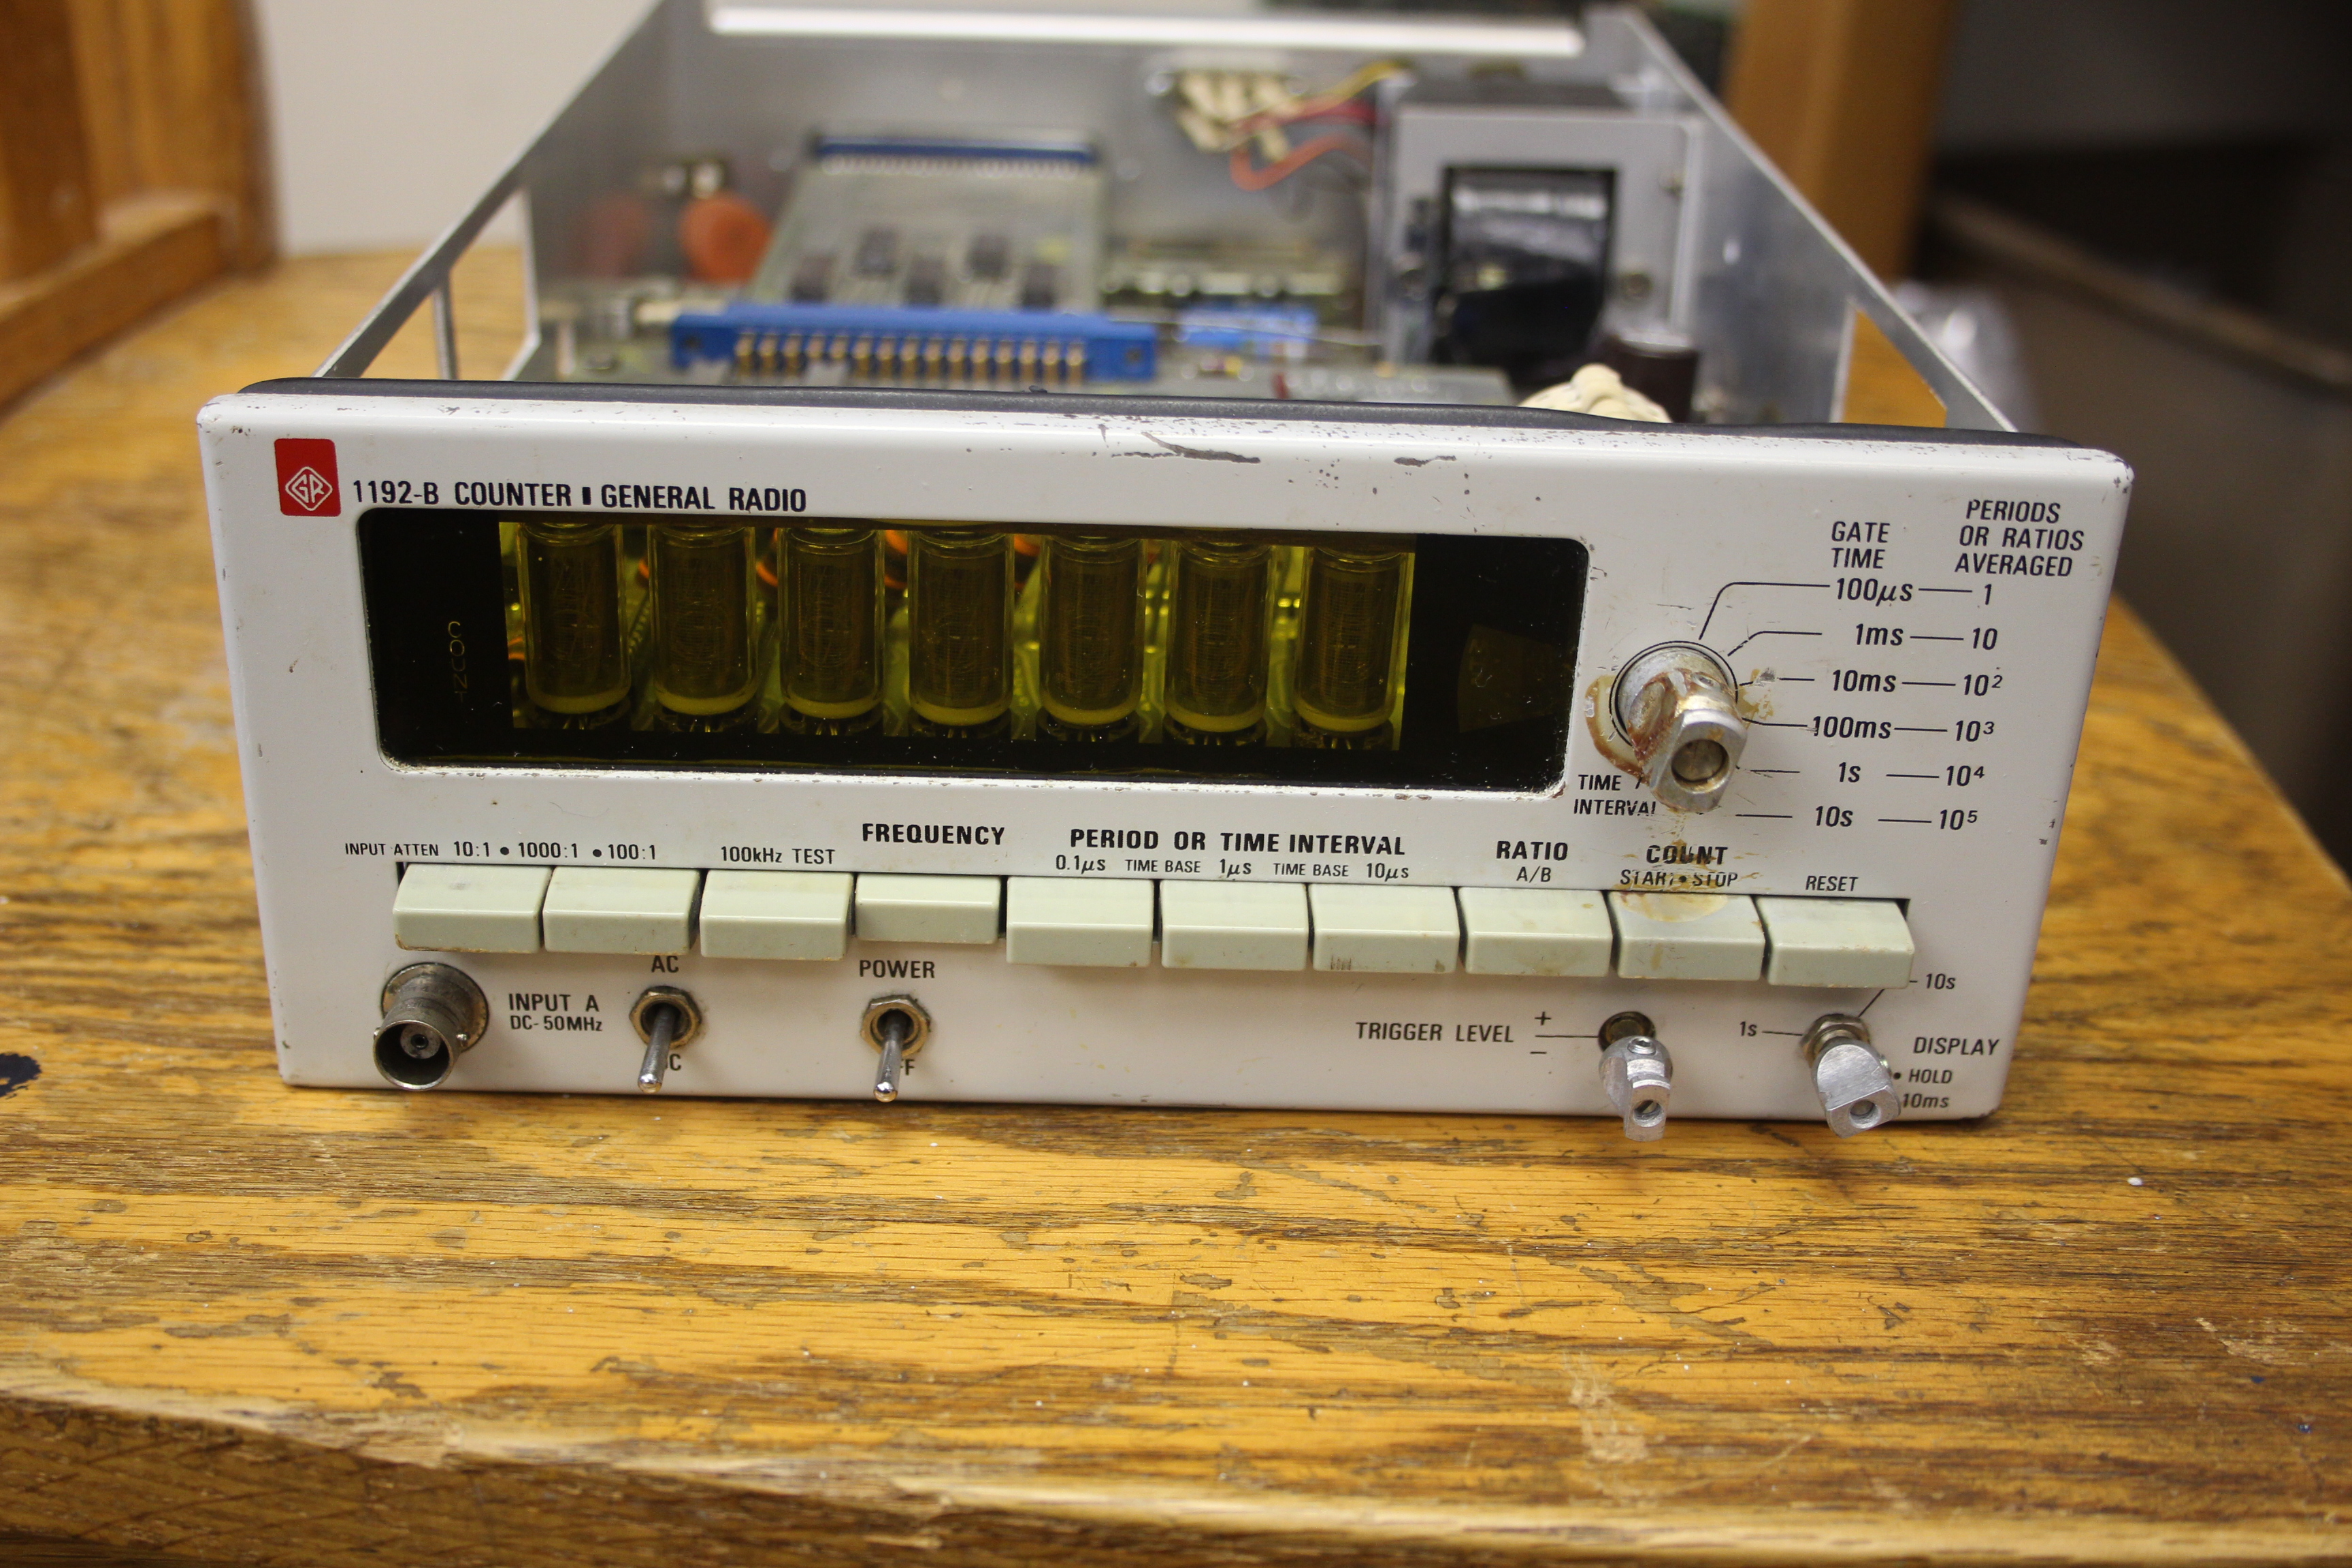
Connor Krukosky picked up this little General Radio 1192B counter with some other test equipment a few years ago, and ended up trading it to me in a test equipment swap. It was Gen-Rad’s offering of the era, a pretty typical counter with features roughly equivalent to midrange offerings from other test equipment vendors. The base unit is capable of DC to 32 MHz operation, and a scaler allows operation up to 500 MHz. The 1192B’s biggest features are probably the size (it’s quite compact!) and the Nixie tube readout.
I have a paper copy of the manual for this counter, but IET Labs, who bought most of General Radio in the early 2000s, still supports Gen-Rad equipment and even provides a PDF copy of the 1192B Counter manual free of charge. It’s nice to see a company that continues to support old products!
Capacitor Replacement and Cleanup
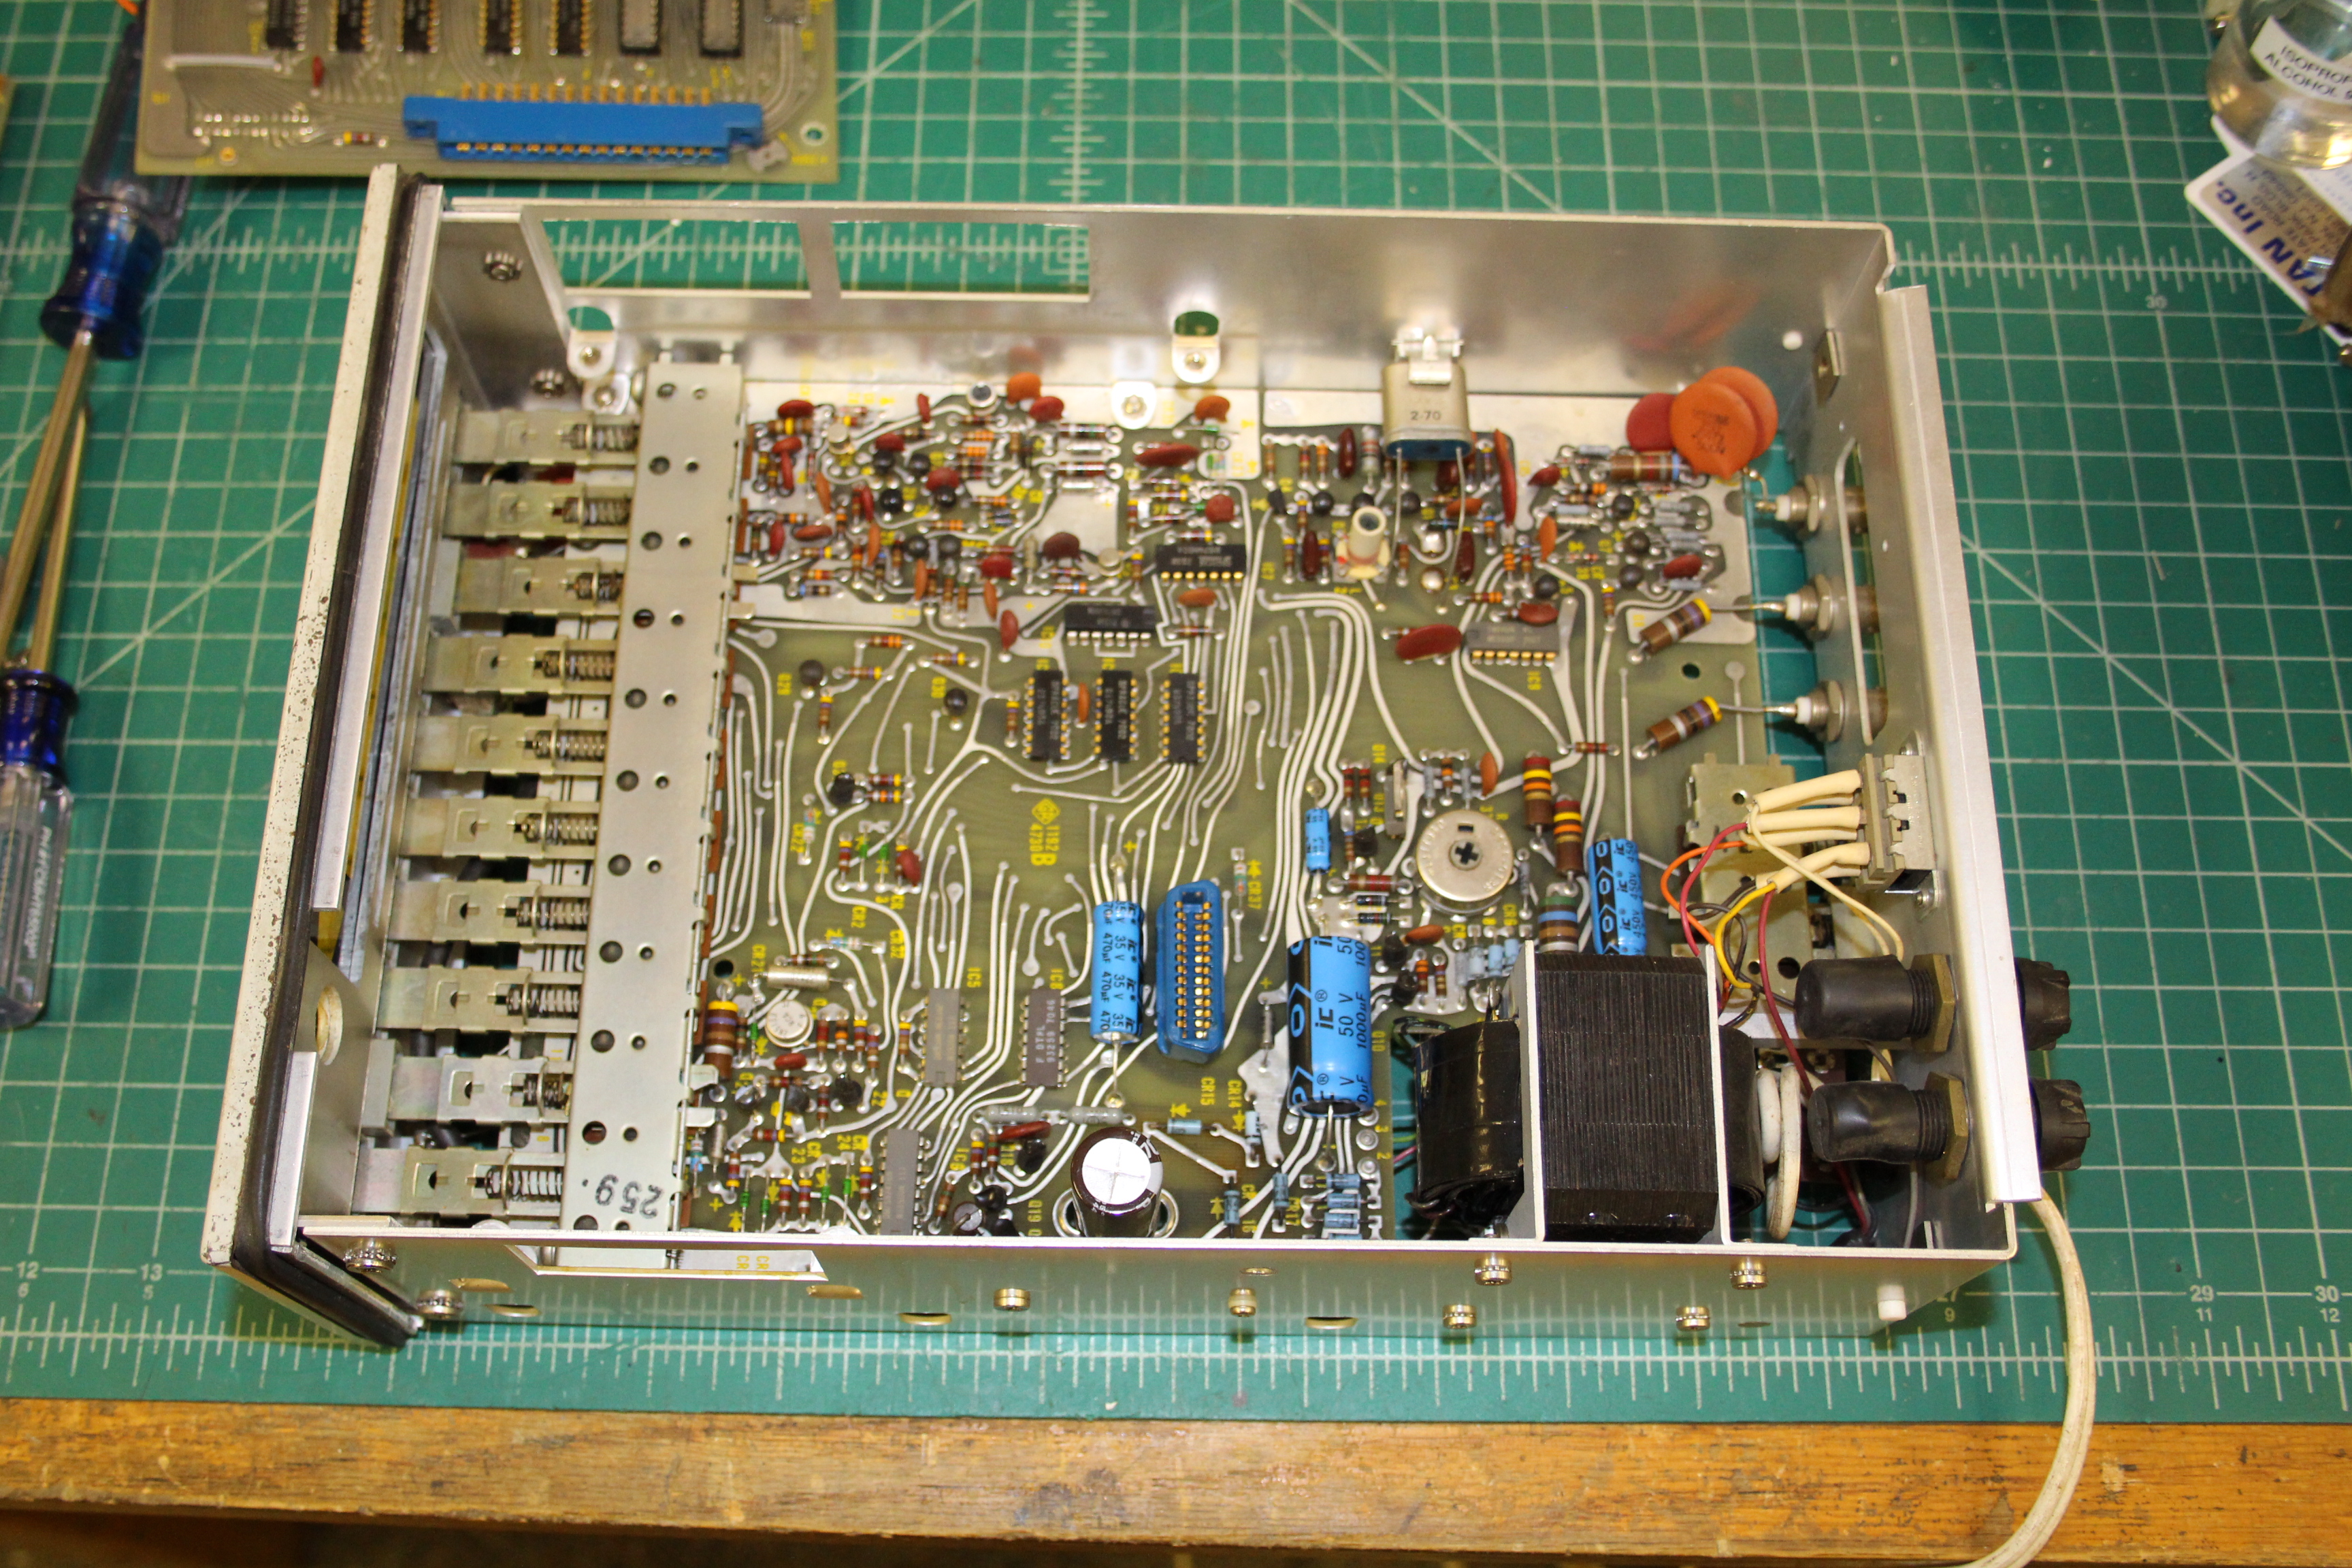
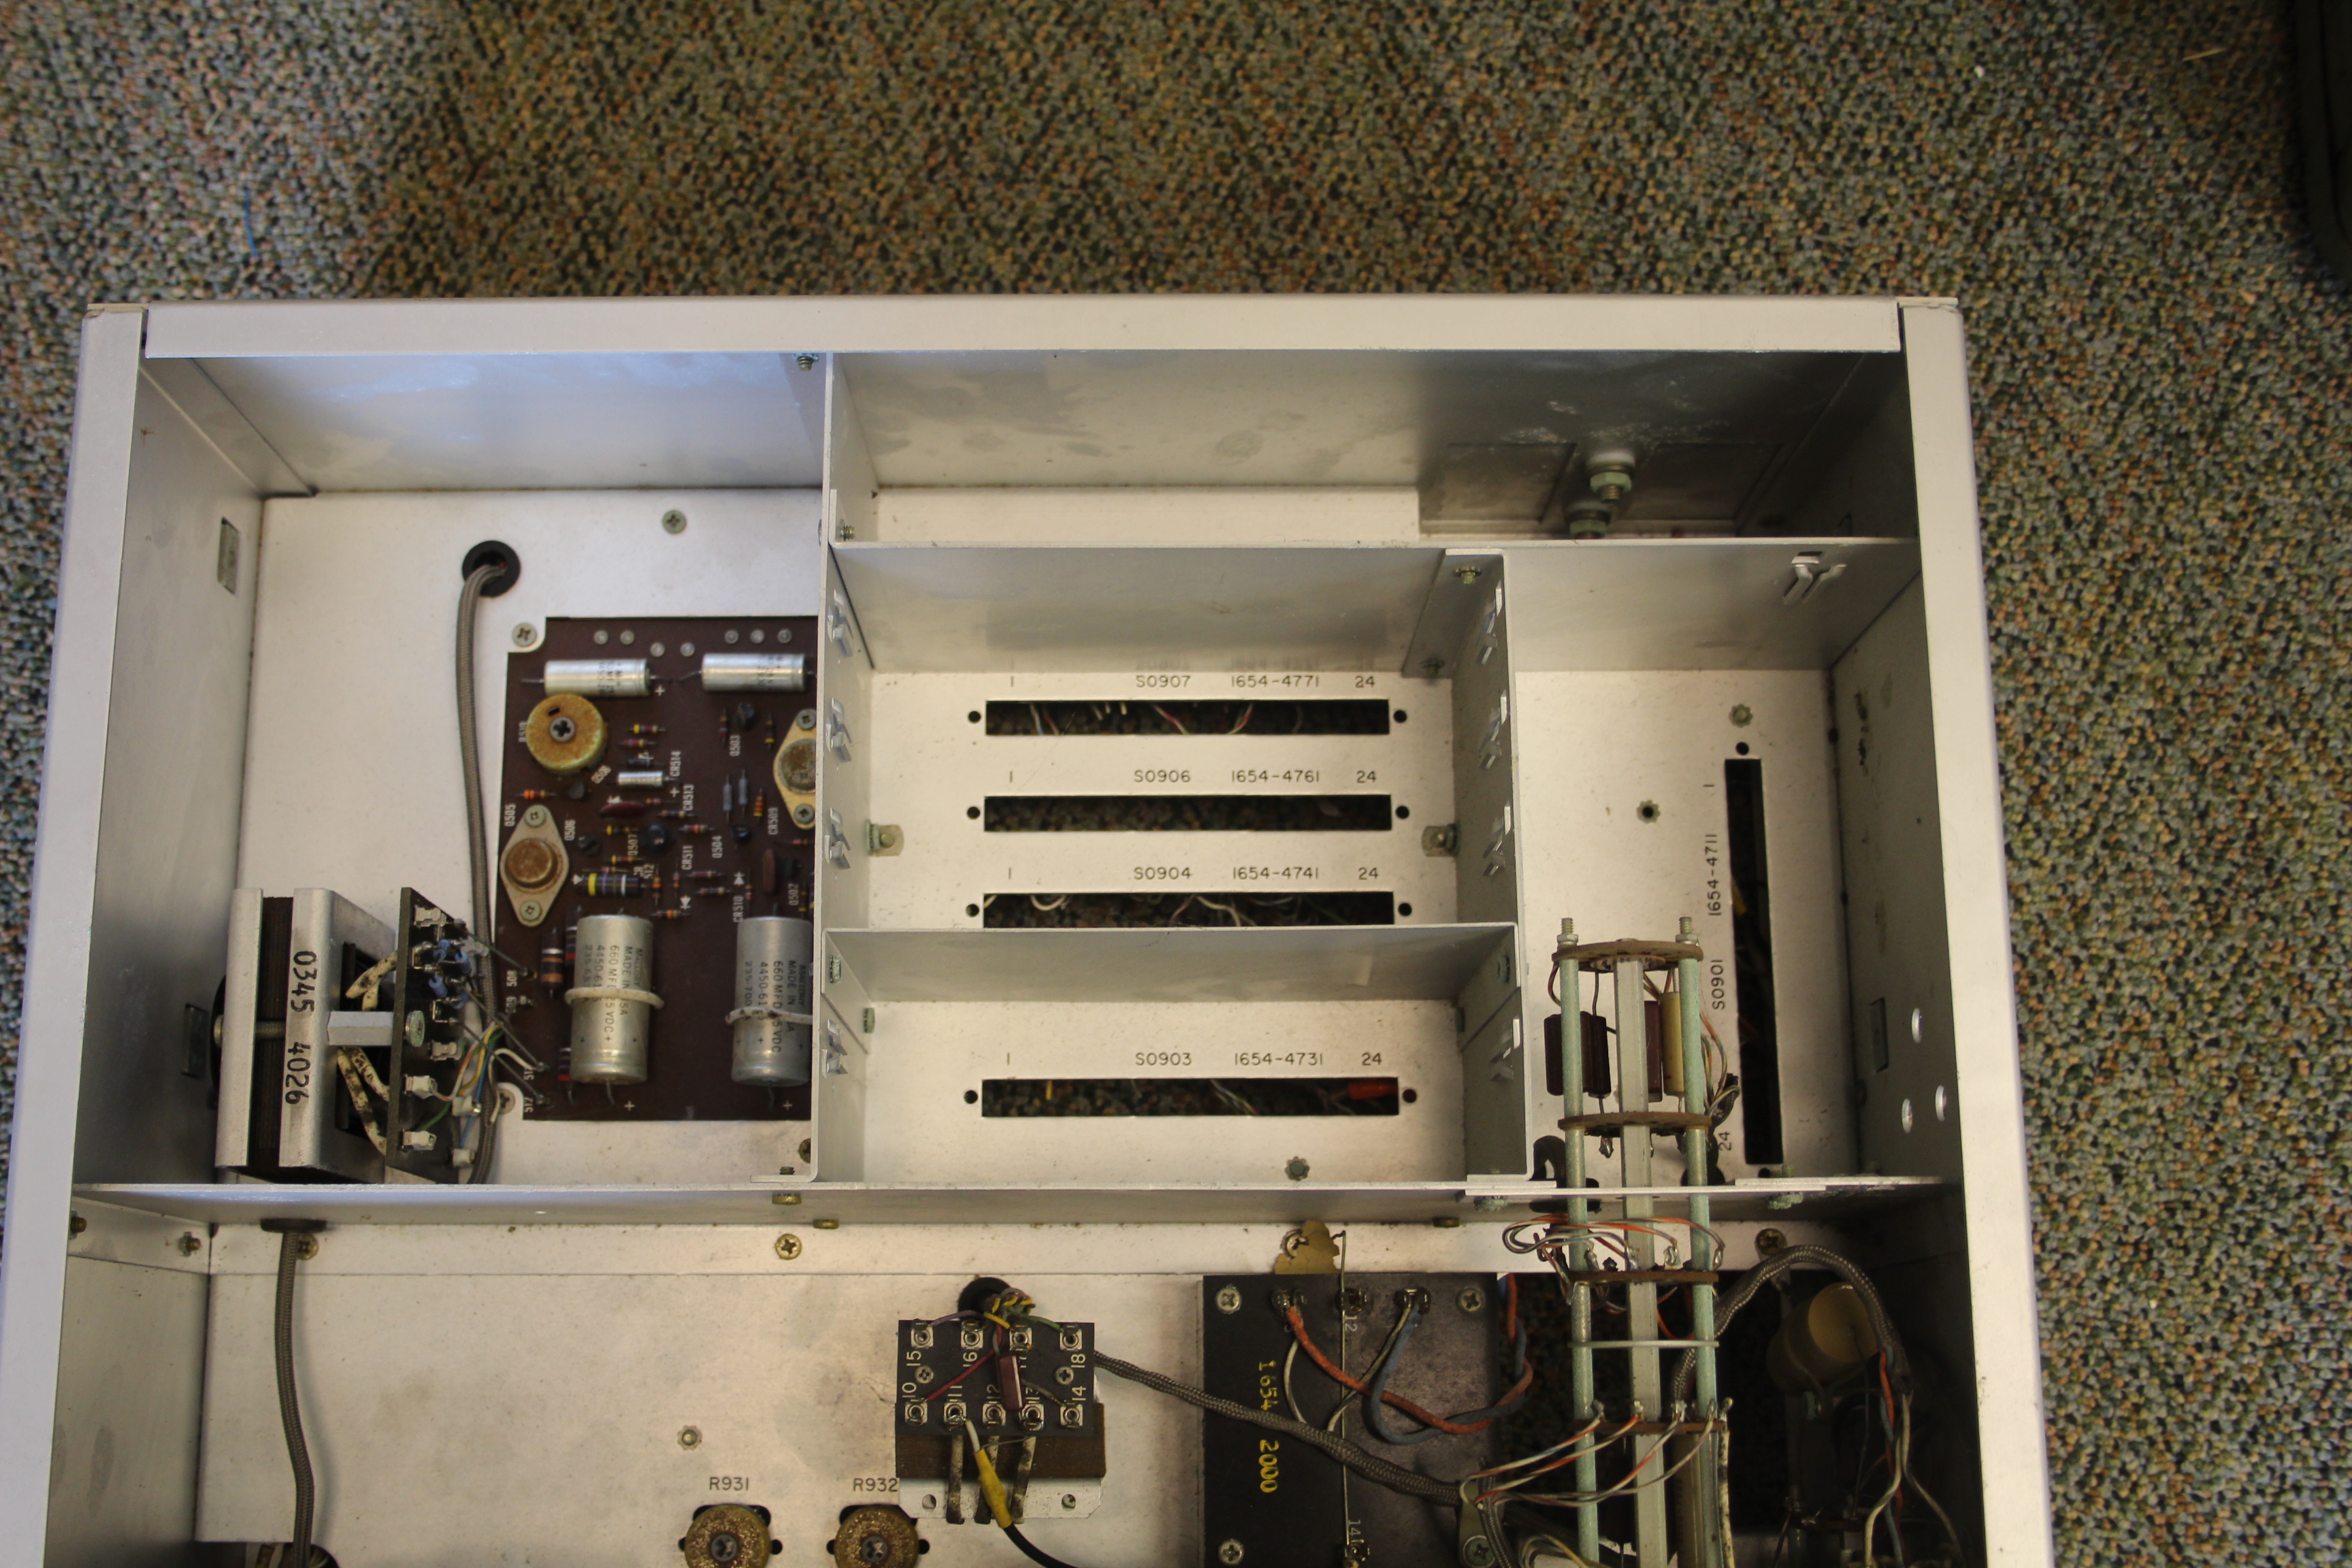
Connor had tested this 1192B for basic functionality, but did not plan on using it and didn’t dig into it. This is how I received it (cover removed for pictures):
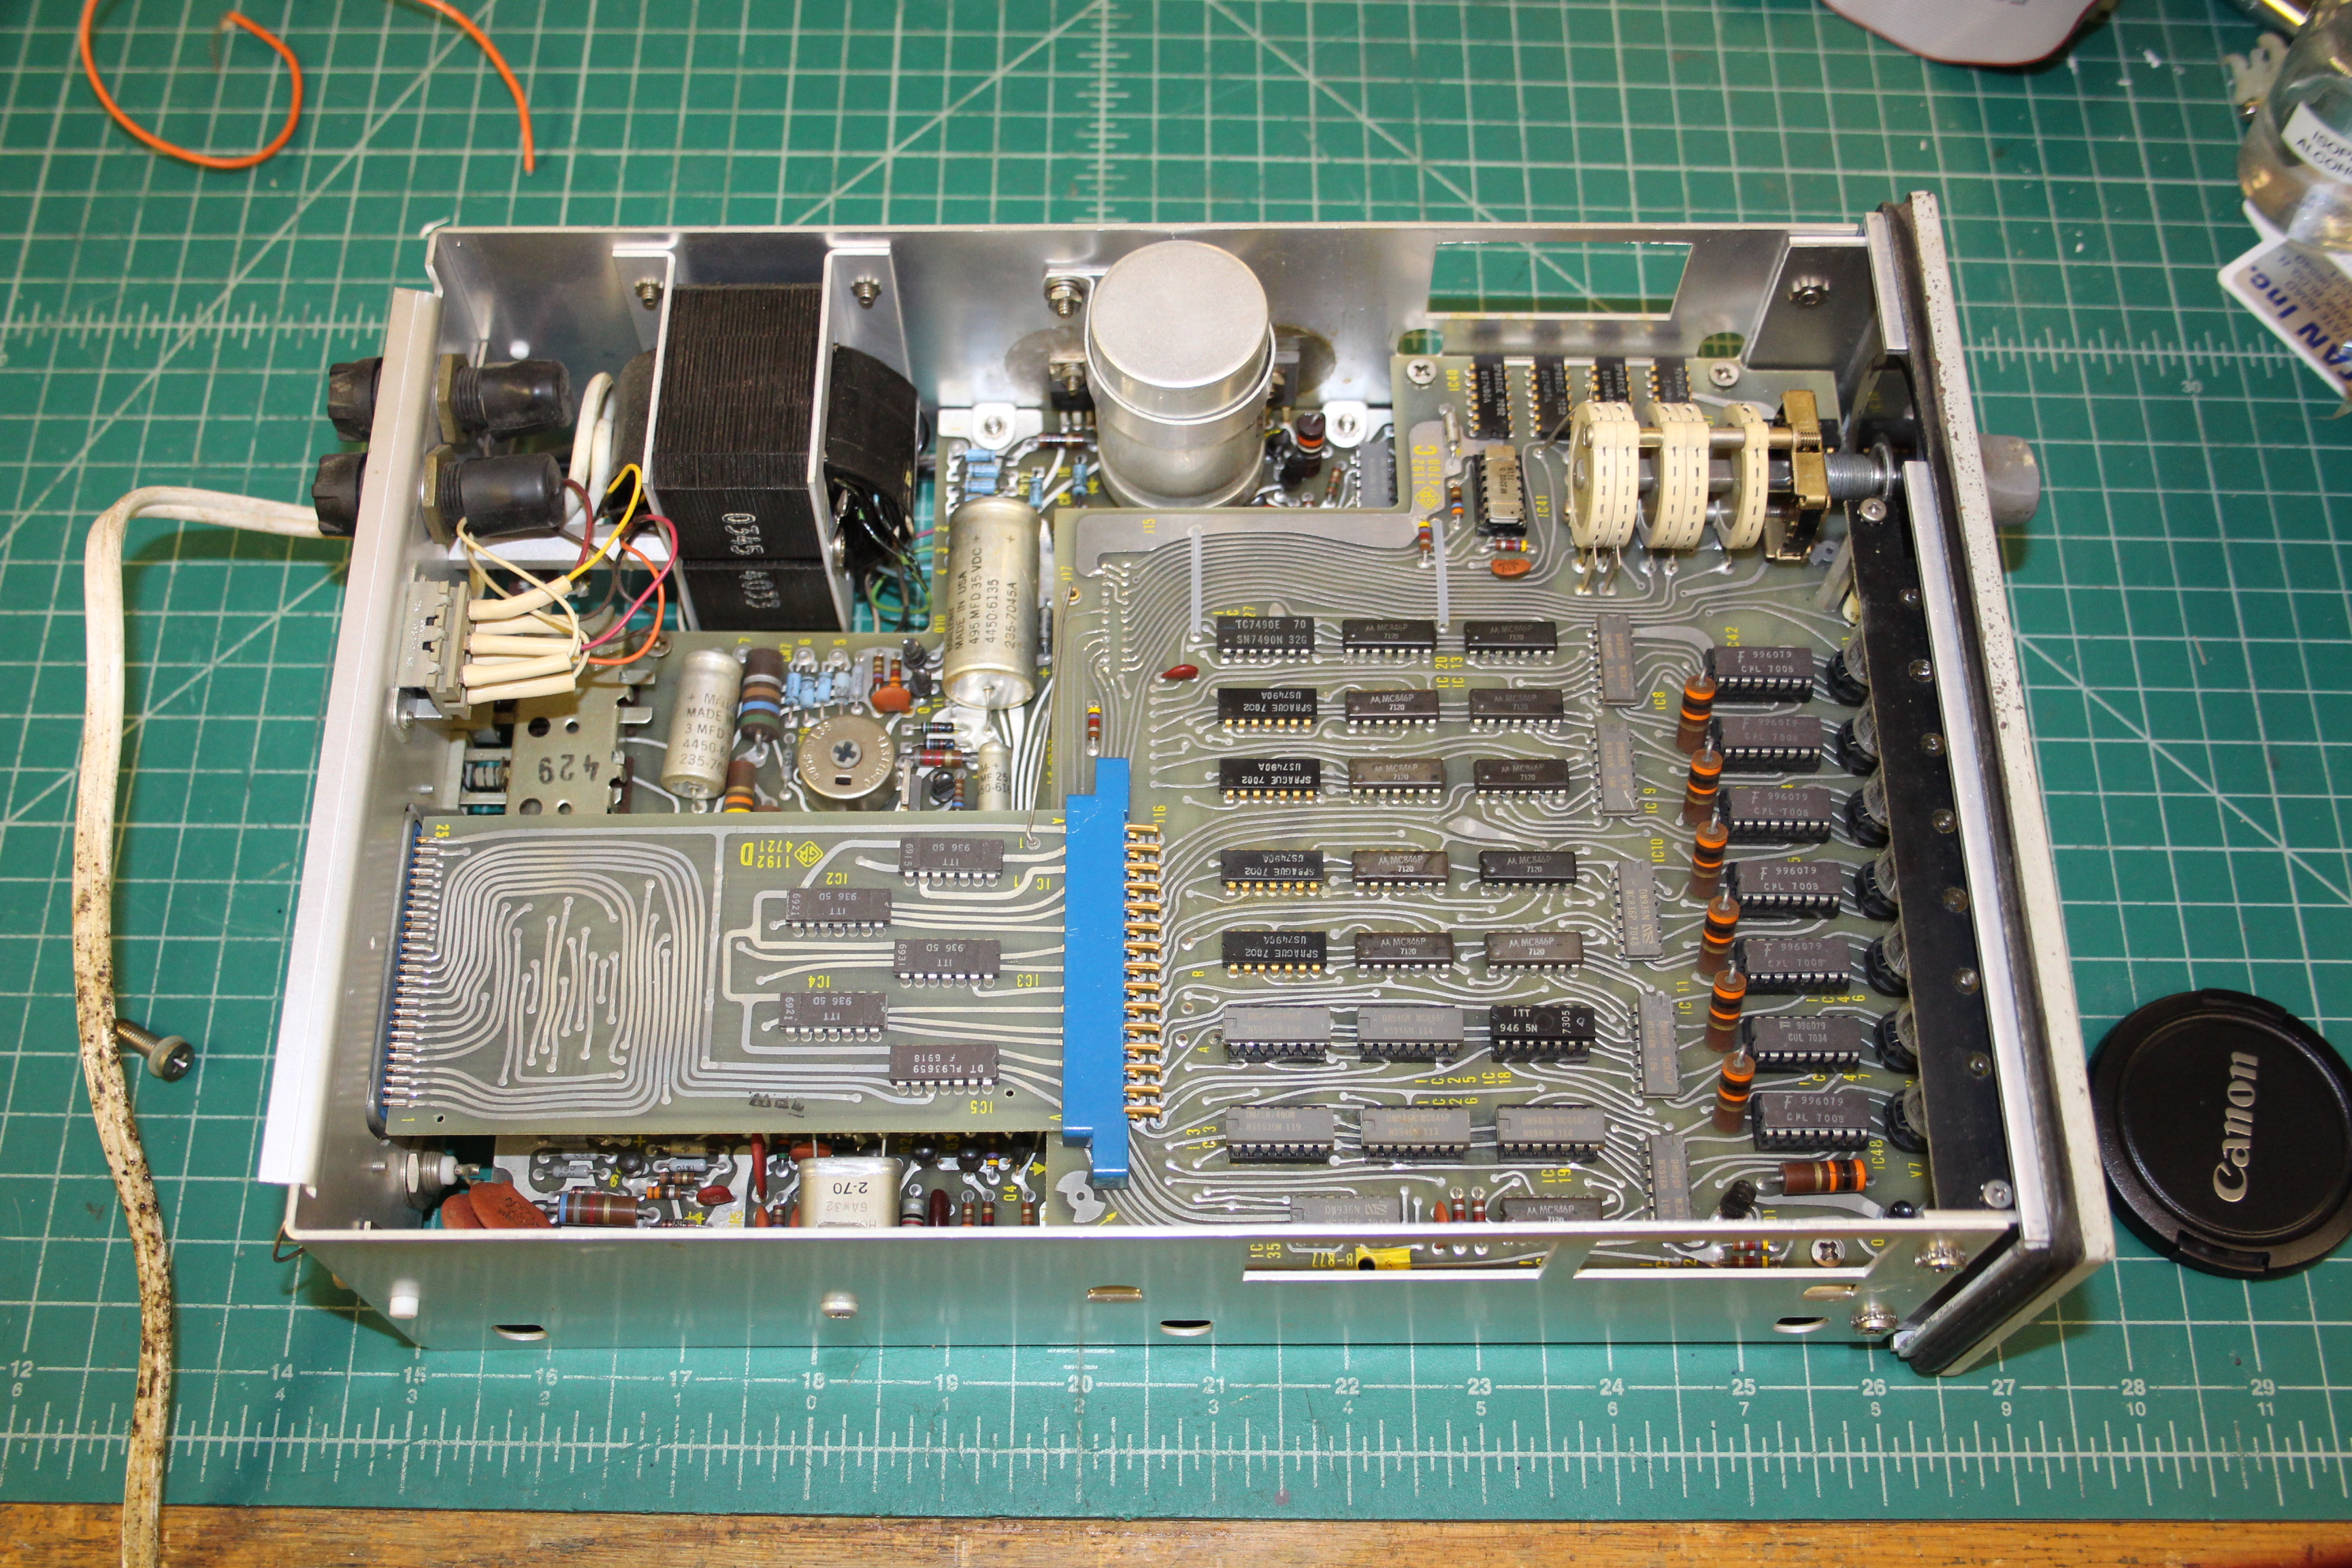
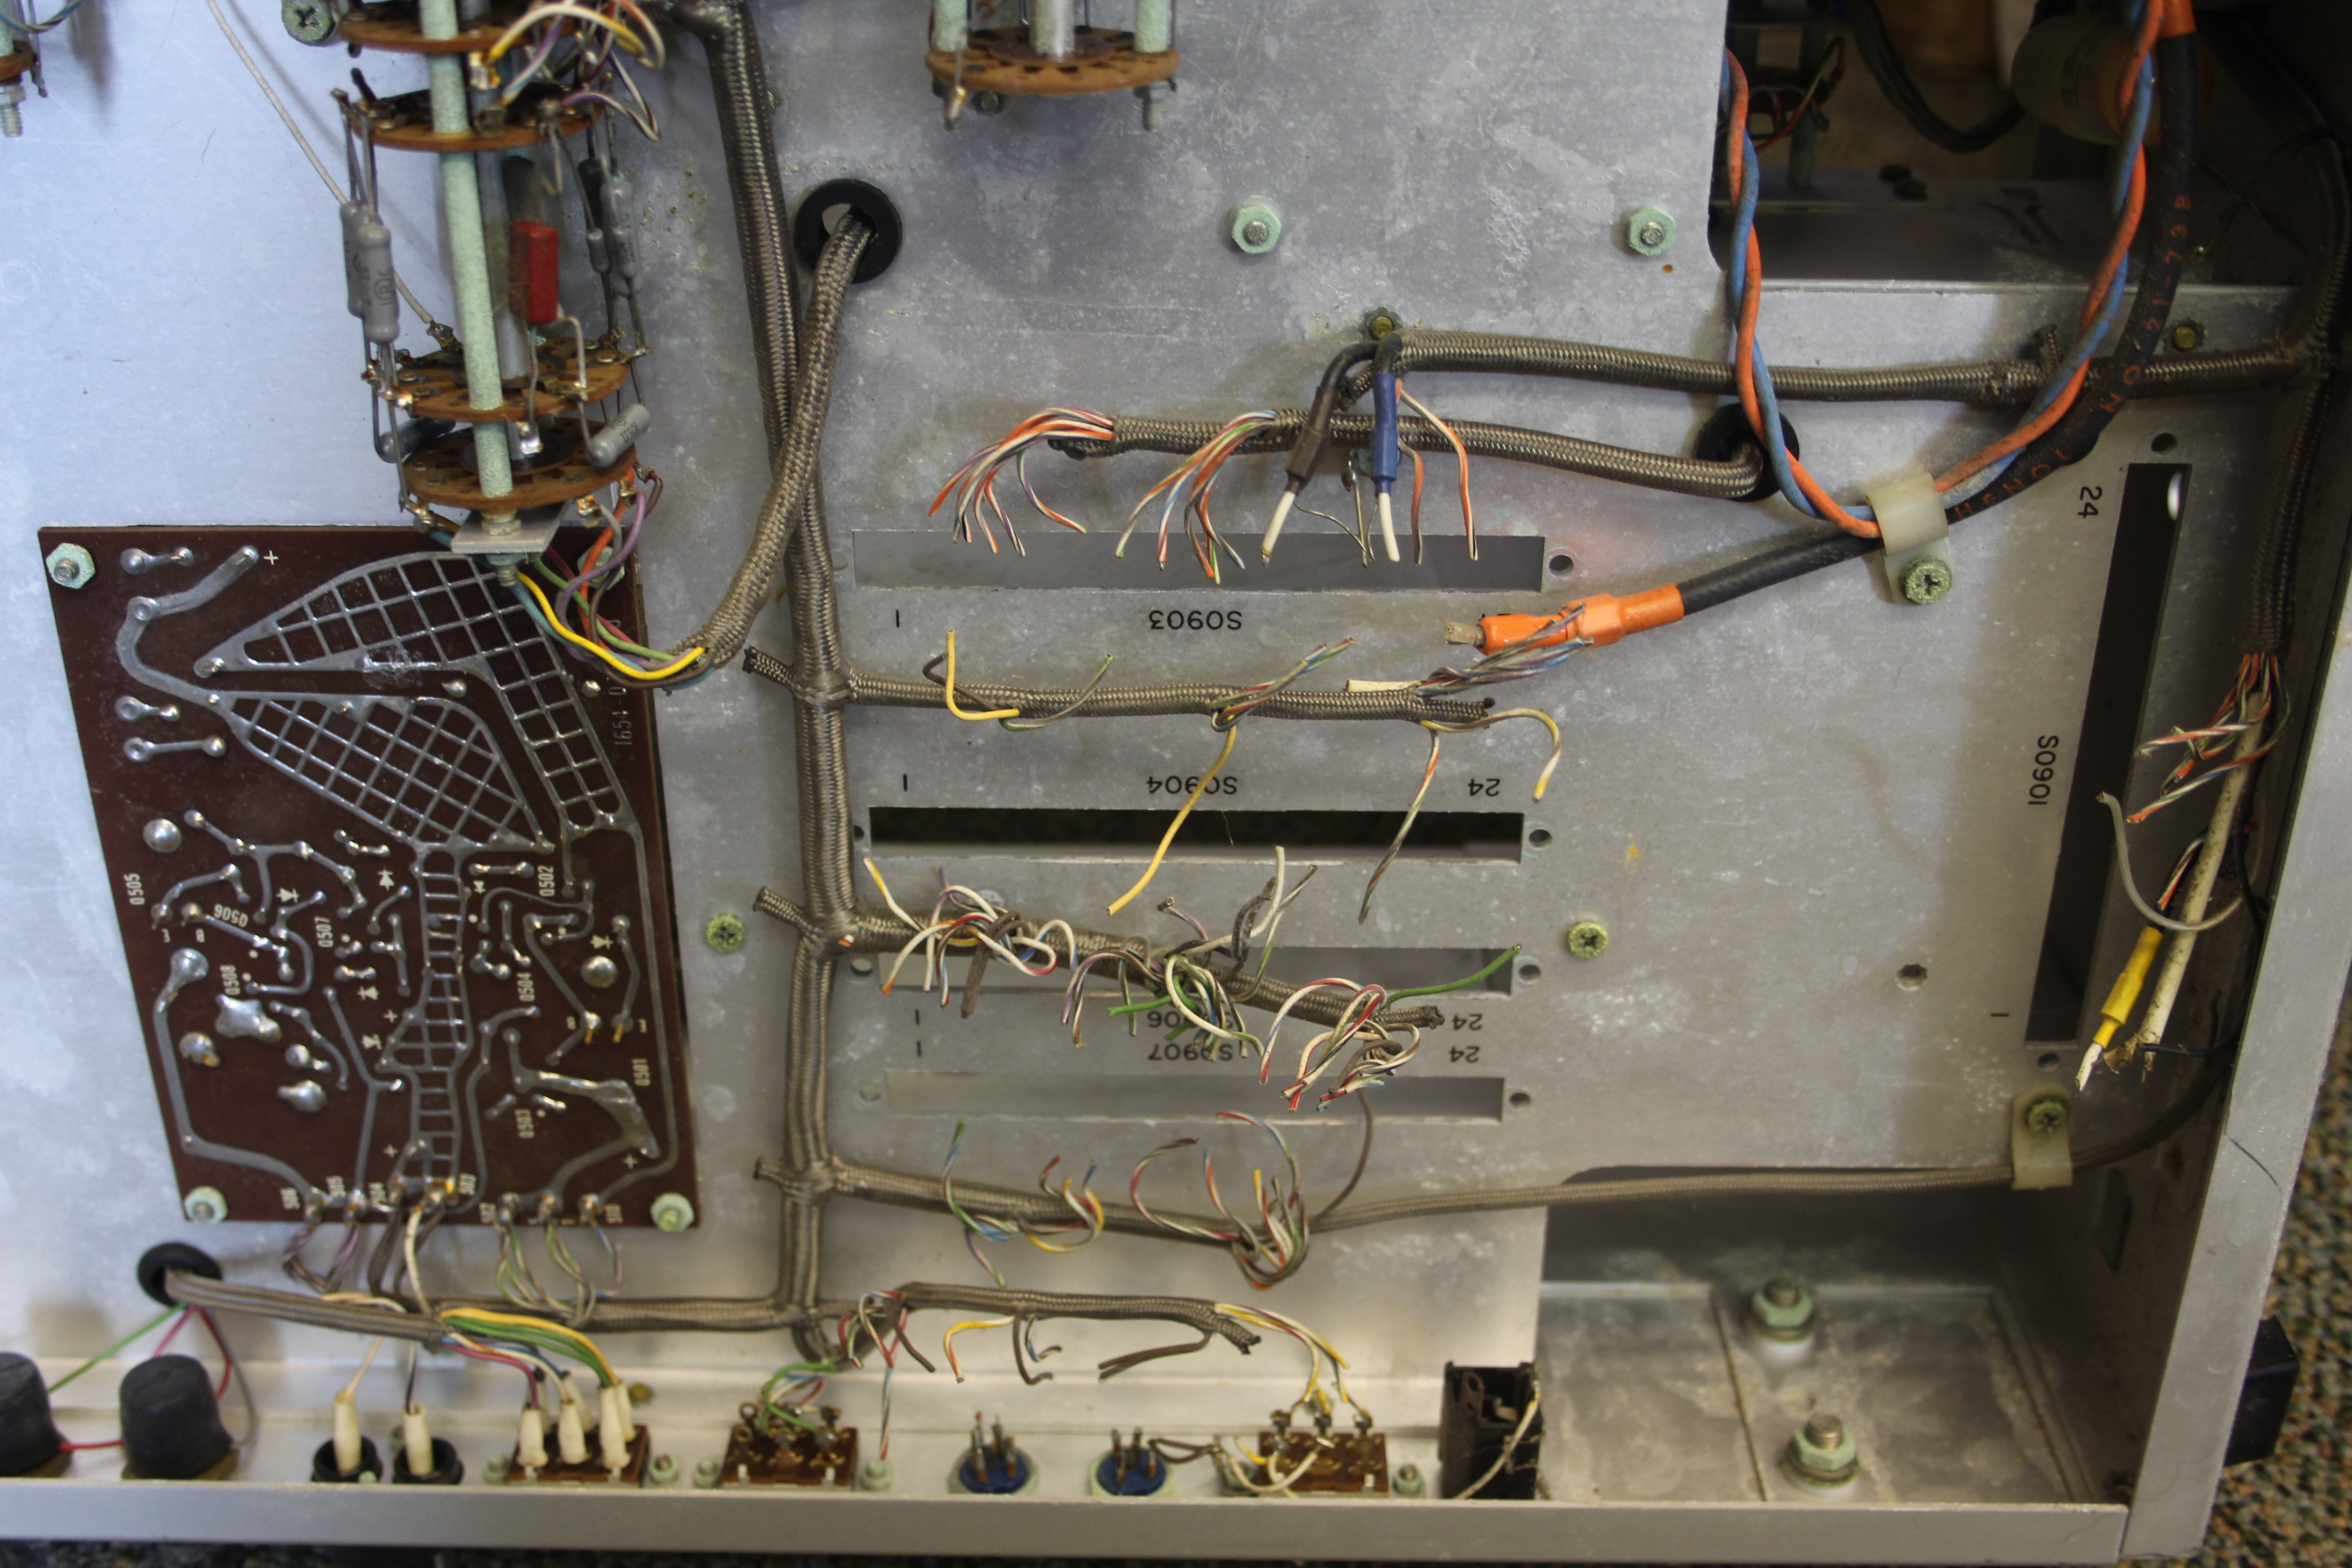
As seen, this one includes the digital output option board. It was fairly clean inside, but did smell of old capacitors. There’s a few electrolytics in there:
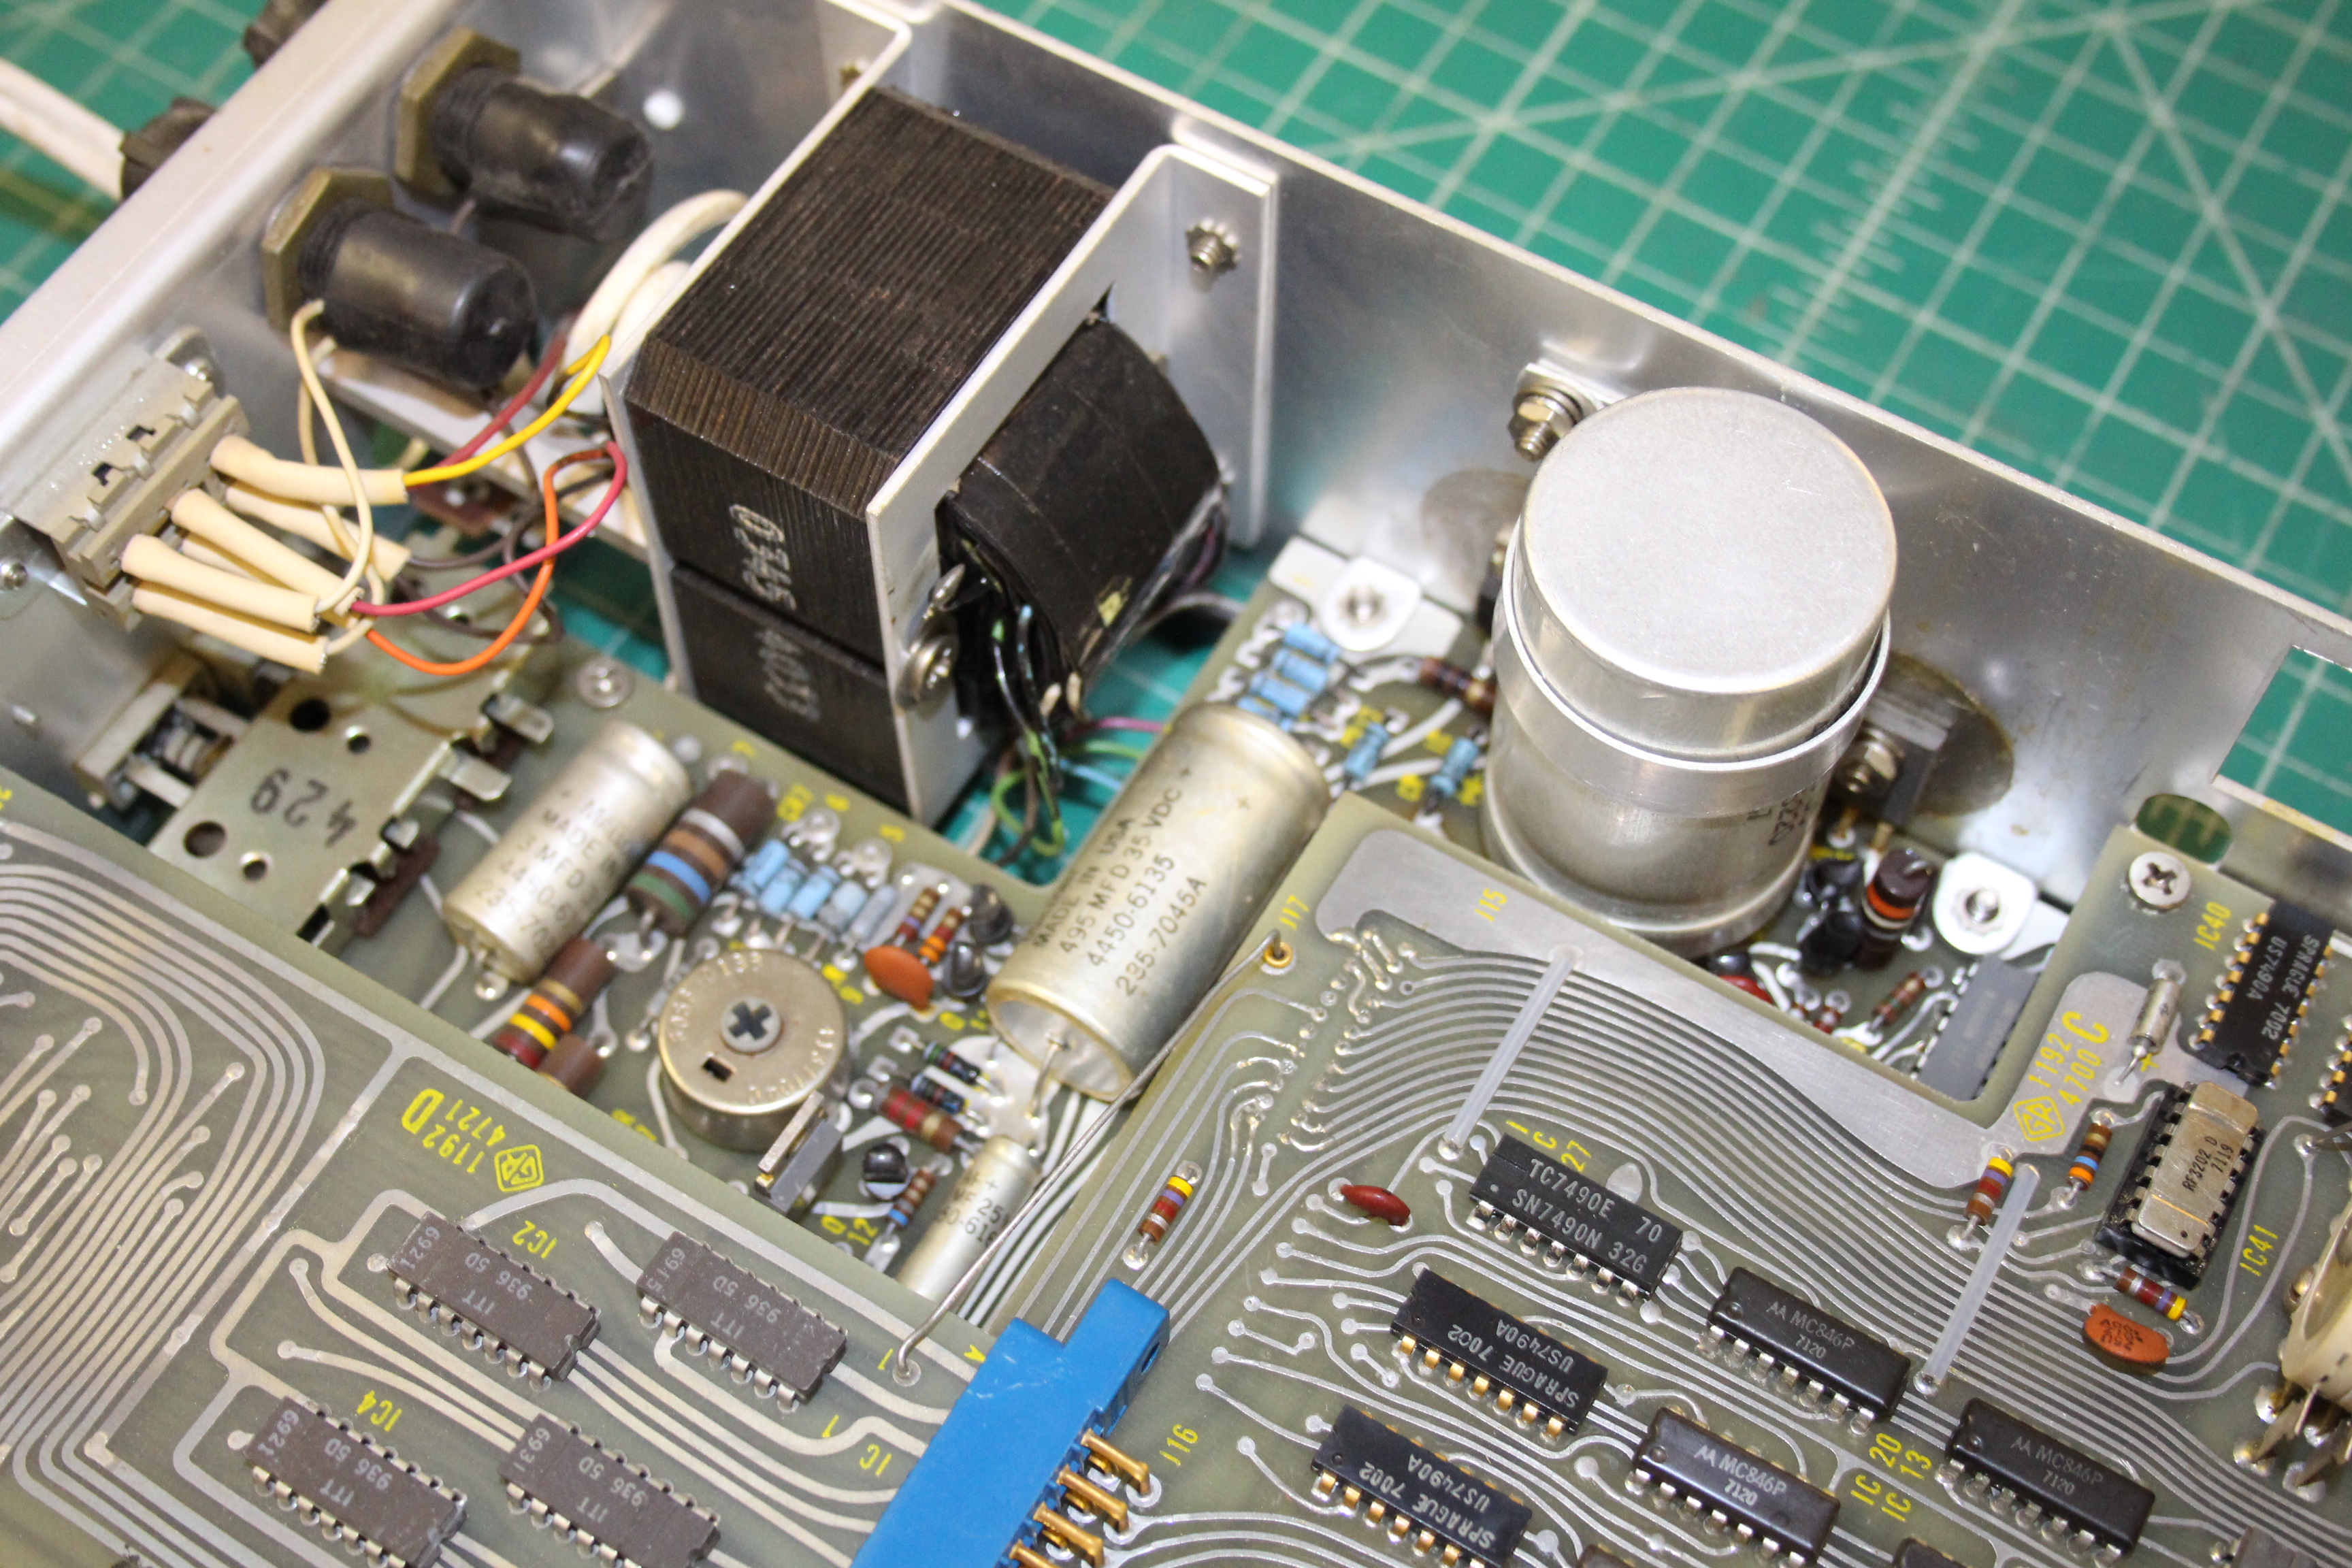
All of these, but especially the axial parts, are well past their “Best By” date. Before starting any repairs or testing, I replaced all of them. The new capacitors are of course much smaller than the originals, but the most dramatic difference is with the bulk filtering cap for the +5V rail:
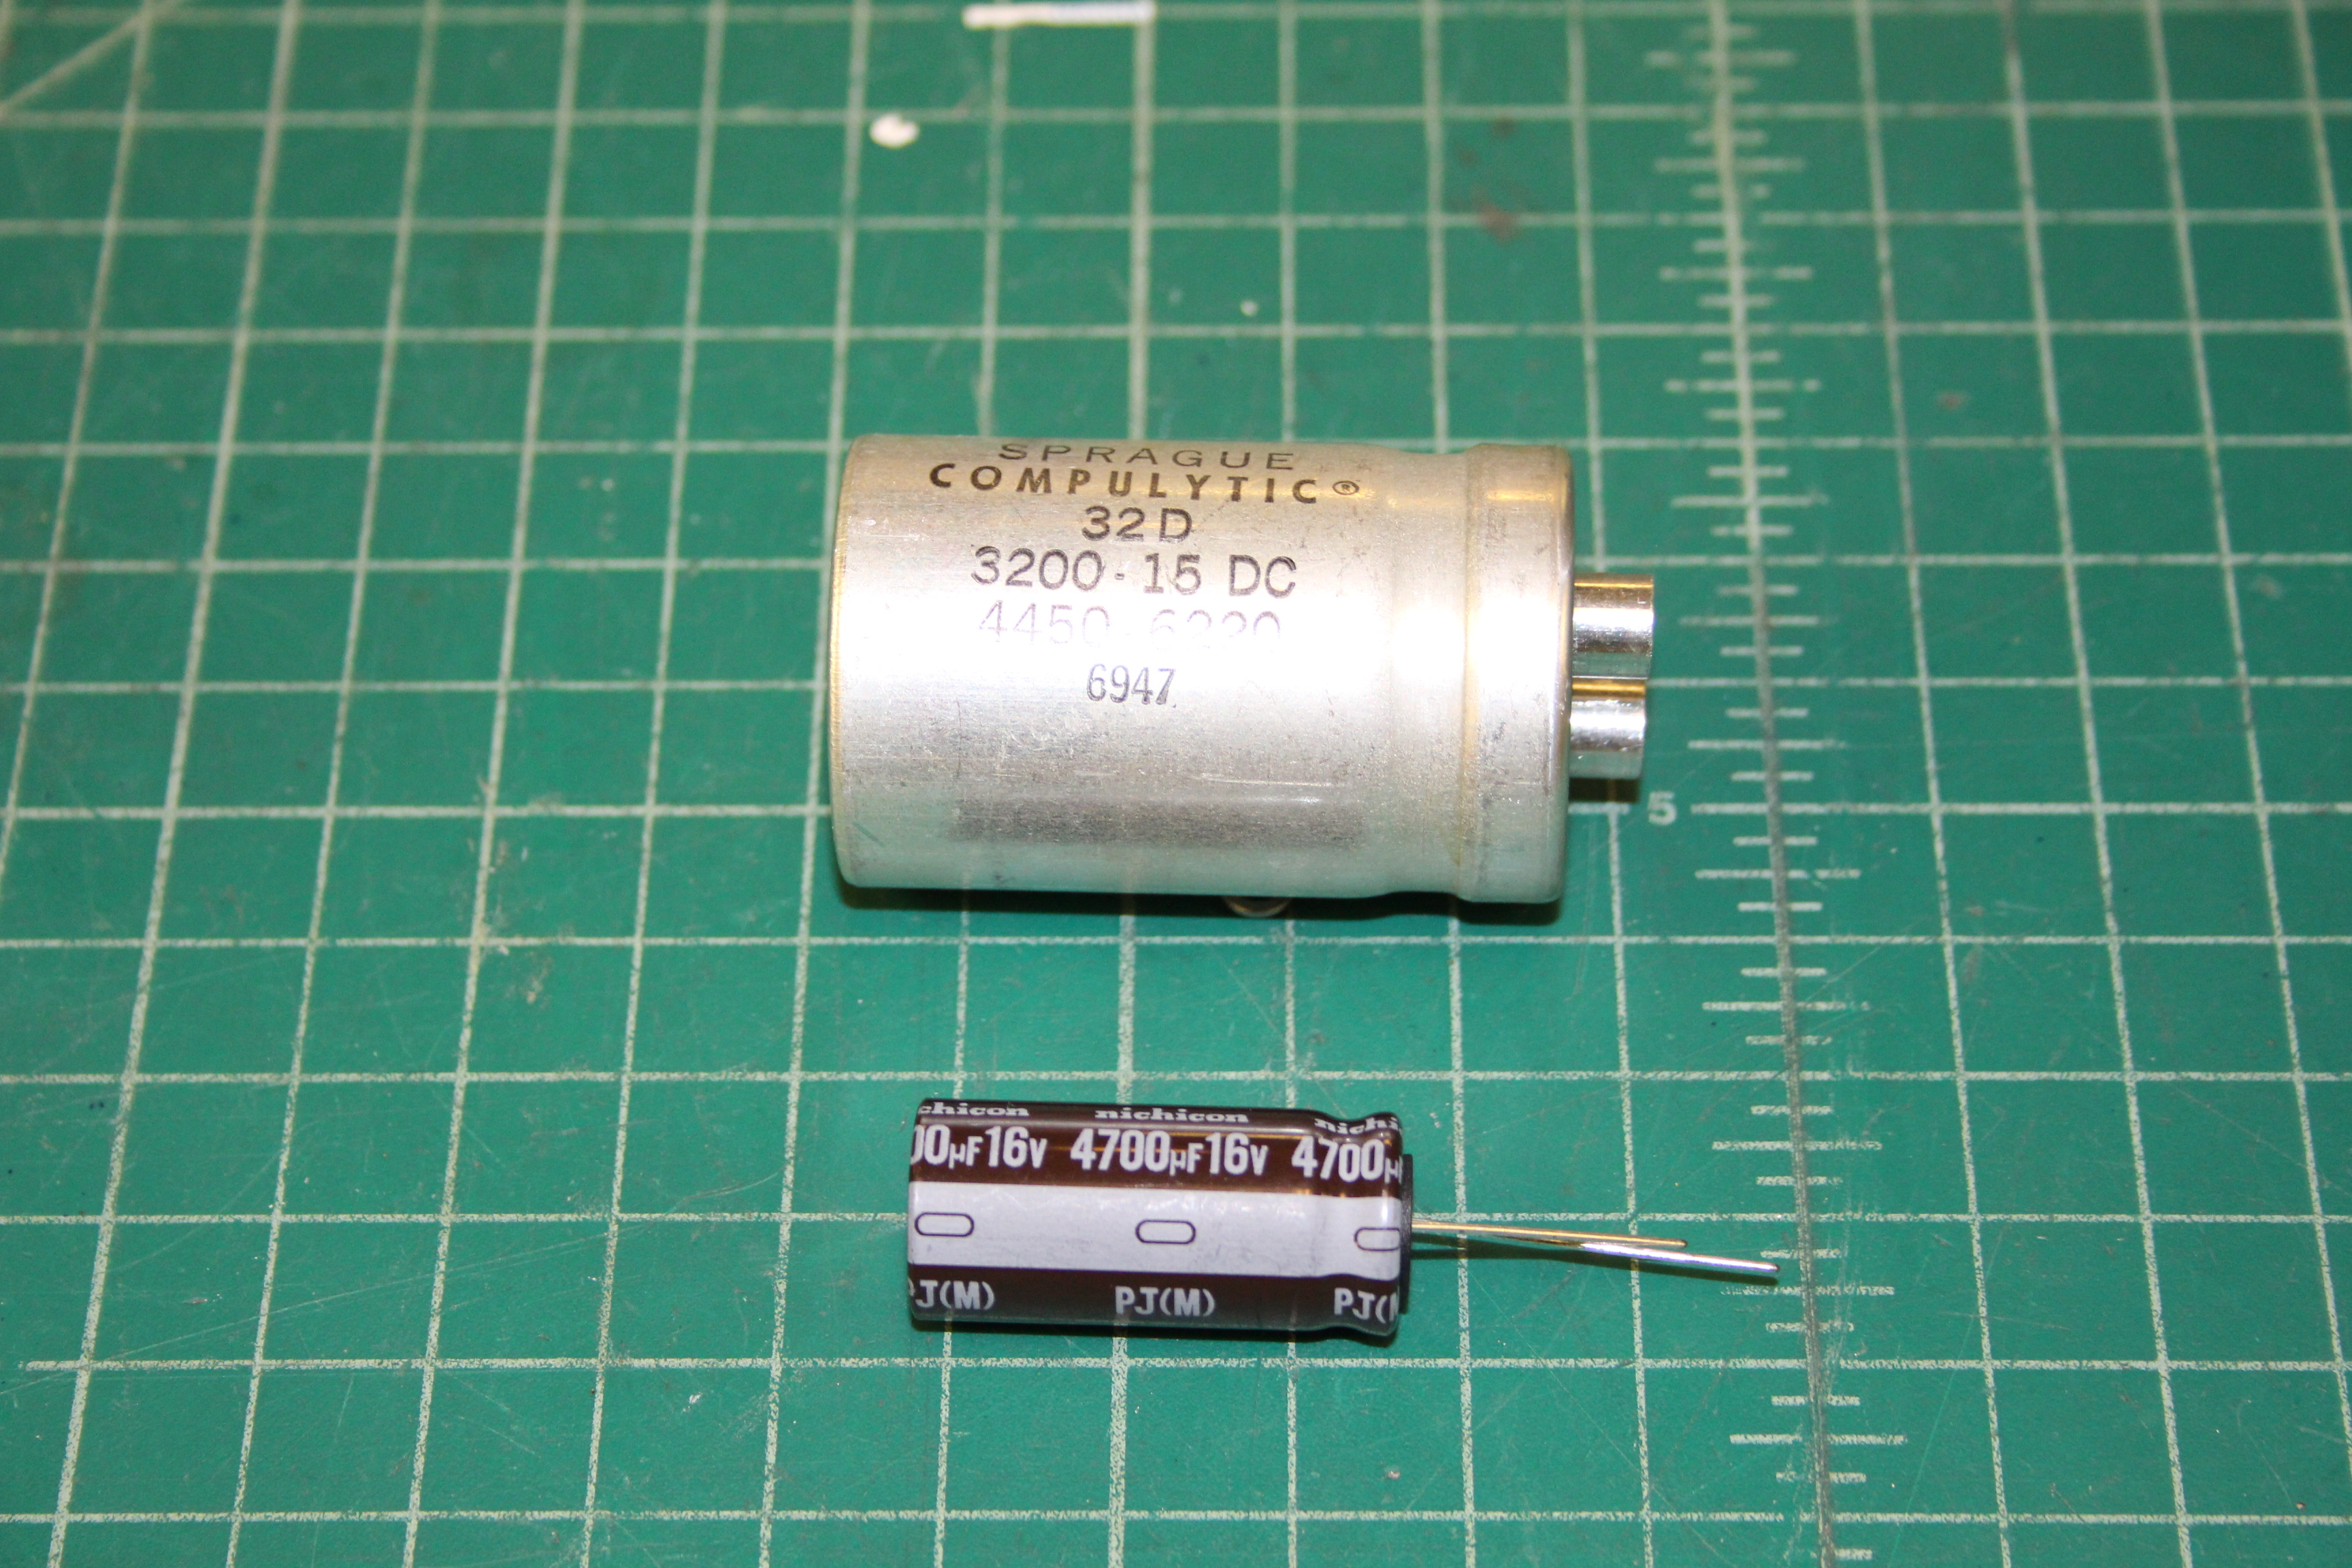
The new electrolytic is not only much smaller – enough so that no capacitor clamp is necessary – it’s also higher capacity and slightly higher voltage rating. This radial part was installed through the eyelets for the old Sprague Compulytic, and soldered directly to the PC board.
The axial capacitors were replaced with new CDE/Illinois Capacitor parts:

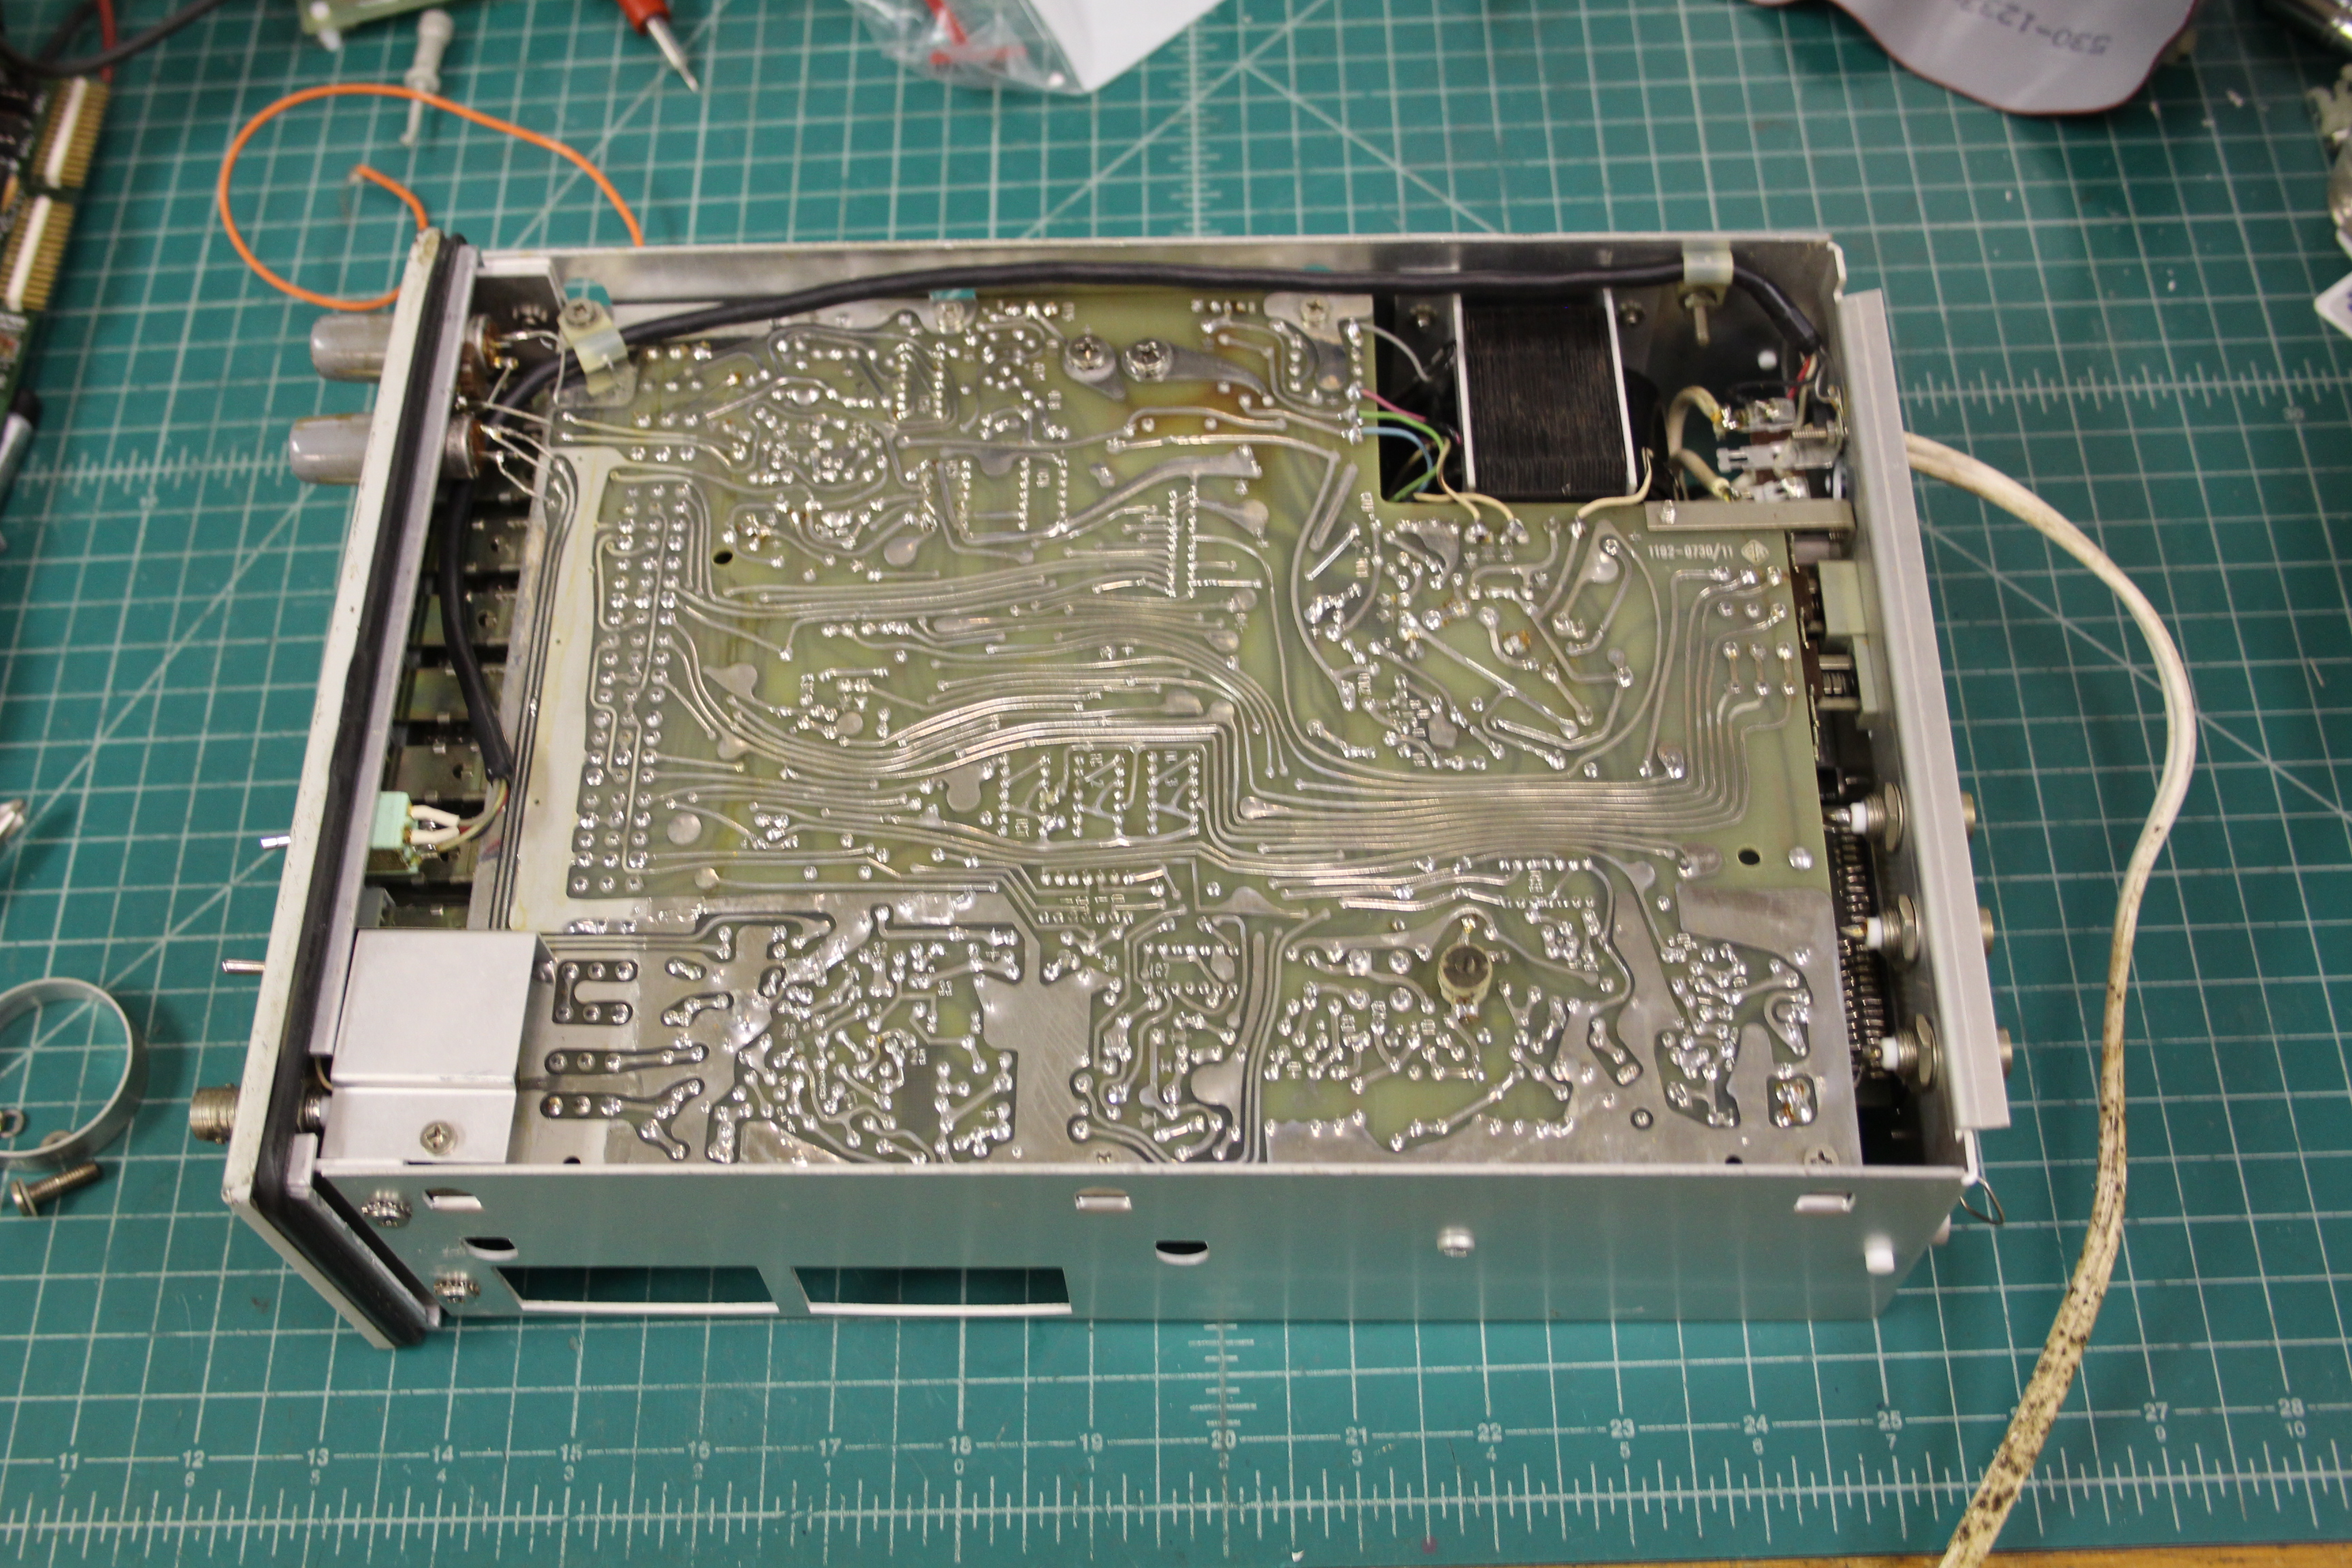
The display board was removed from the chassis, which does require pulling the range knob. Since this 1192B had the digital output option, that had to be removed as well. It unscrews from the back panel, and pulls out. Be sure to disconnect the flywire before pulling! Here’s the display board:
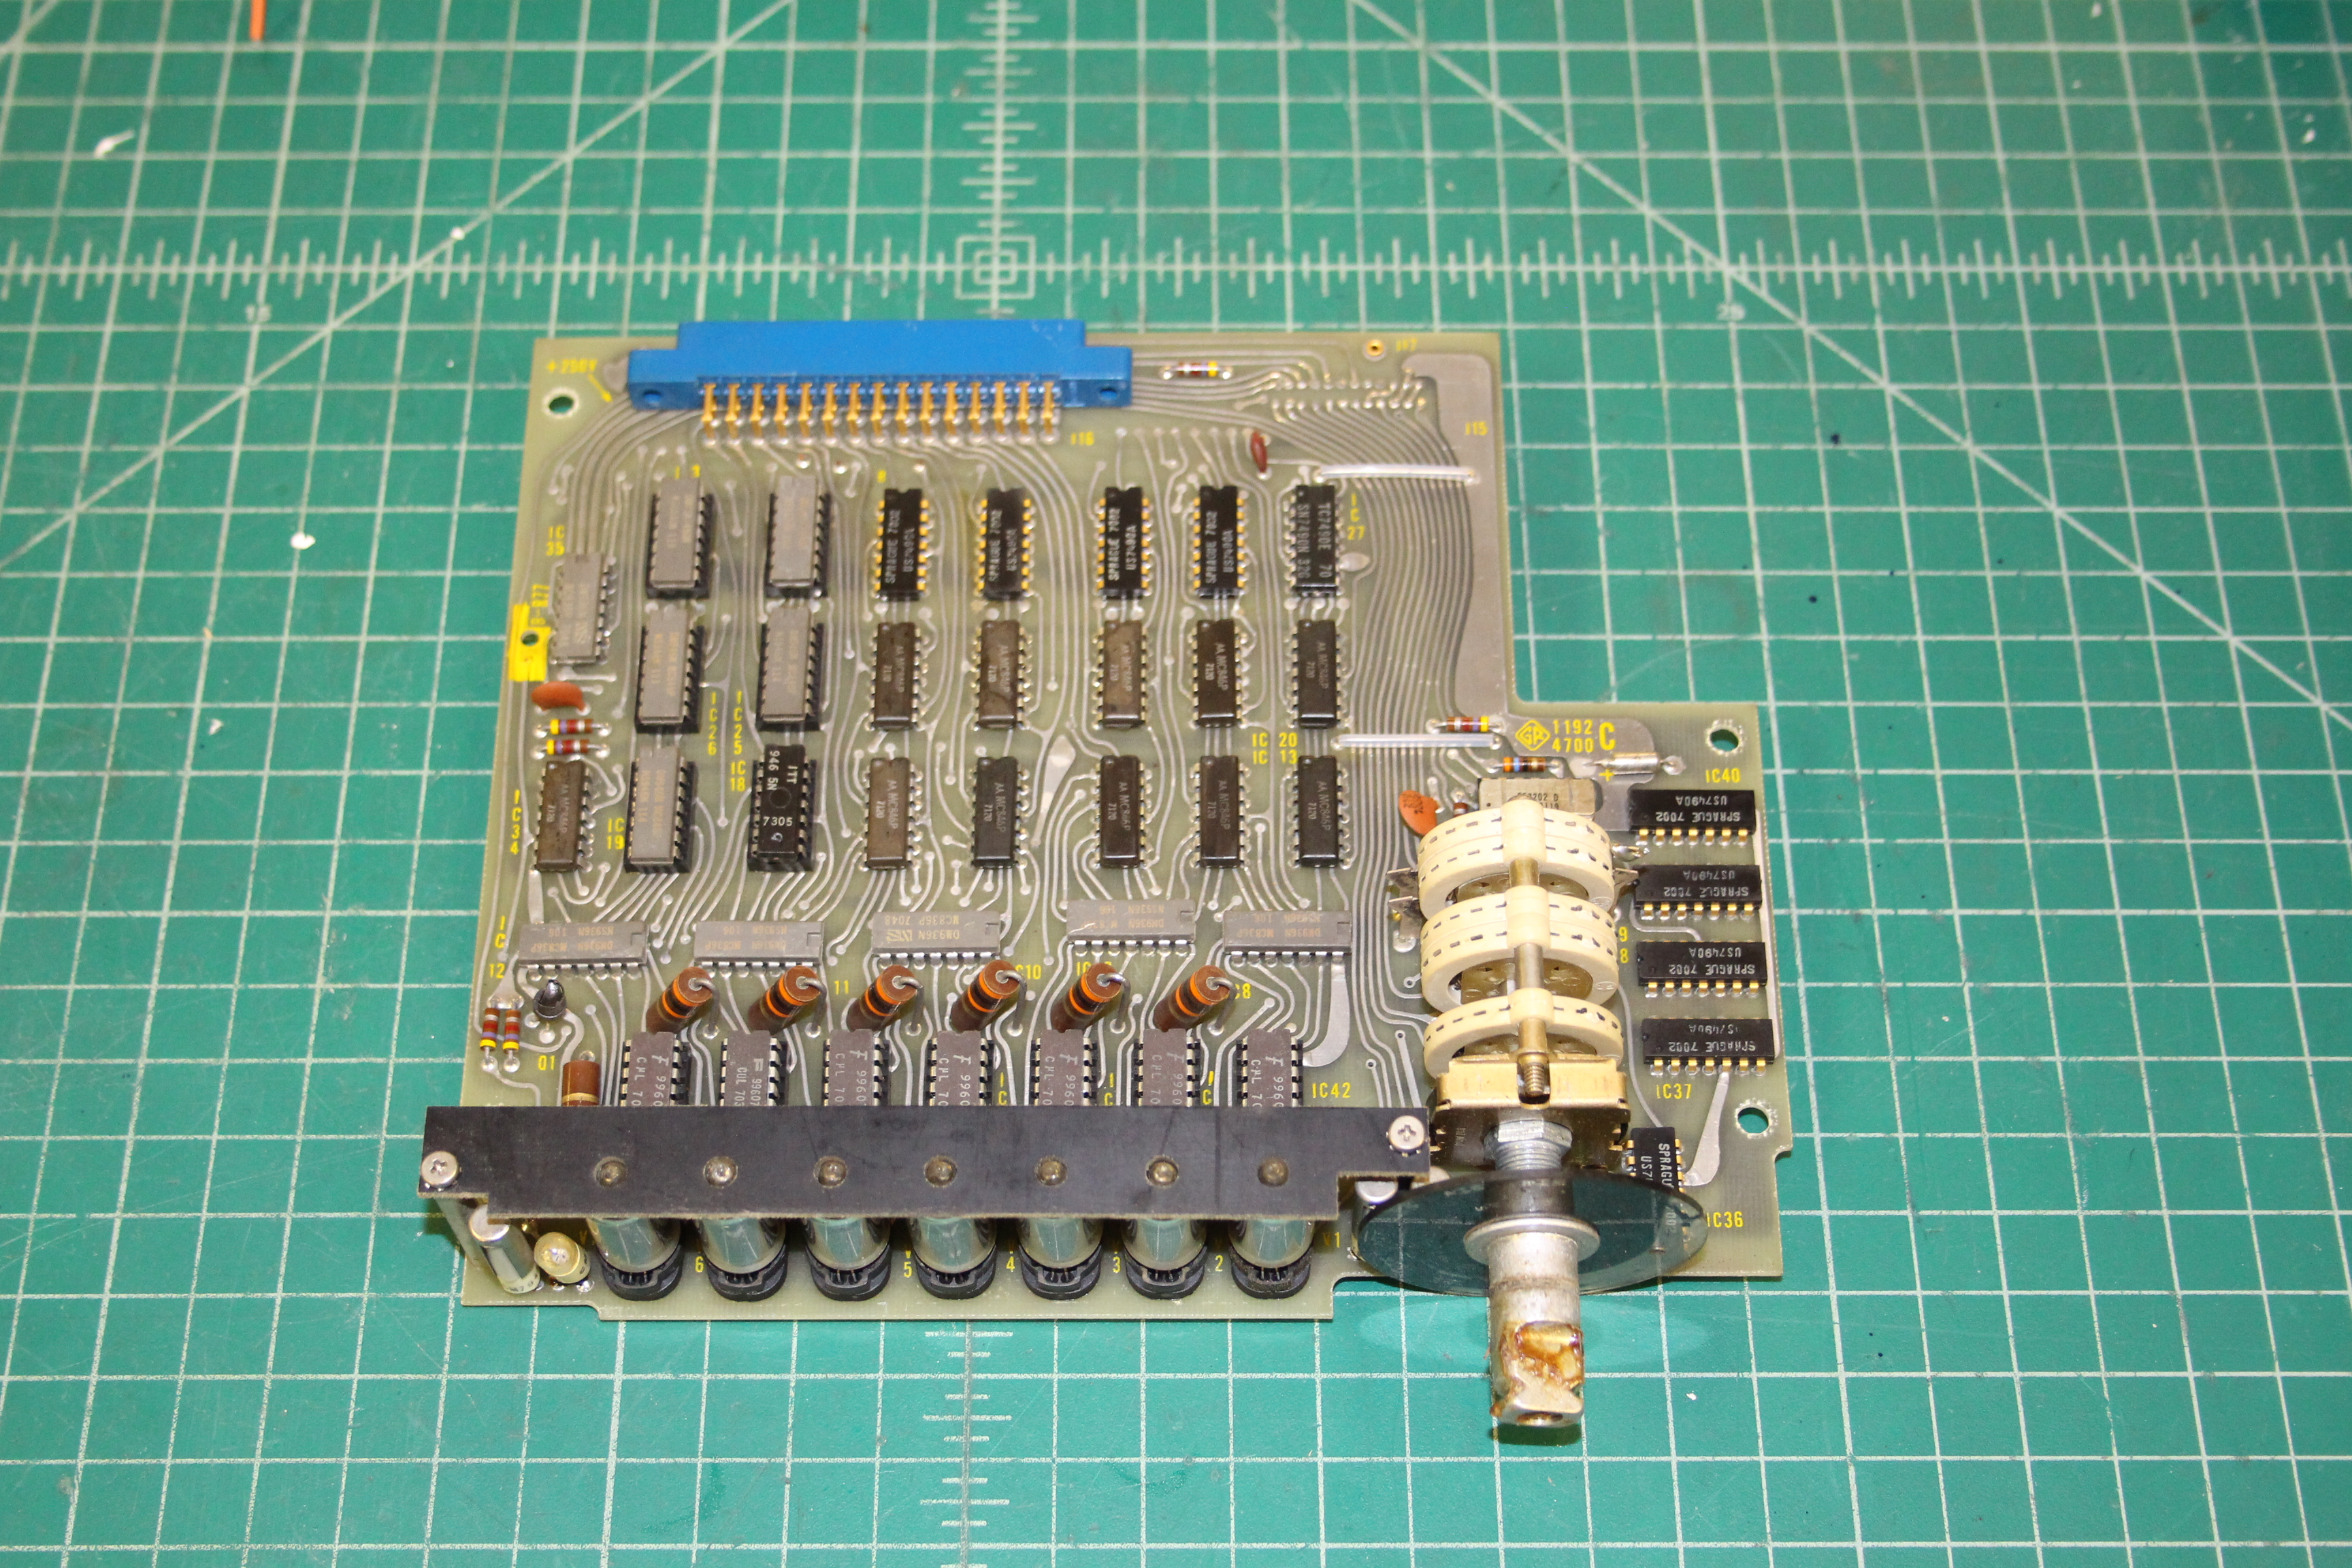

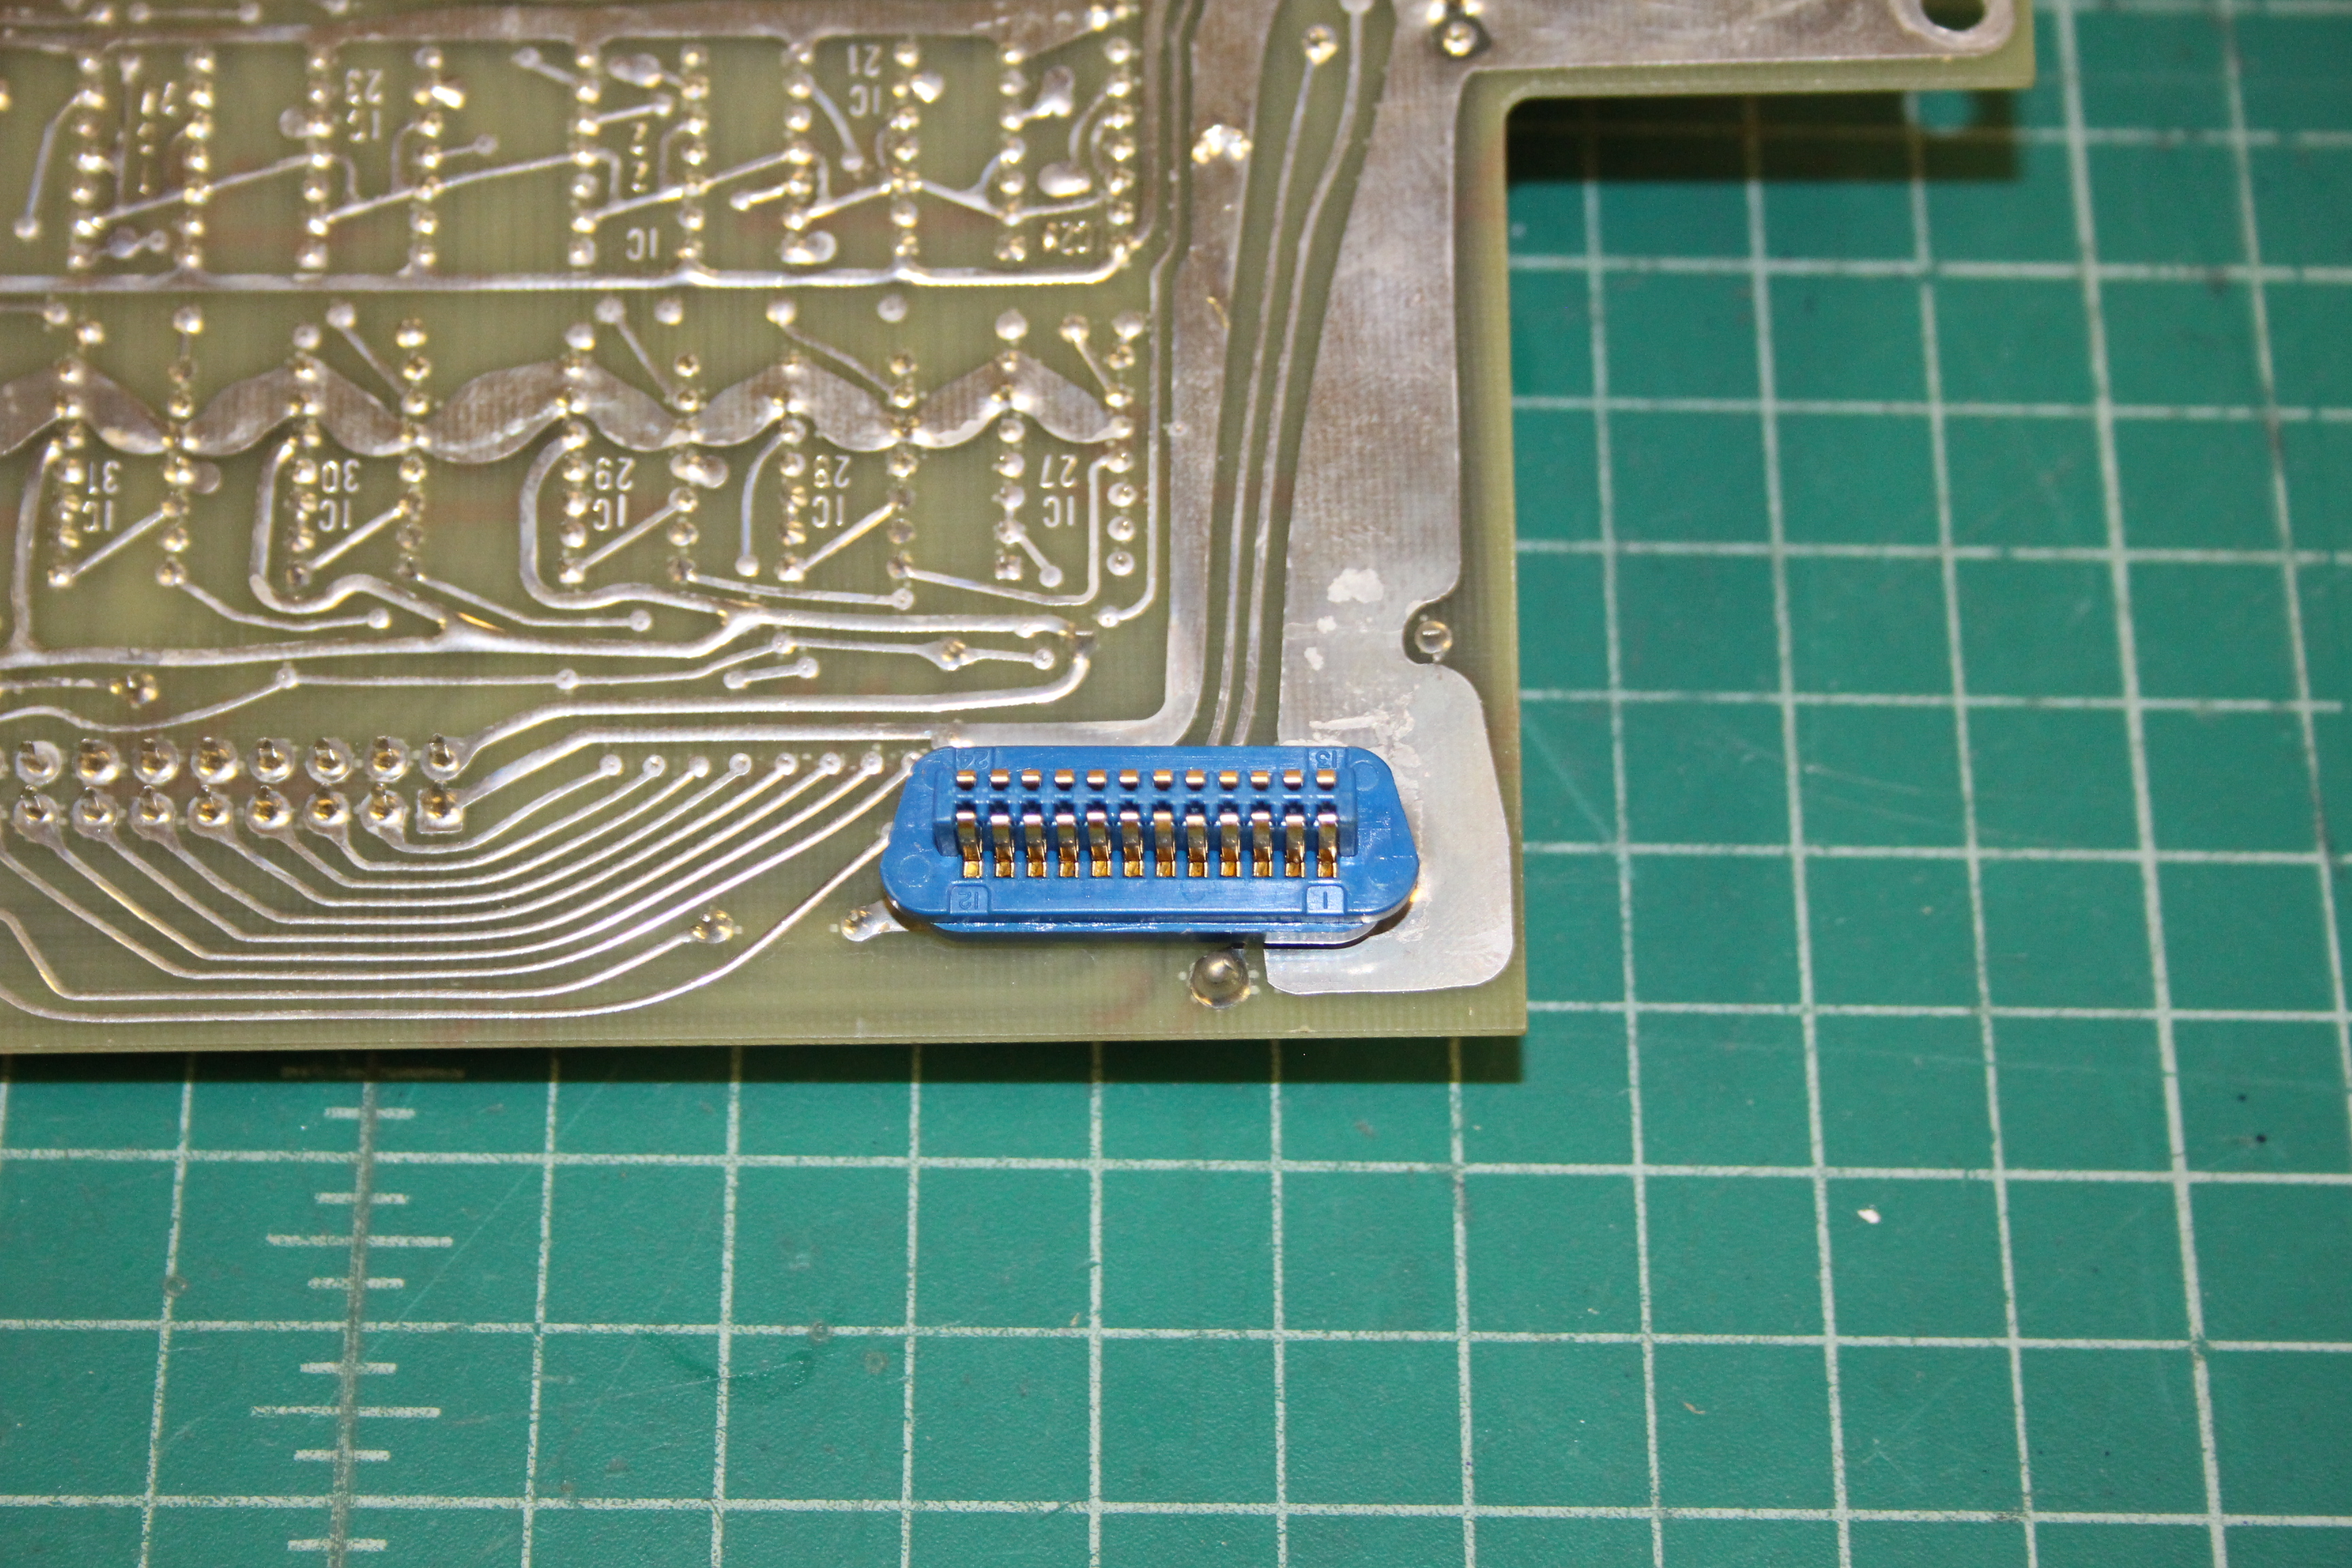
The display board connects to the main board with an Amphenol micro-ribbon connector:
The most prominent feature of the counter is of course the Nixie tube readout. Here’s a look at the tubes and annunciators, with the board out of the chassis:
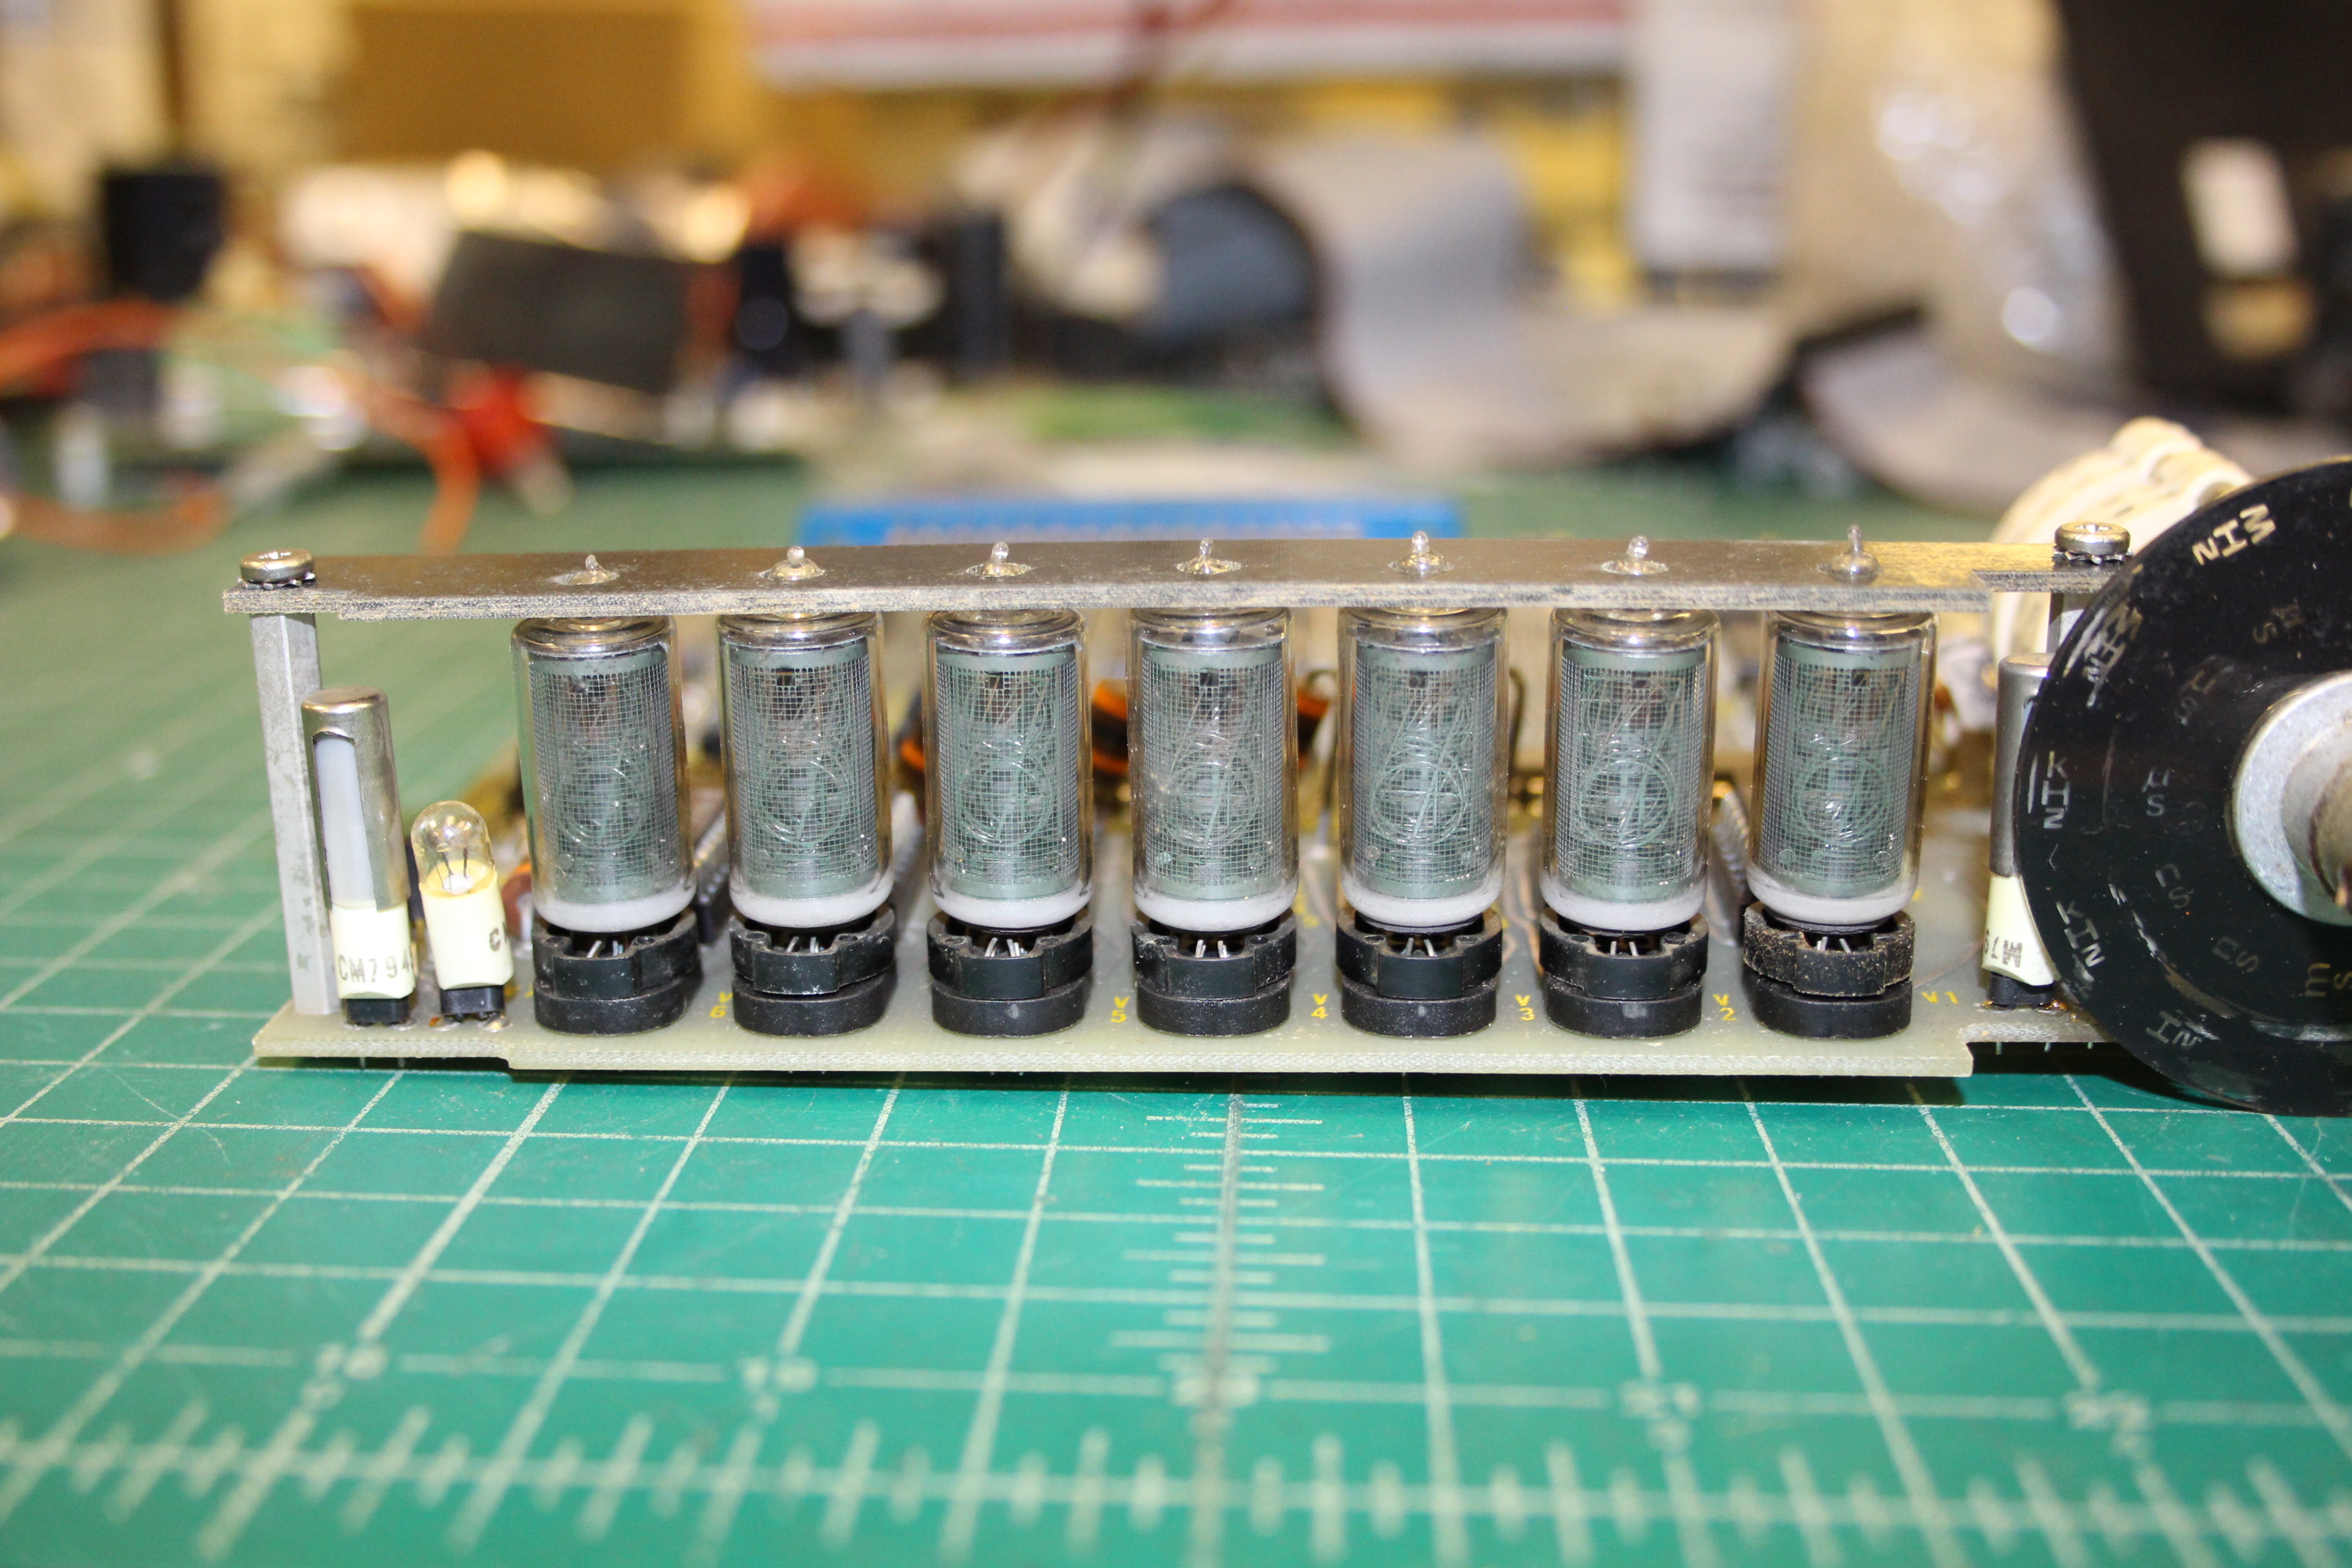
The seven Nixie tubes are in excellent condition, with no darkening of the glass, which is often seen on instruments that were always on. The annunciators and range dial illumination are incandescent lamps. The two lamps on the left are, from the left, overflow (called SPILL) and count. The metal shroud over the SPILL lamp provides more even illumination through the front panel.
Behind the range switch lives this special looking IC:
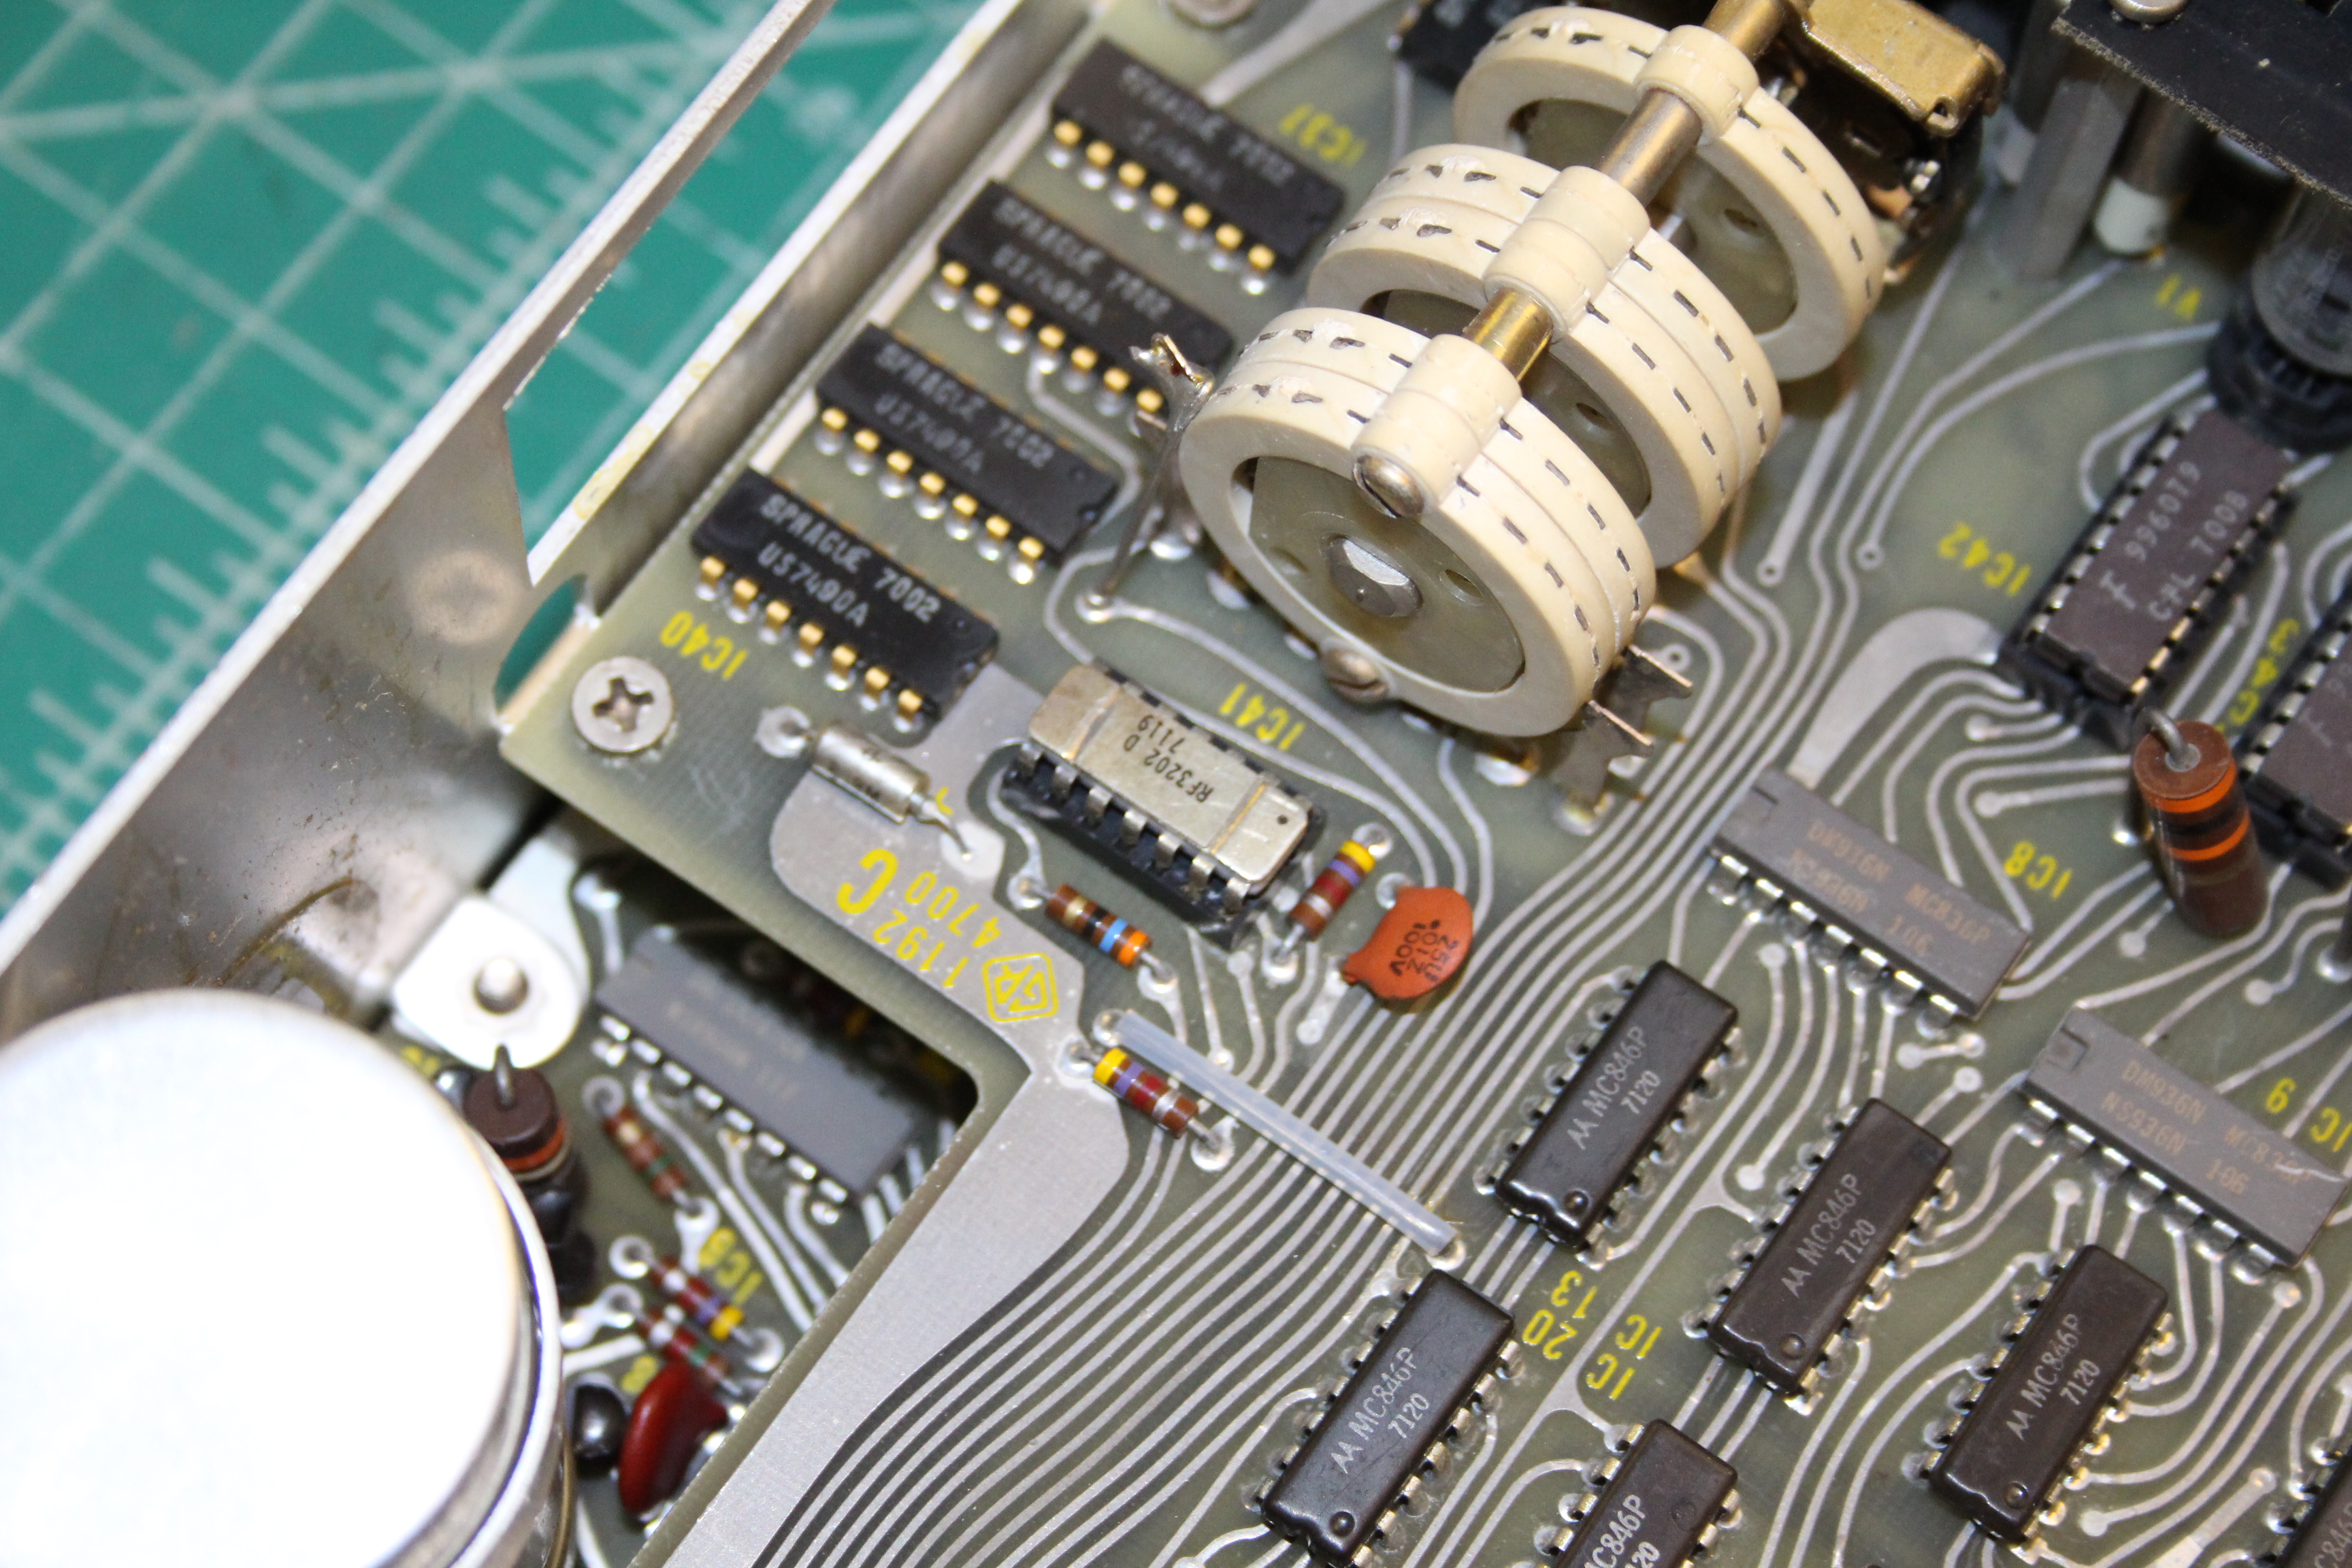
It’s a ceramic sandwich package, and appears to be a Raytheon RF3202, which is a J-K flip flop with multiple inputs. Fortunately it was fine and didn’t require replacement!
With all of the old electrolytic capacitors replaced and everything cleaned up, the 1192B was powered on and checked in test mode:
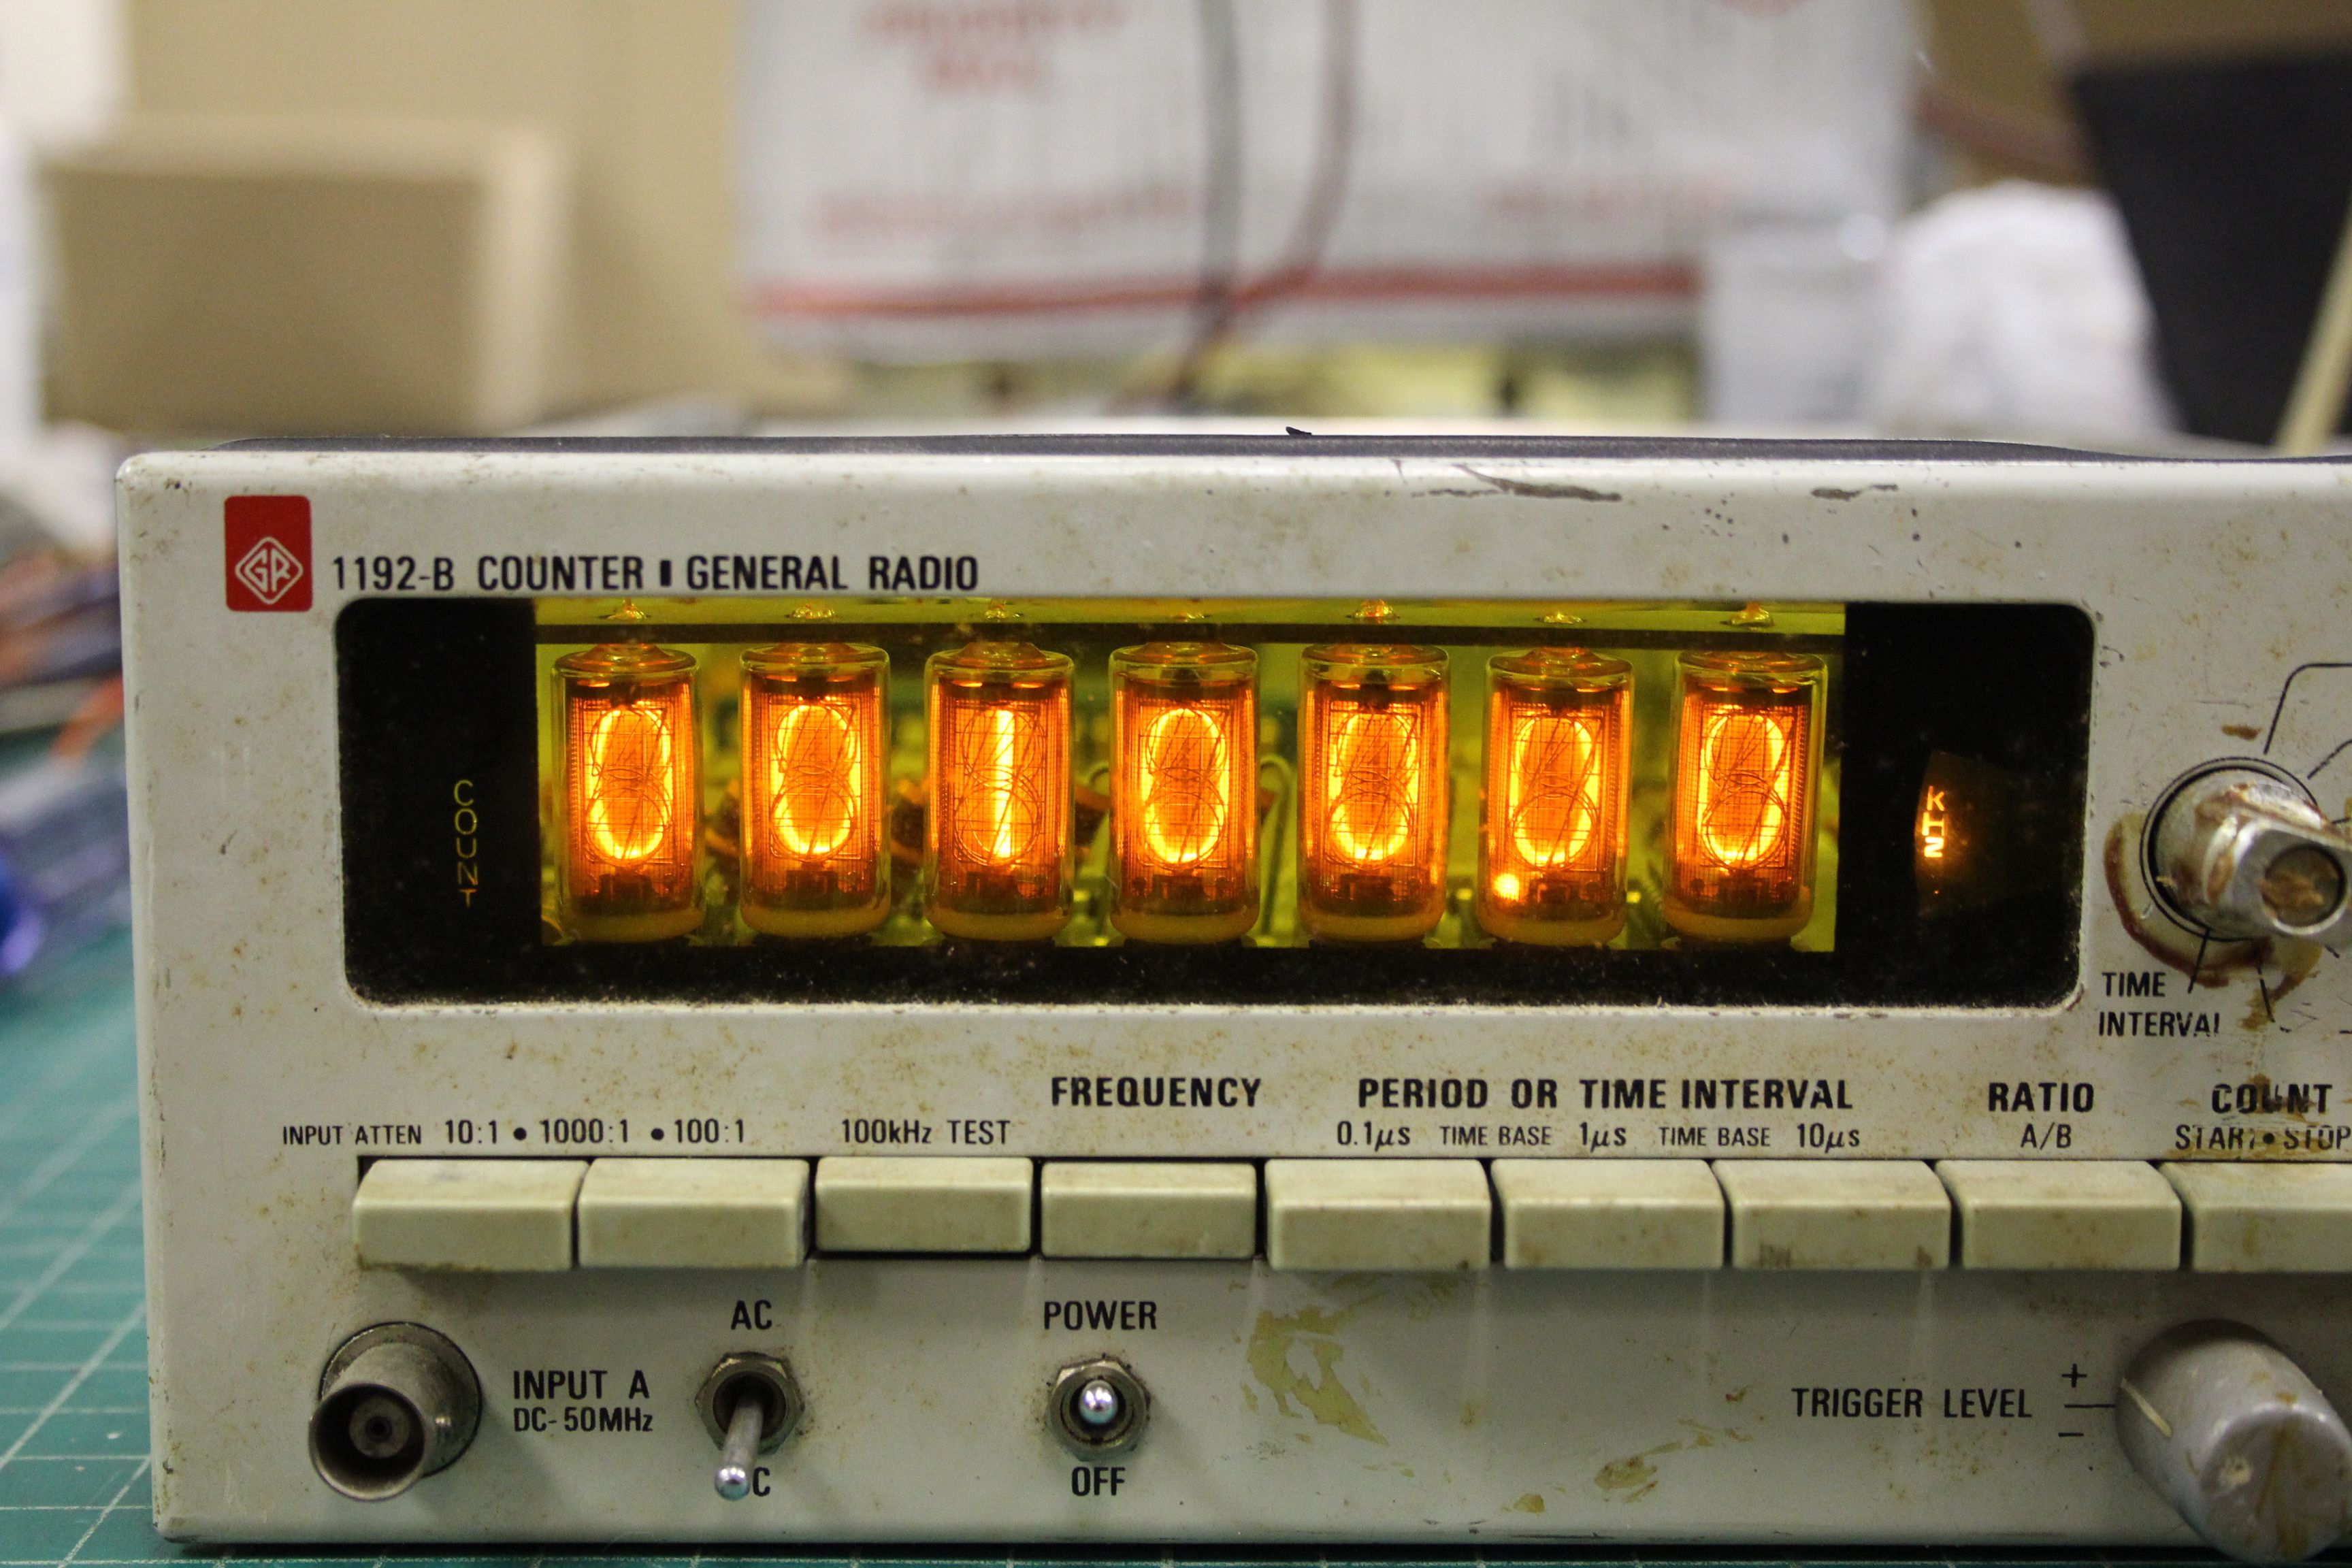
Success! The counter lives! There were a few more things that needed work, though.
Power Connector Replacement
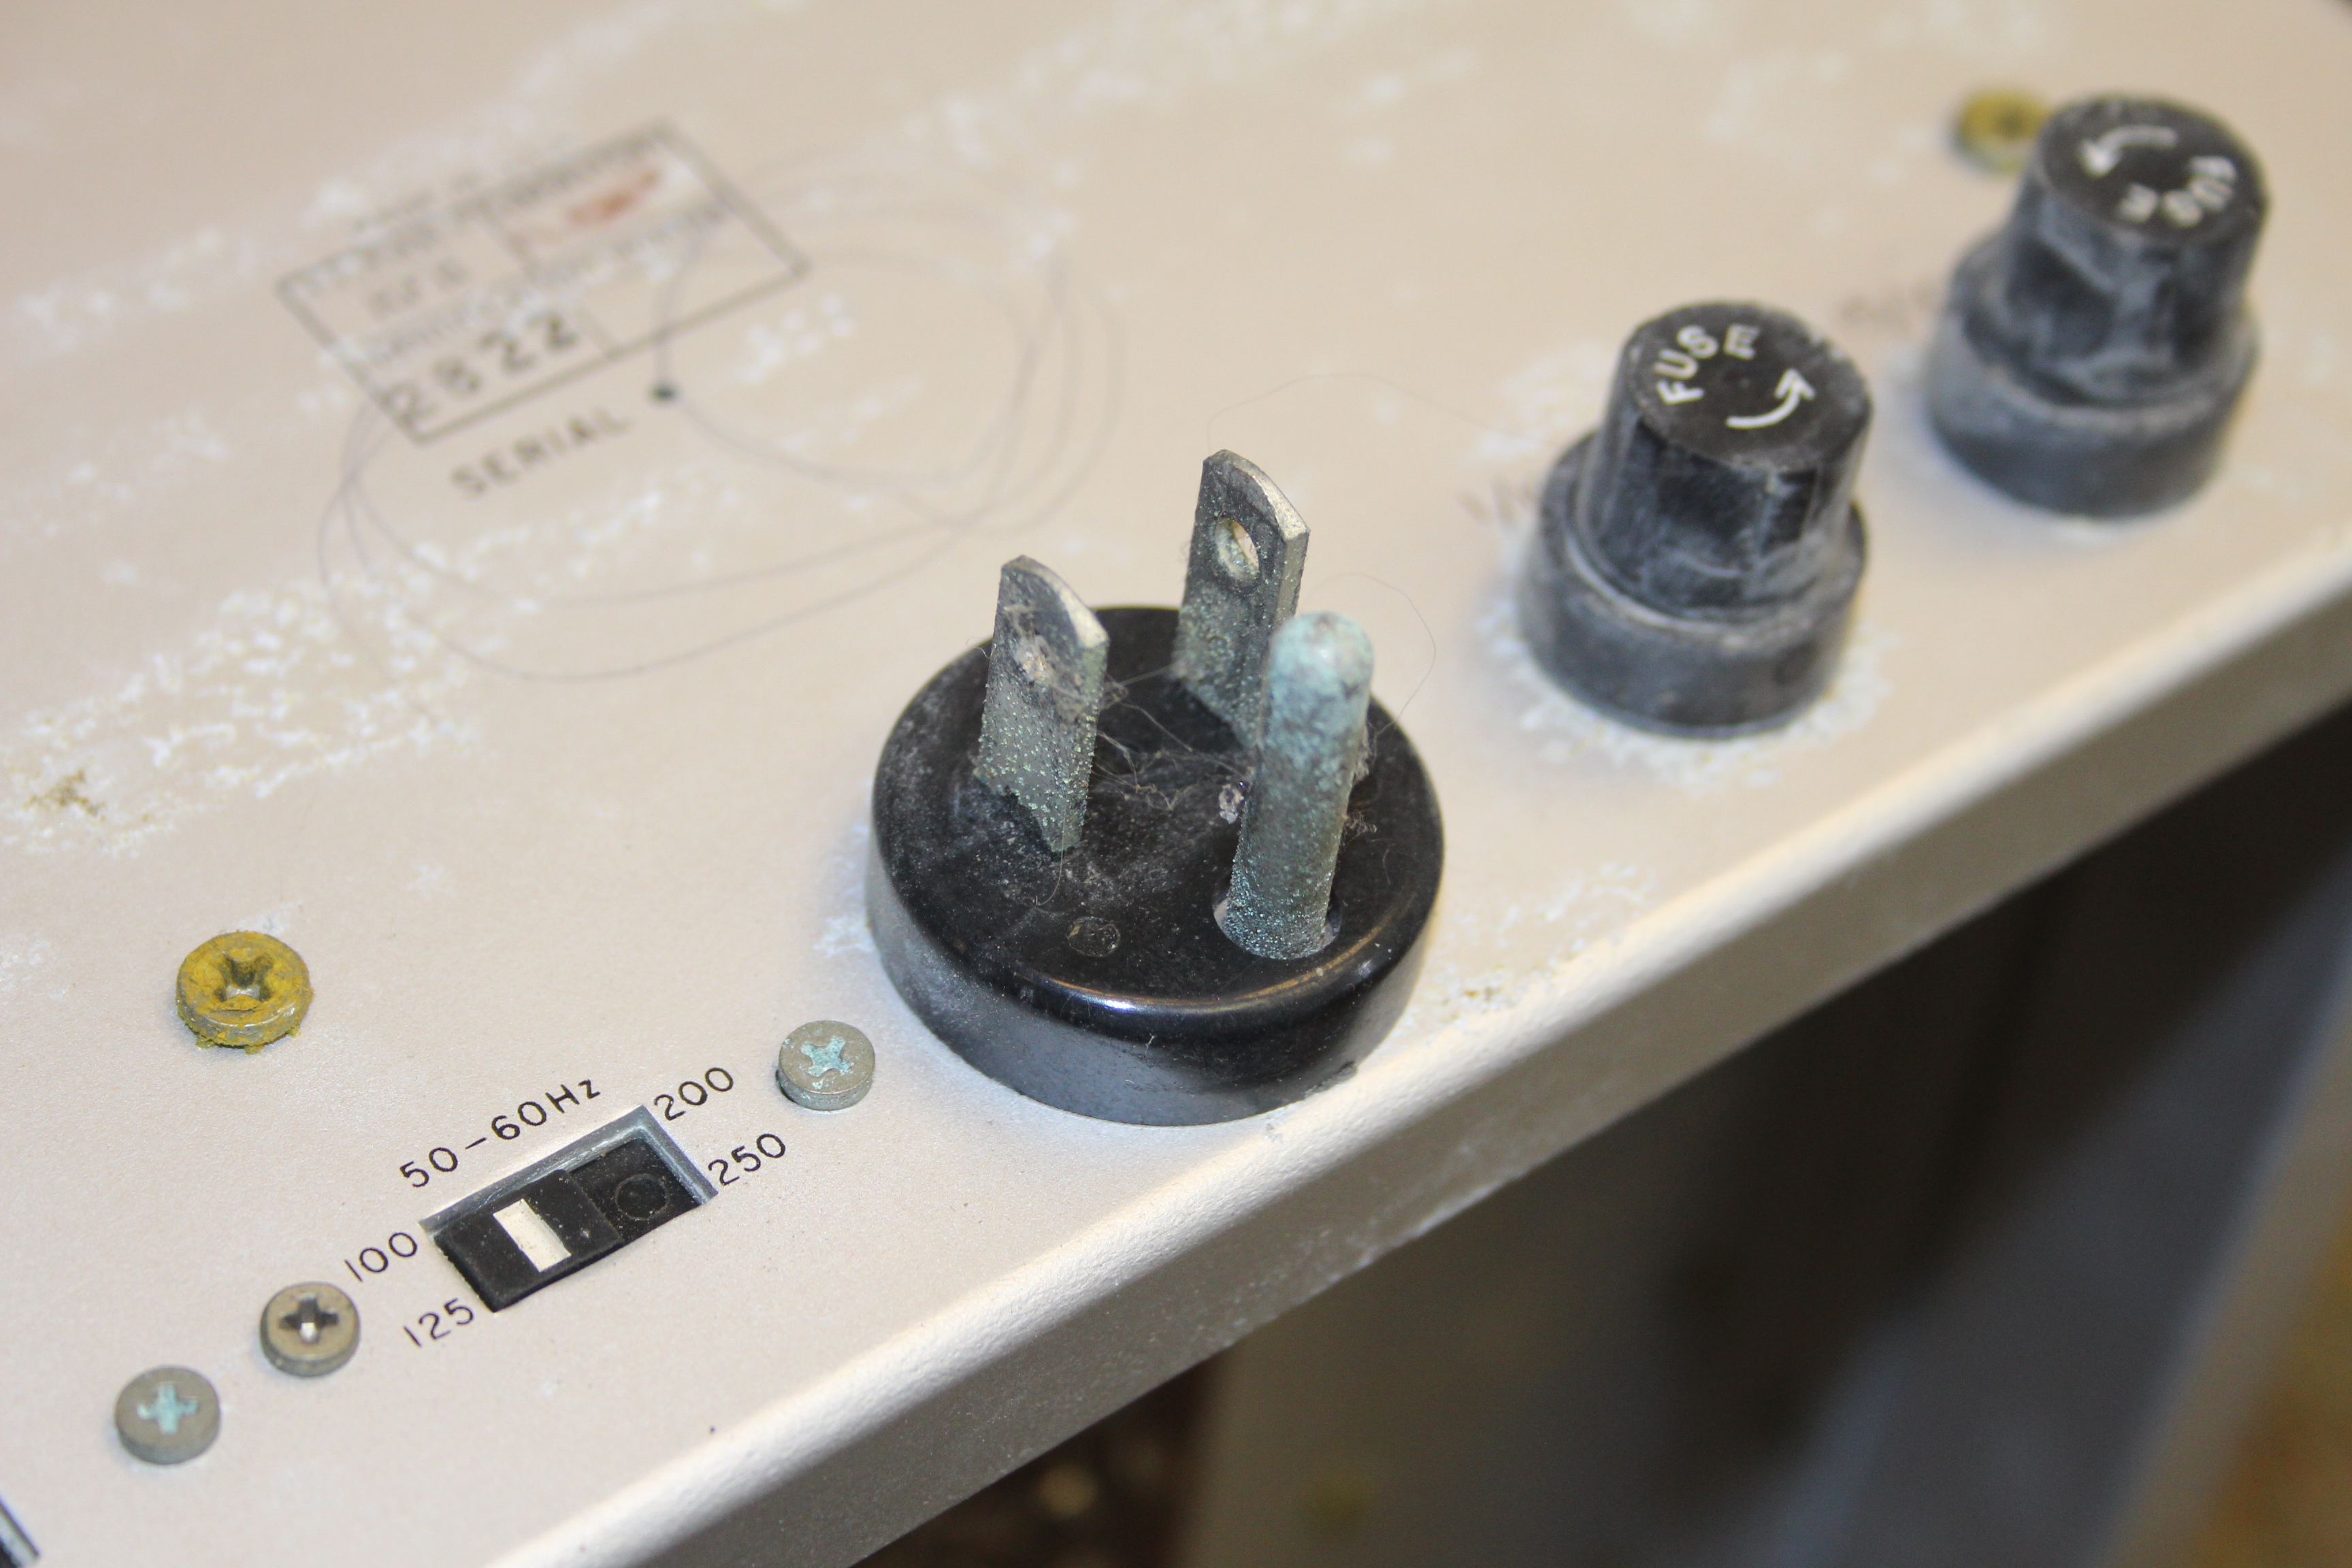
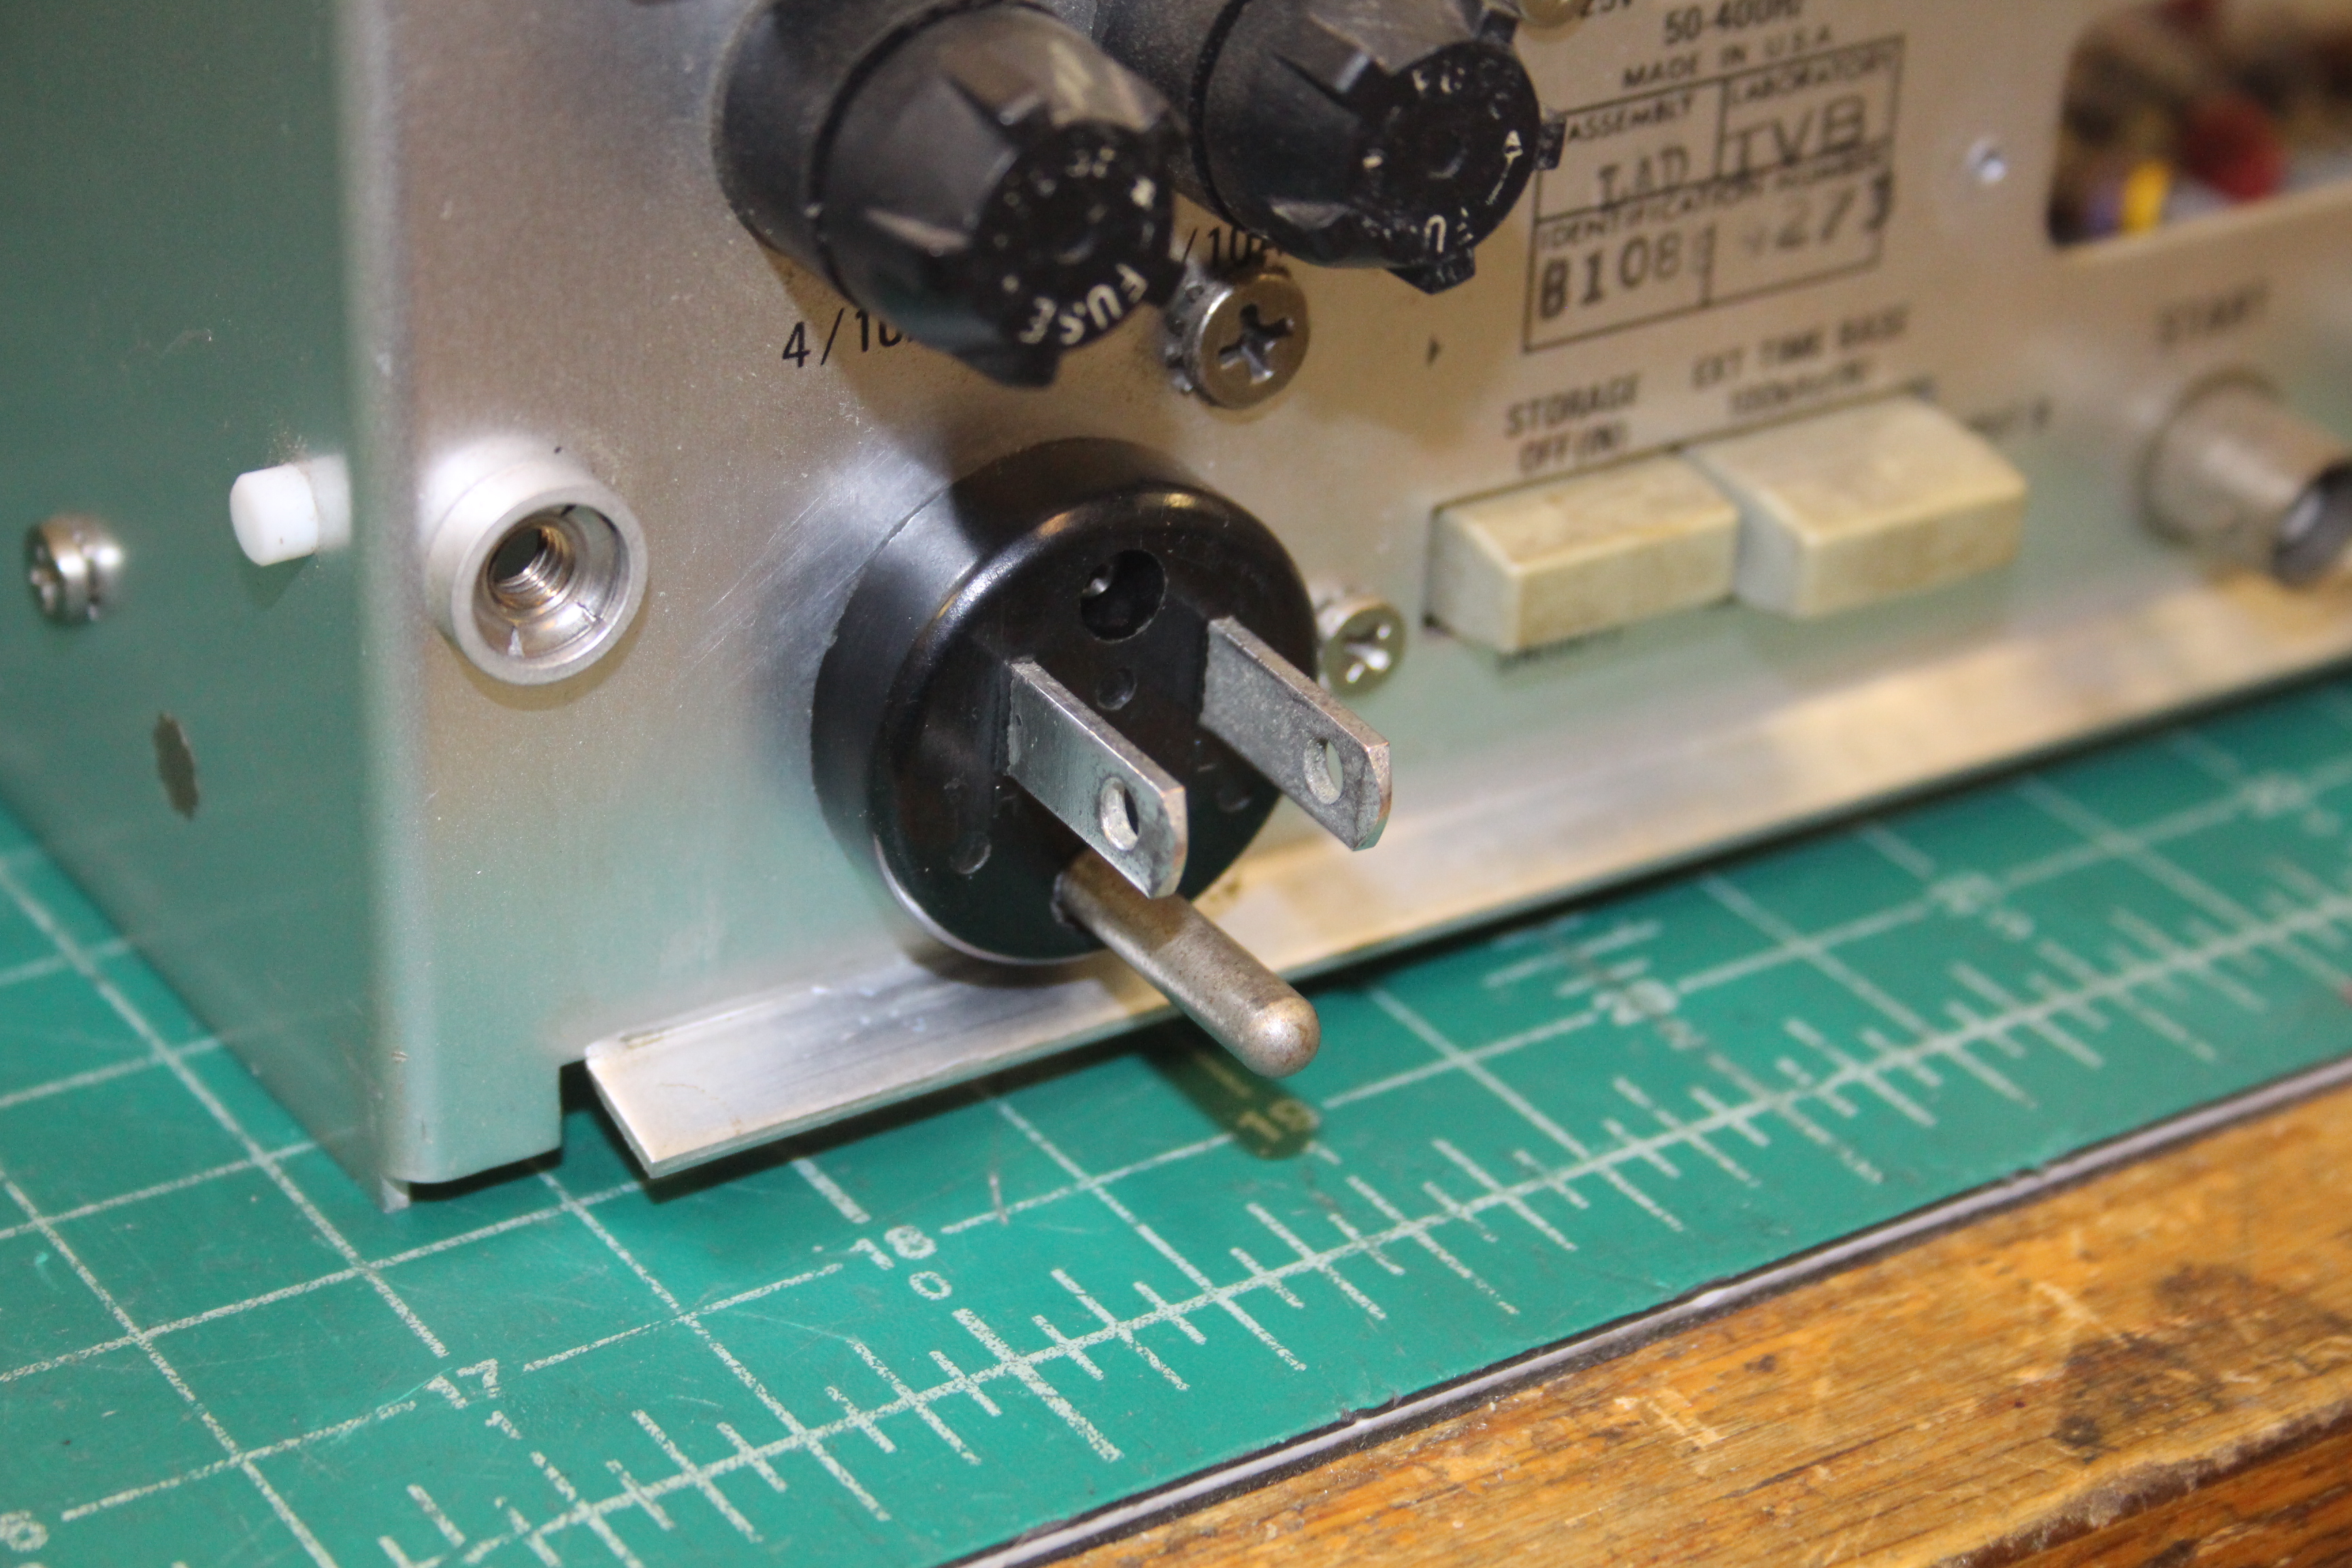
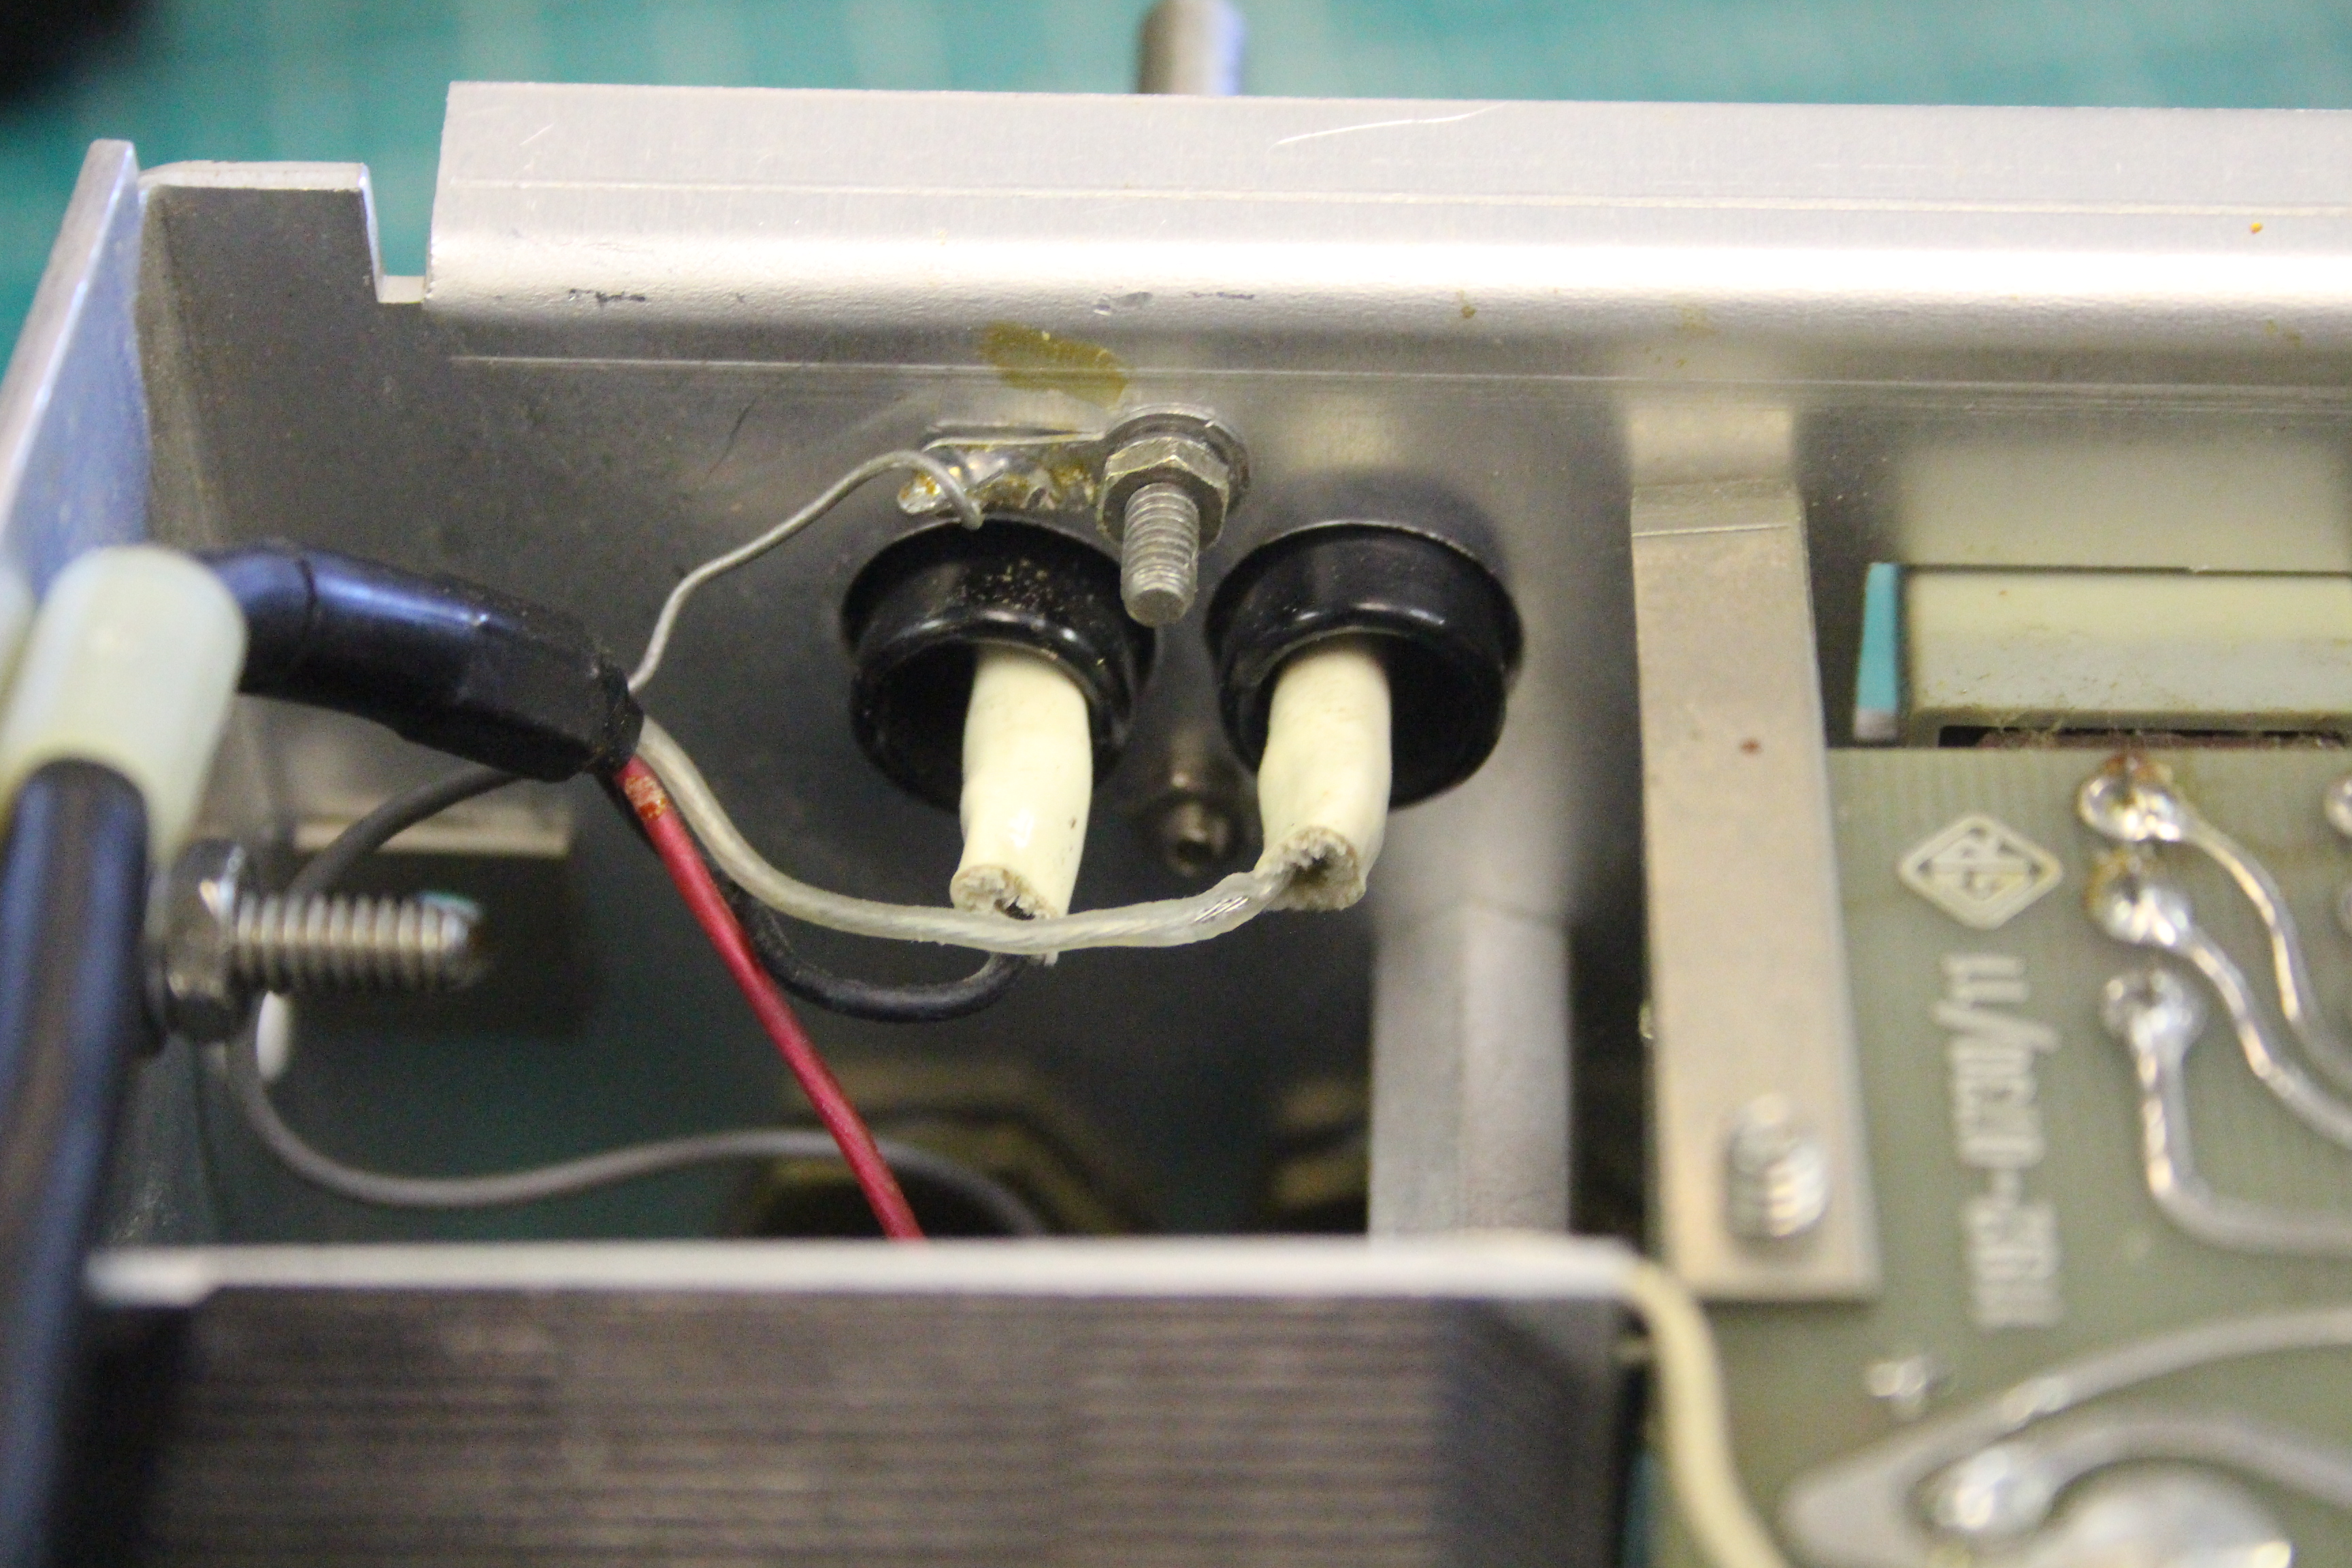
As seen in some of the above pictures, someone had removed the original power inlet connector on this counter and replaced it with a piece of white lamp cord. This provides no grounding, and was at this point quite disgusting-looking from whatever storage conditions this counter lived in. At least they used a strain relief! Here’s a look at the lamp cord modification:

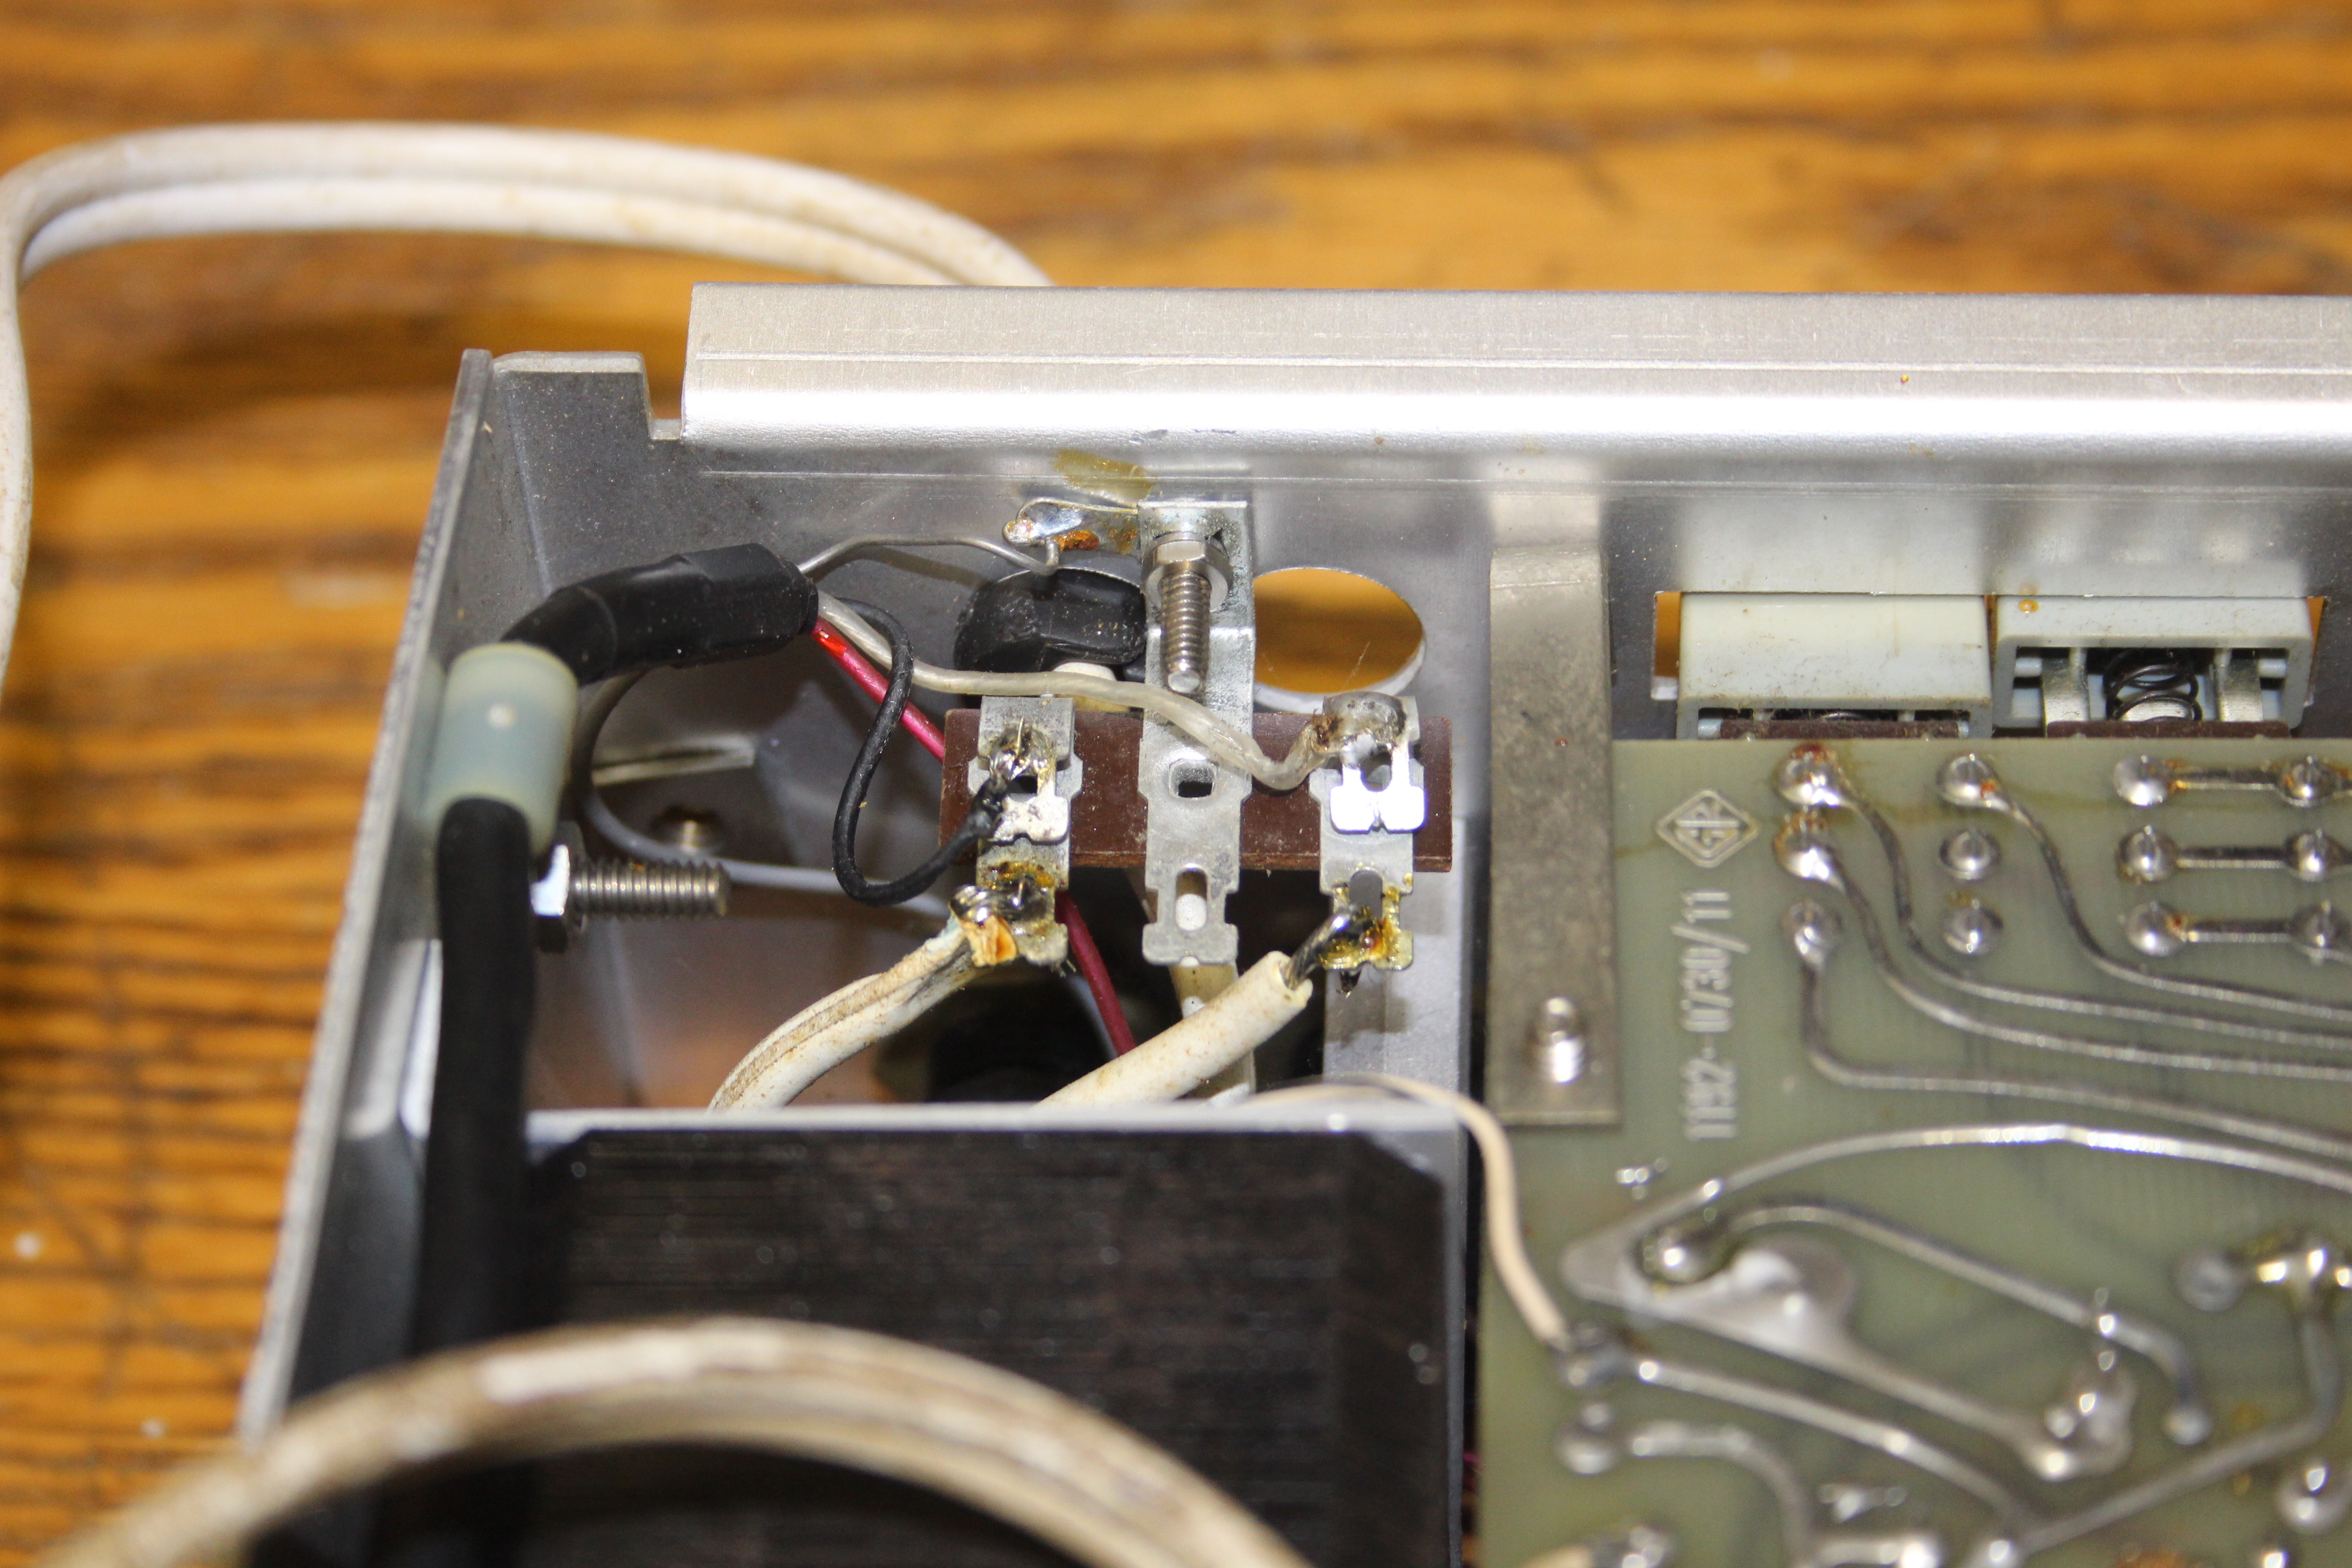
Not a terrible job, but not great either, especially considering there’s no chassis grounding now. I’m not sure why this was done, as the original power inlet connector is a male panel mount NEMA 5-15P, which Gen-Rad used on a bunch of their equipment. I suppose they thought it more rugged and universal than the “adding machine plug” used on some other equipment from the era. Unfortunately, the right part is a little difficult to find nowadays. As luck would have it, I did have another Gen-Rad instrument to steal from:
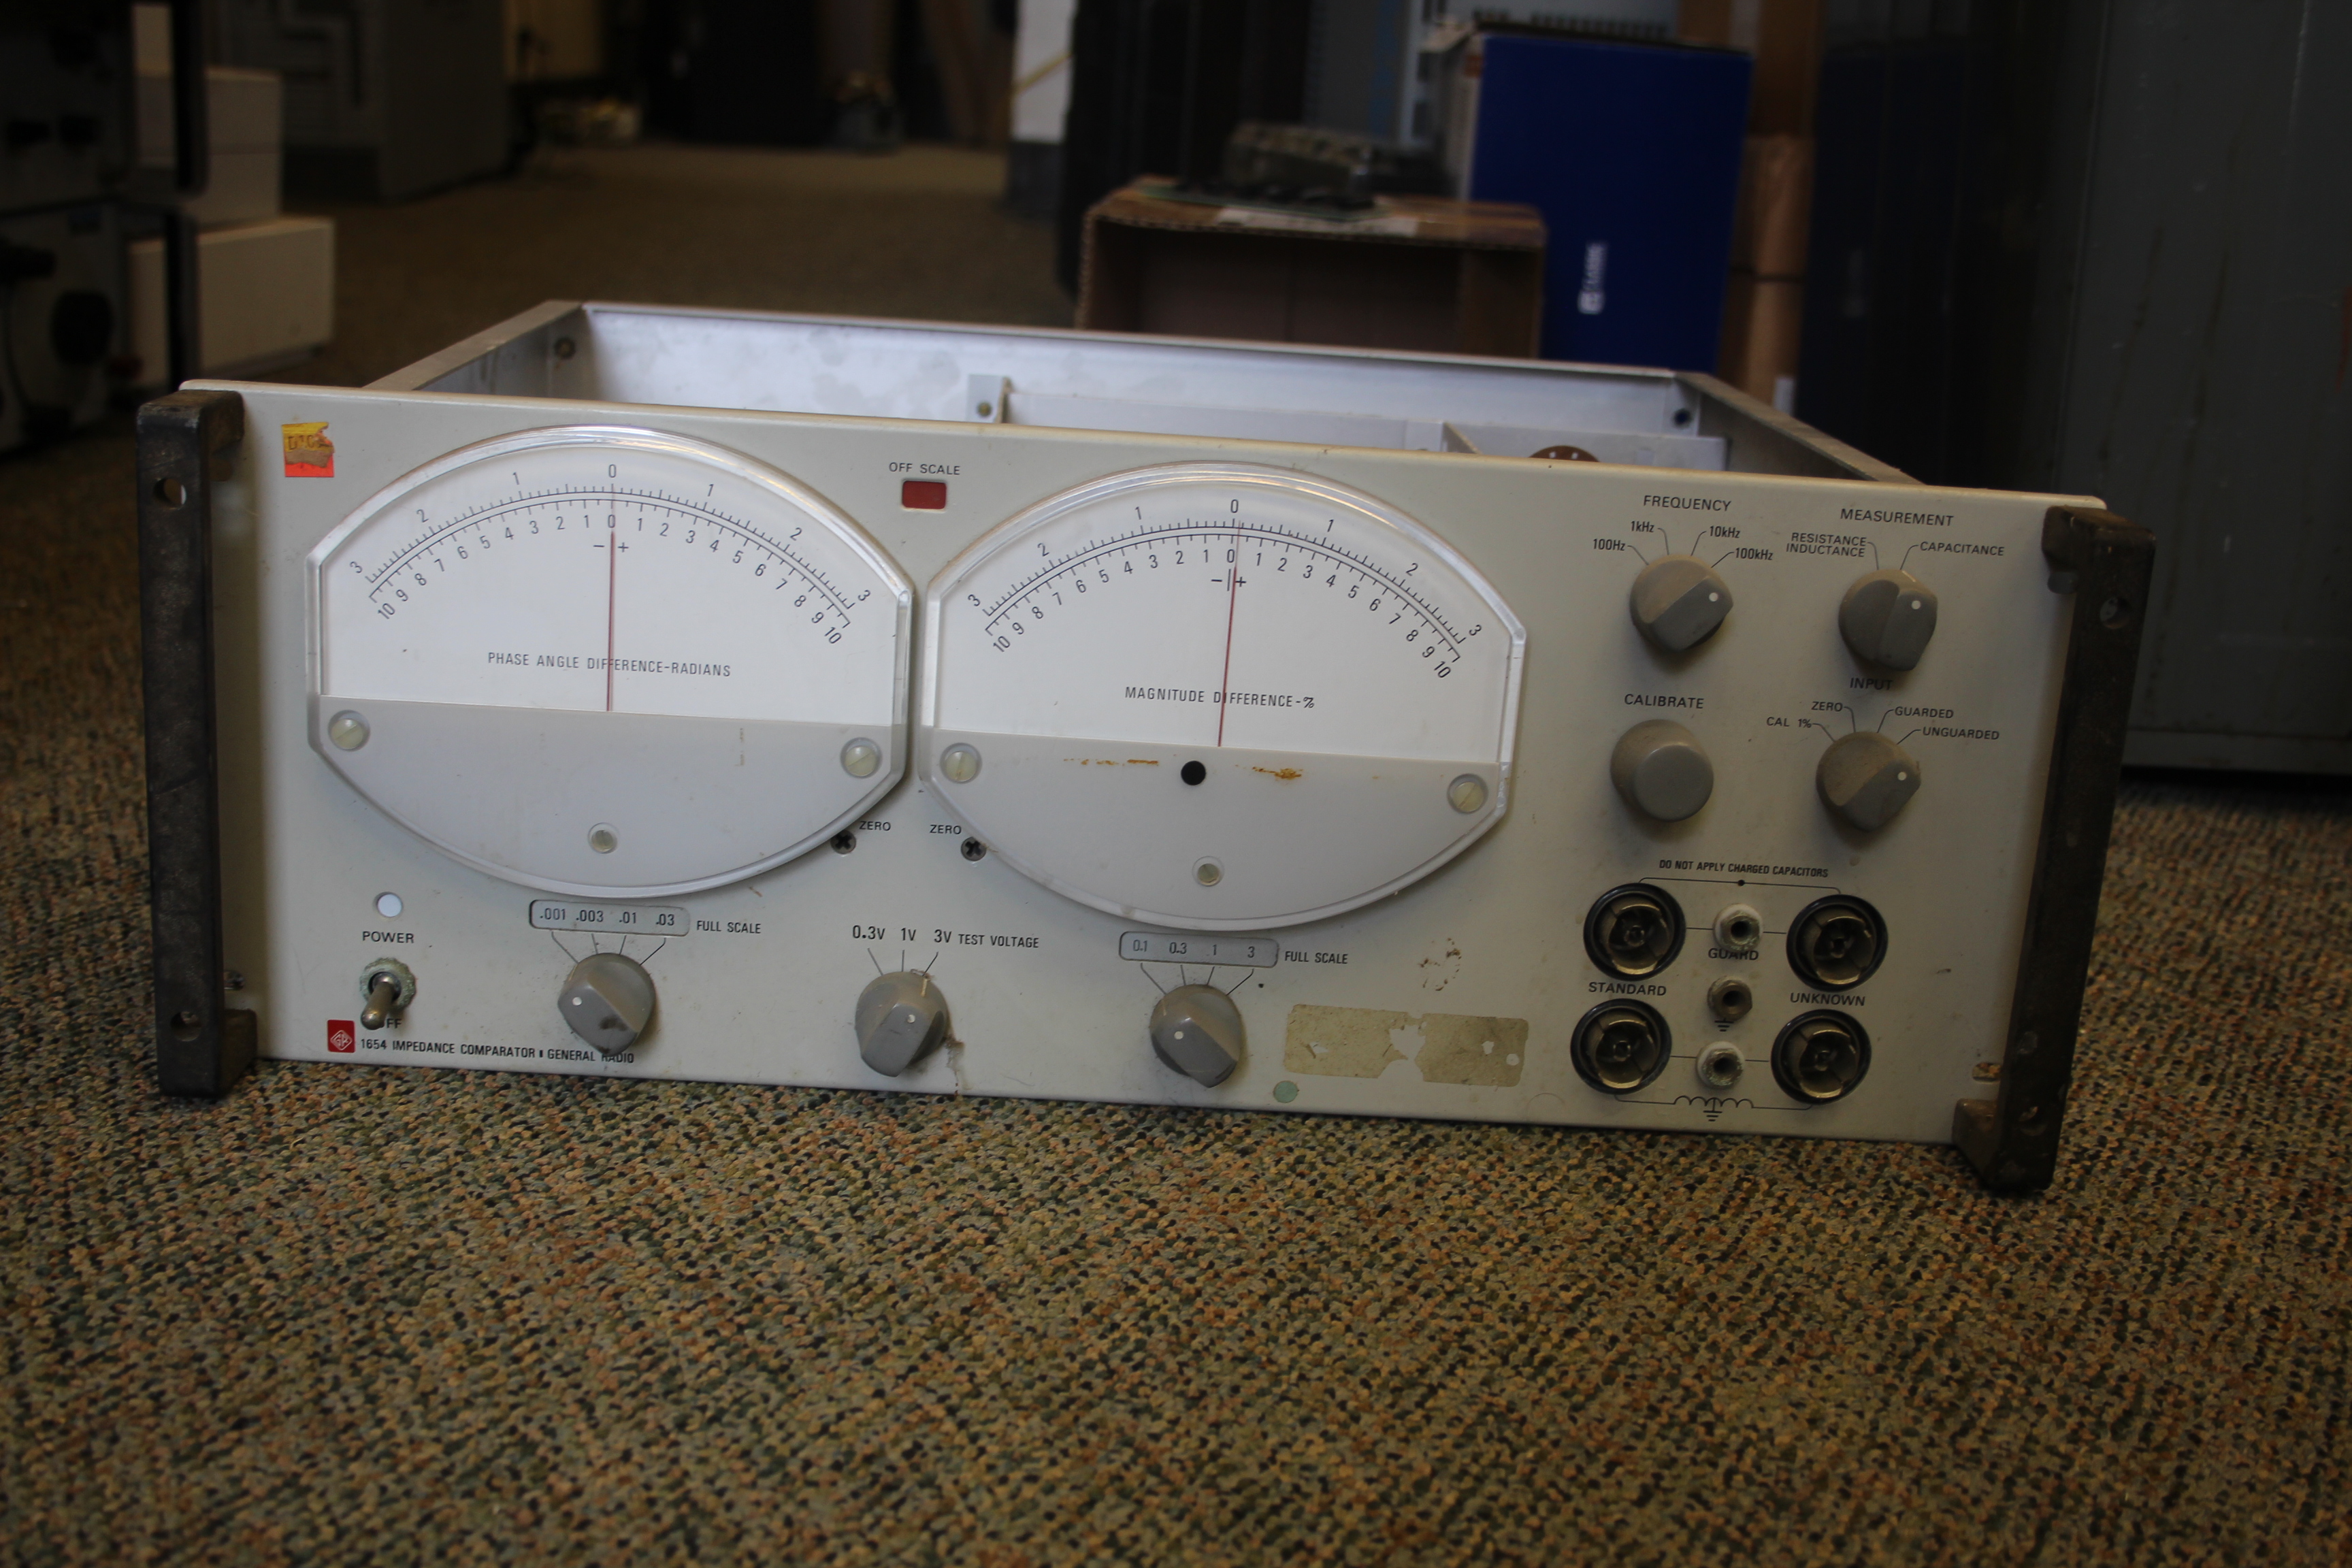
This poor old Gen-Rad 1654 Impedance Comparator looks pretty good from the front, but it’s in very sad shape inside:
This unit was the victim of an unauthorized scrapping by one of Burgess’s previous employees. The scrapping employee got some of my test equipment that was being stored at the Sontec/ITI Audio building while I was moving to New York, but this particular instrument had belonged to Burgess. As seen above, he pulled the cards and also chopped out the card edge sockets. With all of the gold-containing parts removed, the chassis was left in damp, unheated storage. Its exterior case was not with it. At least it did have some useful bits, including the power inlet plug:
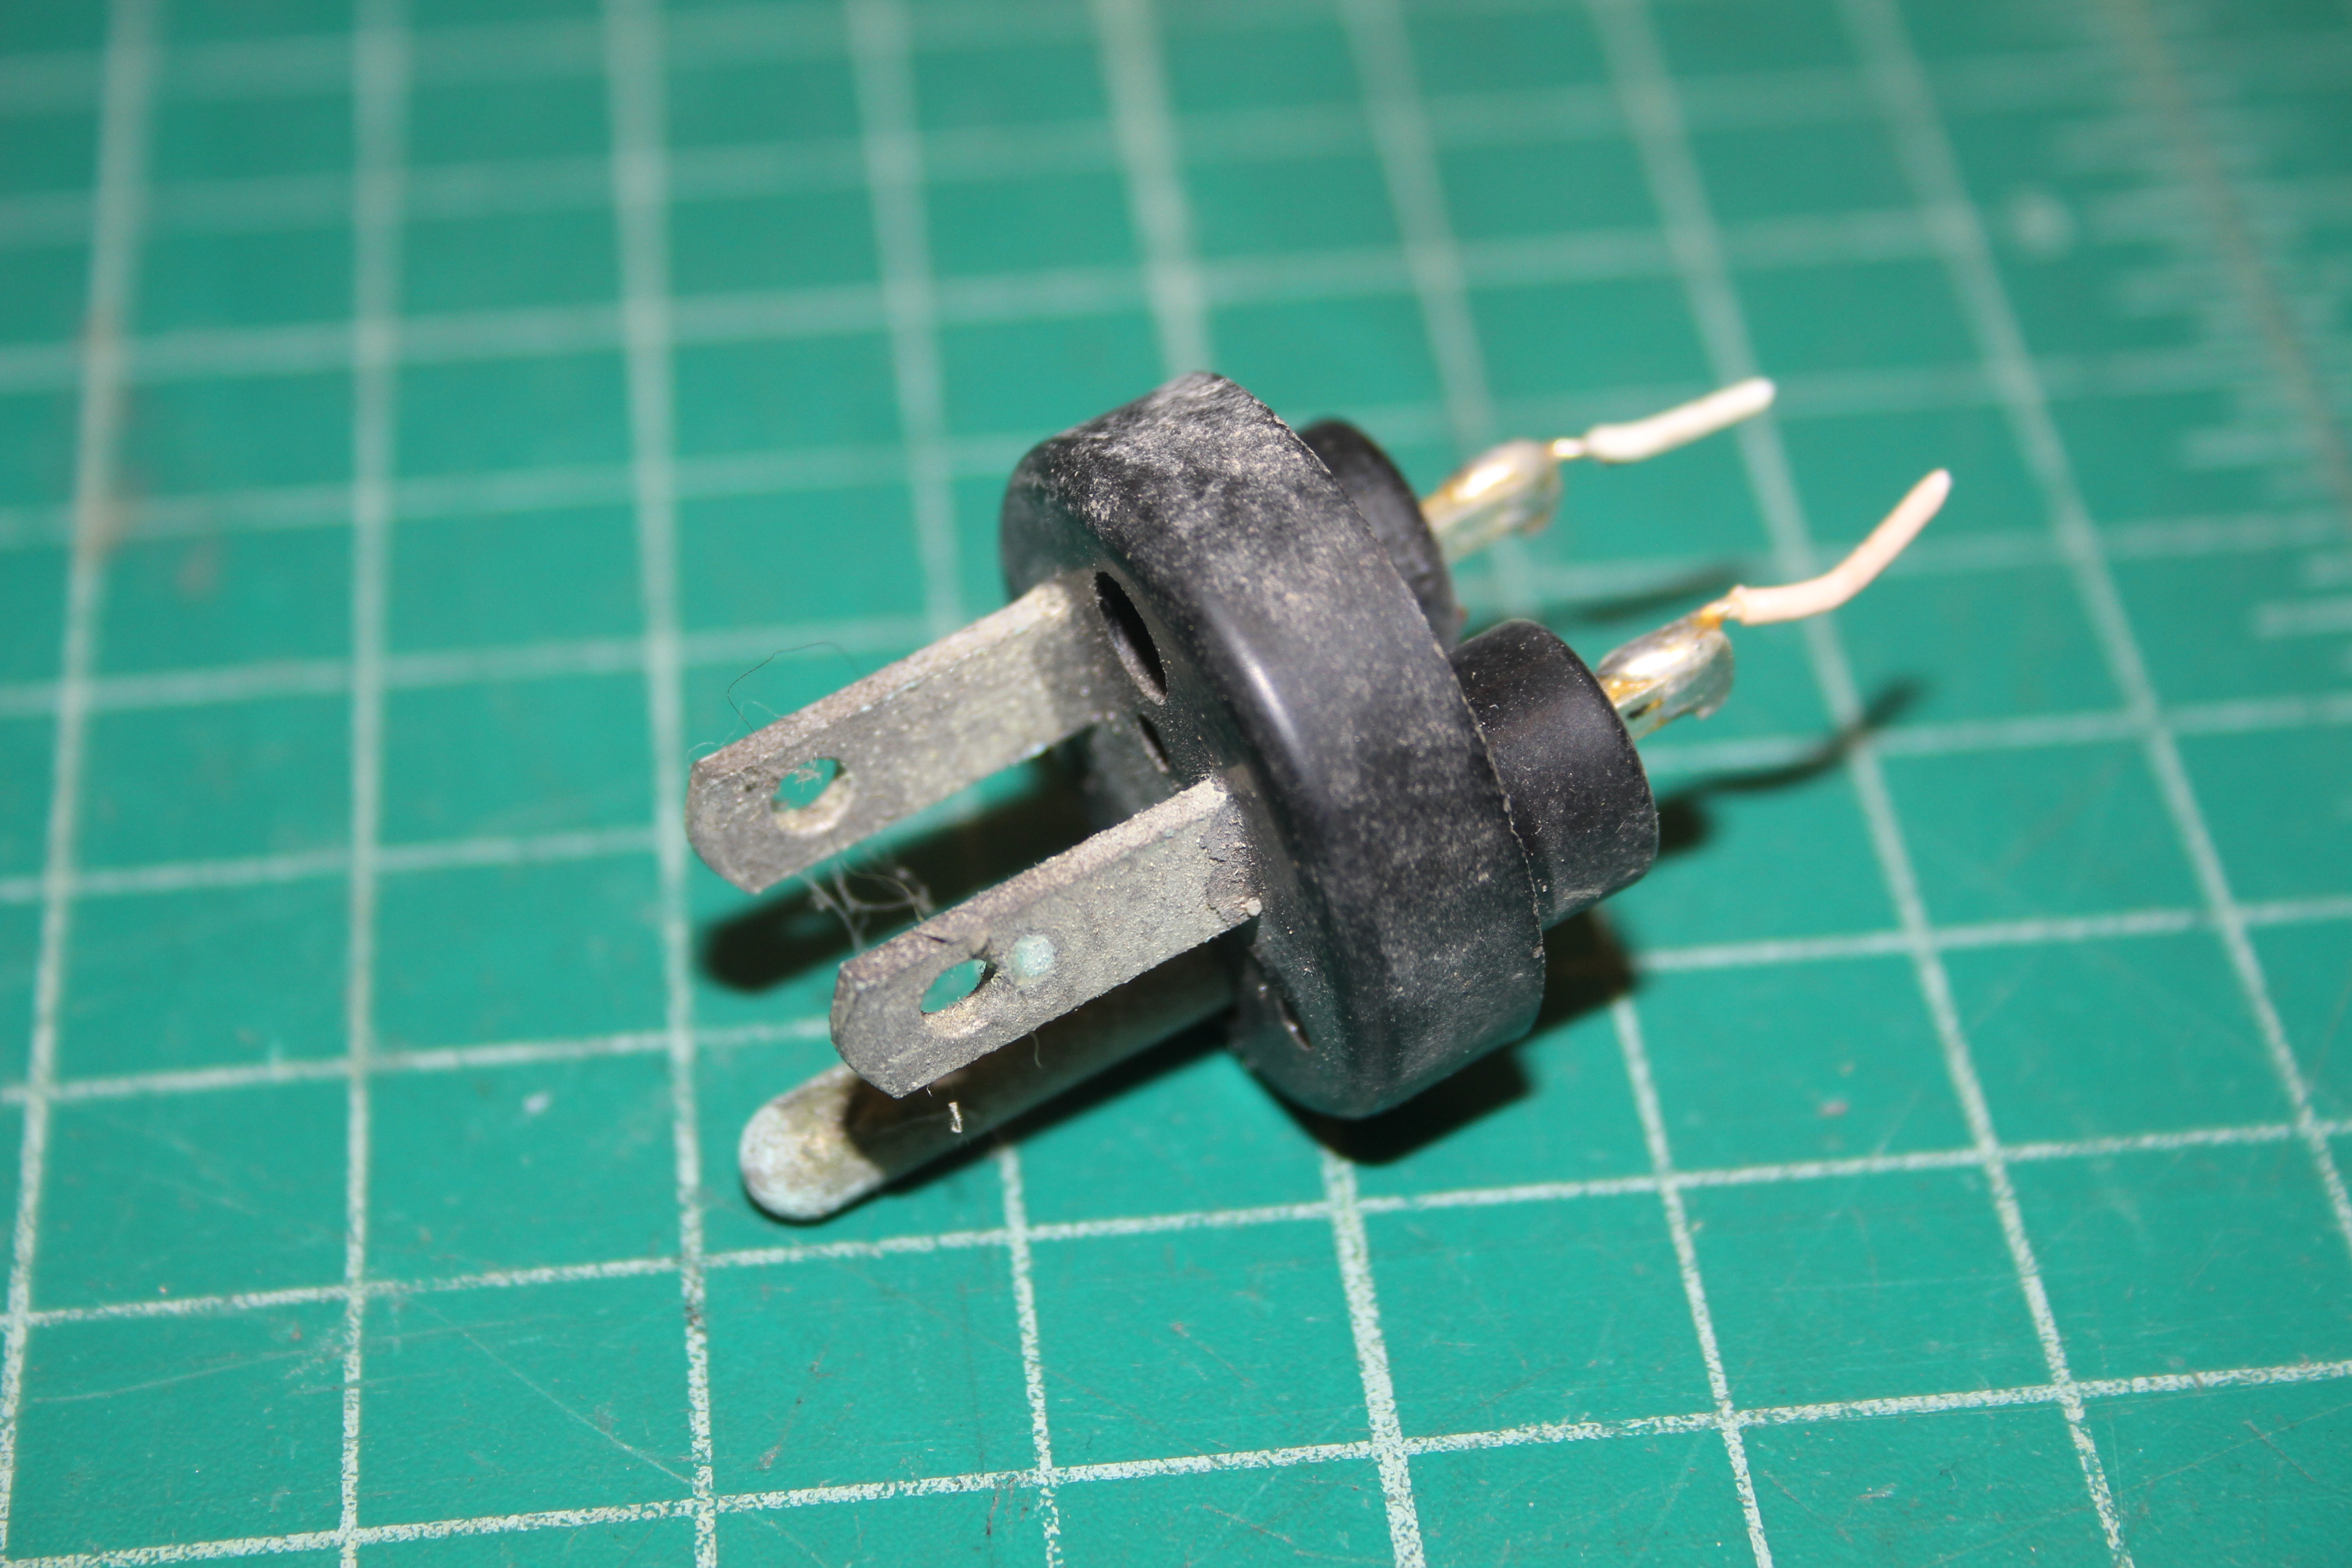
The plug was corroded and filthy from being left in poor storage conditions, but not broken. The pins were cleaned up with a wire brush and polished with crocus cloth. The whole plug was washed with soap and water, dried, and installed in the 1192B counter:
It cleaned up nicely! I was able to save the original insulating sleeves from the Gen-Rad 1654, and used them in the 1192B. I also used the mounting hardware from the 1654.
Final Repairs and Test
With the power inlet connector replaced, the 1192B just required cleanup and a few small tweaks. Some previous owner had clearly been inside this unit, and had damaged the knob cover for the range select. Their solution had been to glue it on, poorly, getting glue all over the front panel in the process. Not all of the glue could be removed without damaging paint, but what would come off was taken off.
Several of the function select switches were not behaving properly. A shot of De-Oxit Gold and working the switches resolved this issue. This is a common problem with radio buttons and push-on/push-off switches.
Someone had set the range knob very close to the display board at some point, and some of the mask for the range legend had been worn off due to intermittent contact with the board substrate. The knob was set away from the board, which required quite a bit of effort as the glue from the attempted knob repair had wicked in between the metal inner knob and the shaft of the rotary switch! The legend on the range knob was not repaired as I was worried about making it worse, and it’s usable as-is.
The 1192B was then reassembled:

For final test, the 1192B was connected to the 10 MHz timebase output on the HP 5316B counter. The 5316B has an ovenized oscillator and has been recently checked against a rubidium source. Without any adjustment of its internal timebase, the 1192B reads 10.0000 MHz:
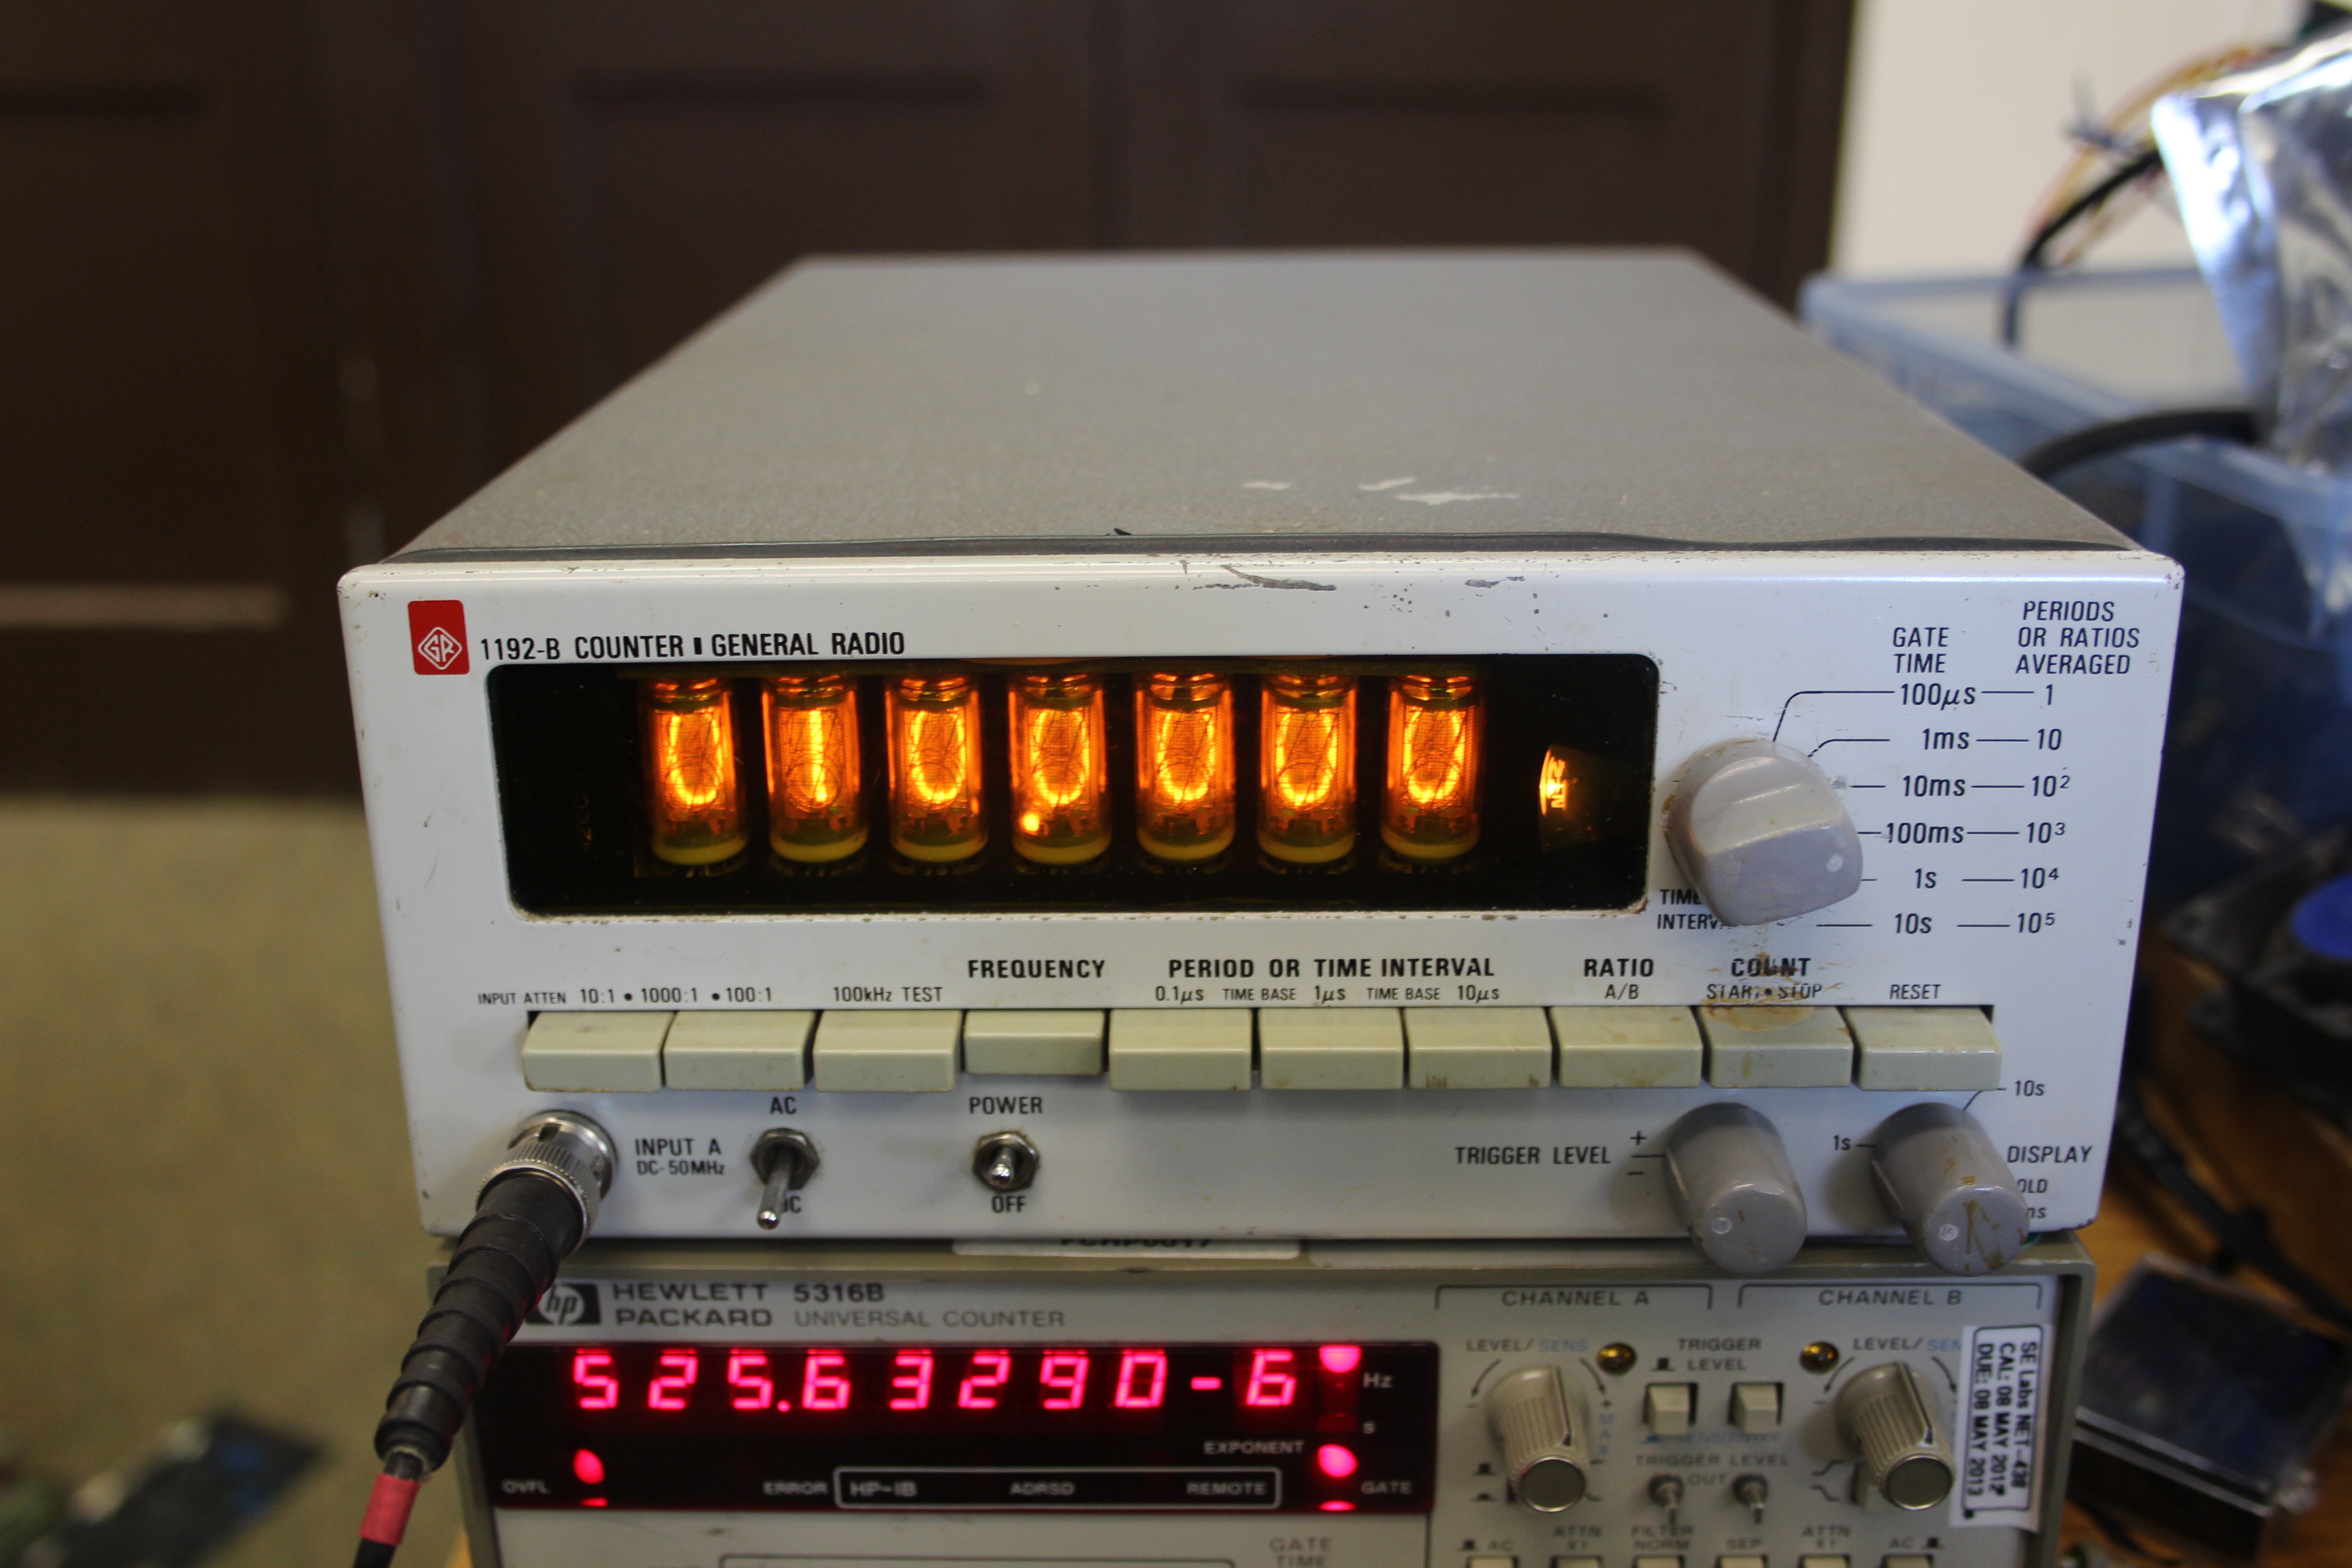
Pretty good for an old counter! So, what does one do with a 32 MHz counter nowadays? This one doesn’t have the features that a newer counter like the HP 5316B has, but since it’s not particularly large, it’s still handy for monitoring the output of analog oscillators and function generators, like the Krohn-Hite 5100B.
Aside from monitoring analog oscillators, small, lower bandwidth counters can still be used in their original capacity; that is, counting events and lower frequency signals. A counter like this would make a good companion to a 20 MHz oscilloscope.
Nixie tube counters repaired