Topic: Kaypro II Complete Repair
Date: 2022 JUN 29
This Kaypro II was purchased in late spring or summer of 2010 as a local pick-up deal in southern Pennsylvania. I happened to be traveling through the area, so it was convenient to make a stop and pick up an otherwise hard-to-ship lot. The lot included not only the Kaypro II, but a fairly complete set of documentation, original diskettes, a Kaypro-branded Diablo daisywheel printer, and even the faux leather carrying cover. Unfortunately, the Kaypro itself had been stored rather poorly and was exposed to excessive moisture. It had been (poorly) hacked on at some point in its (vintage) past. It never seemed to find time on the bench, since I had other working CP/M systems and usually even other Kaypros in the shop at any given time.
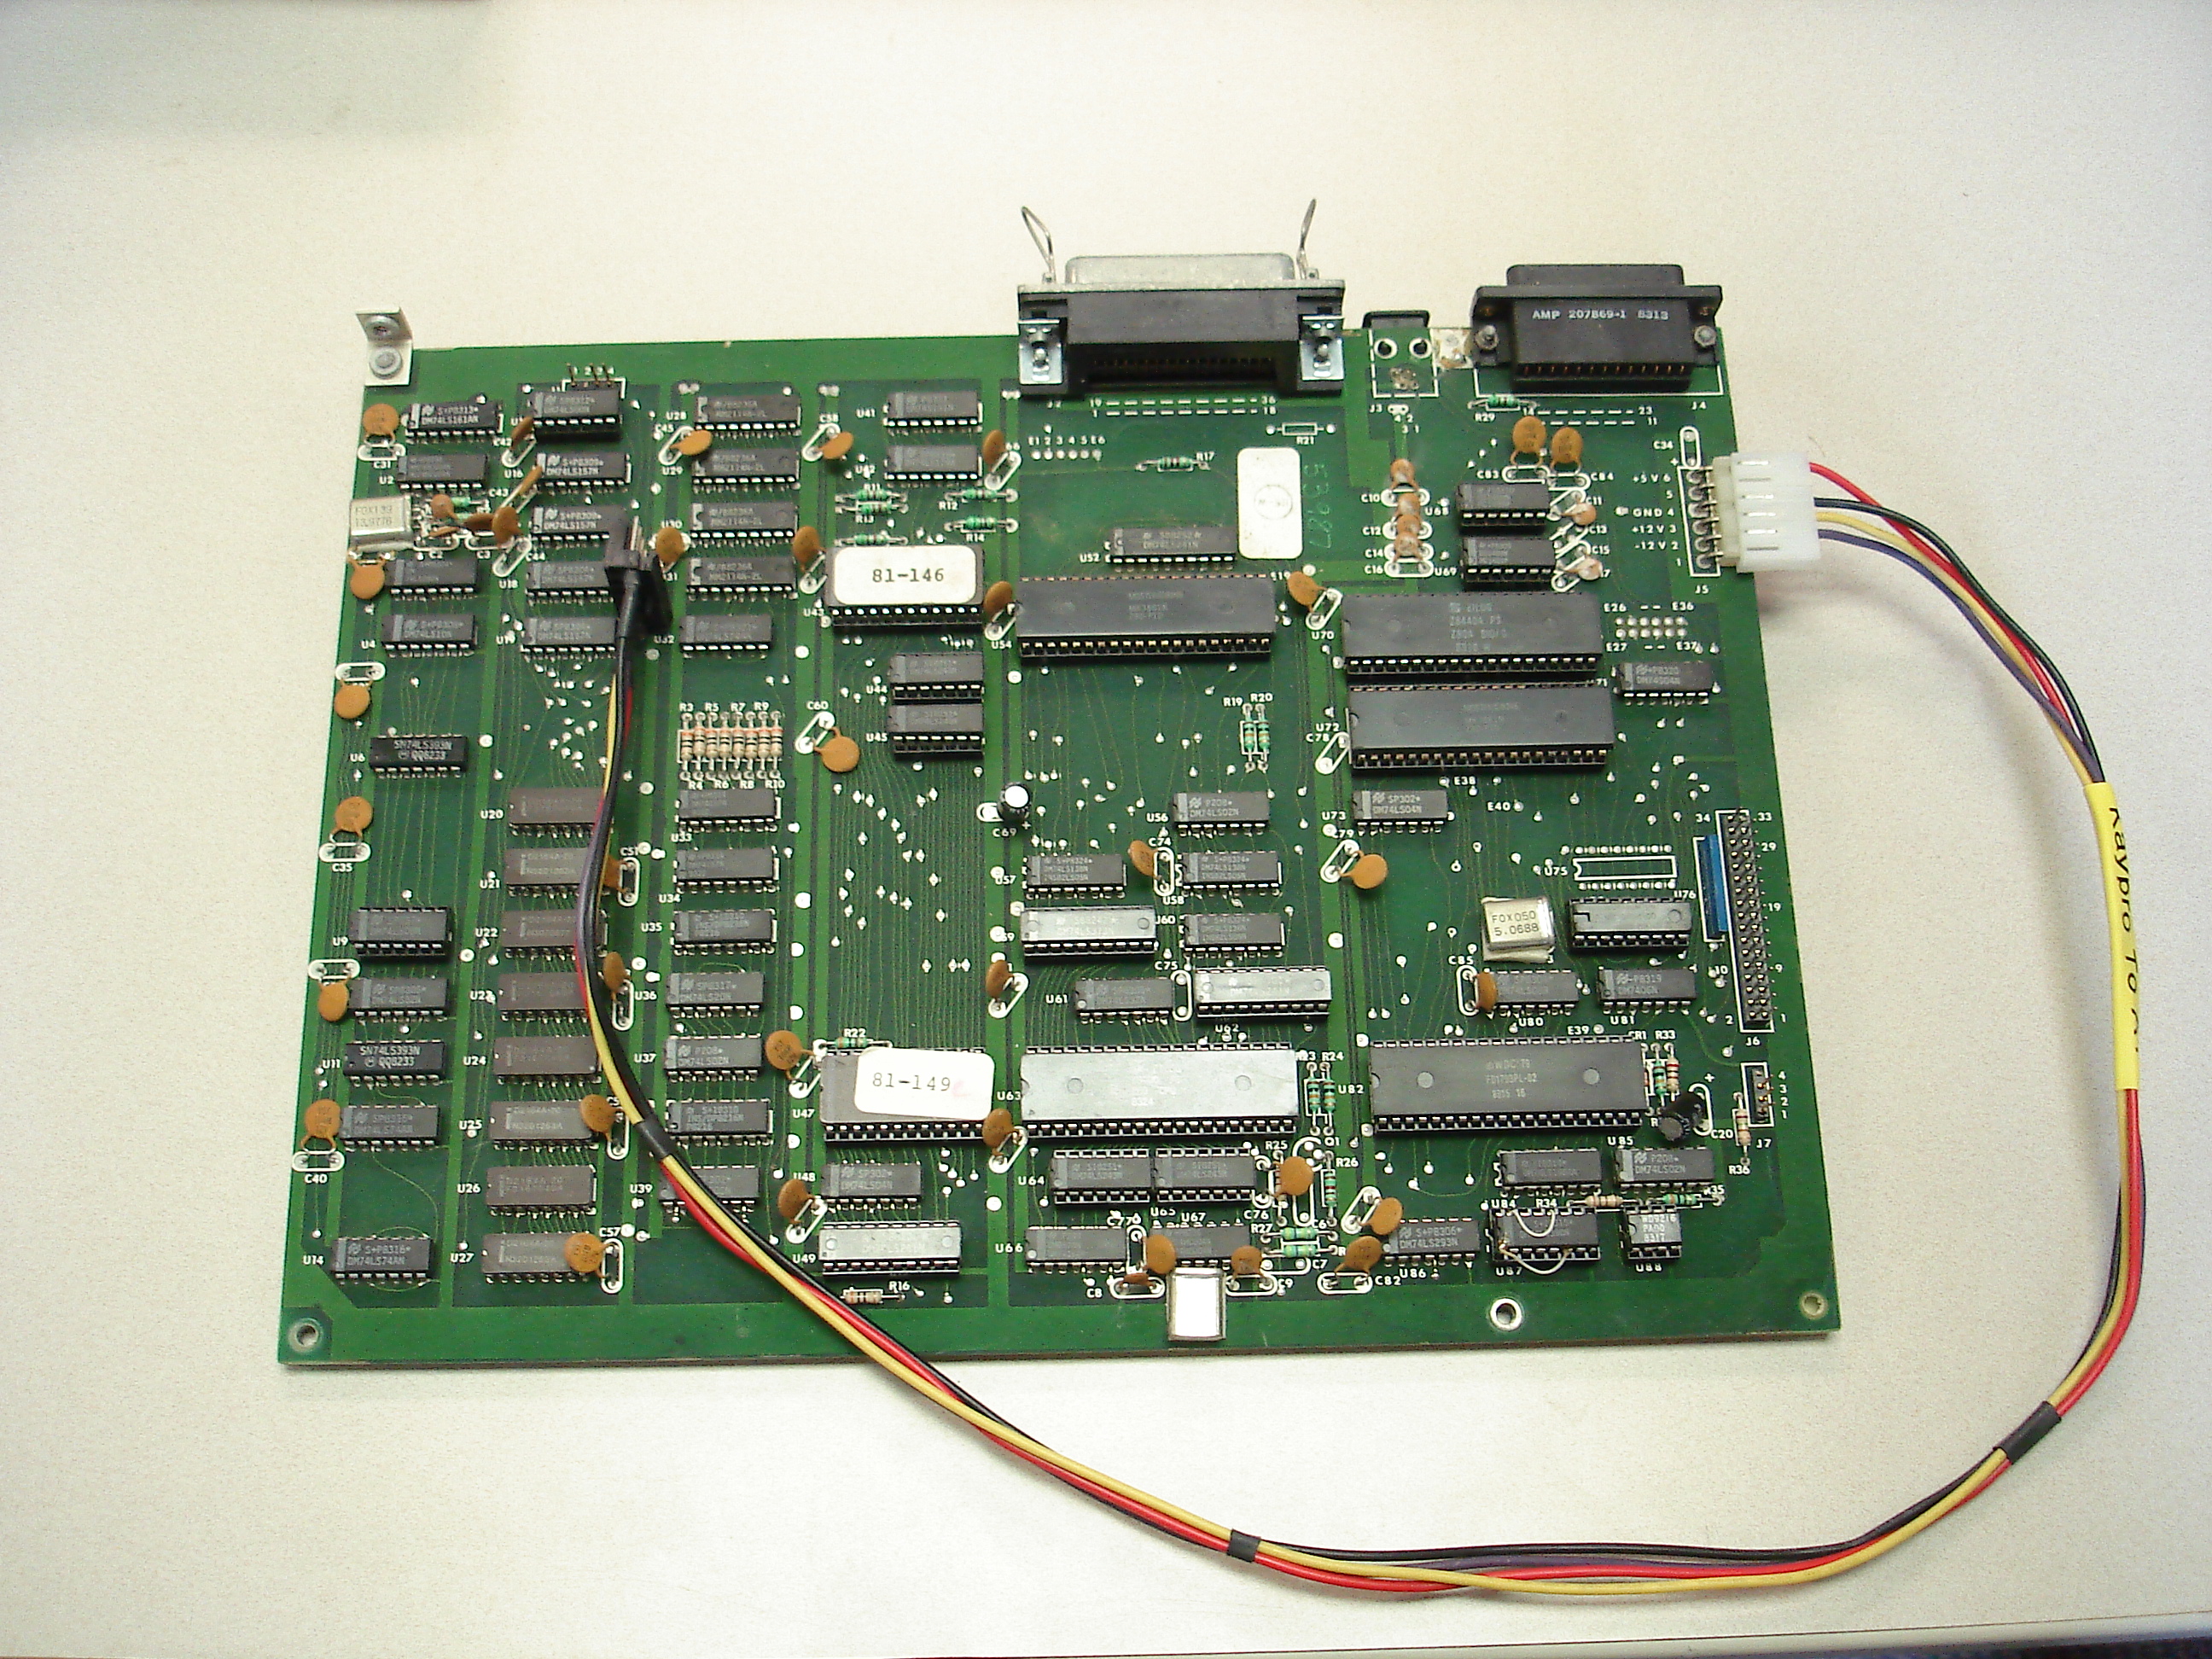
In May 2021 I had need to test software on an original straight Kaypro II and decided to finally fix this one up. What a mess! Every part of the system had some issue, except the keyboard. To get the testing done, the motherboard was powered up with a testing pigtail fed from an AT computer power supply:
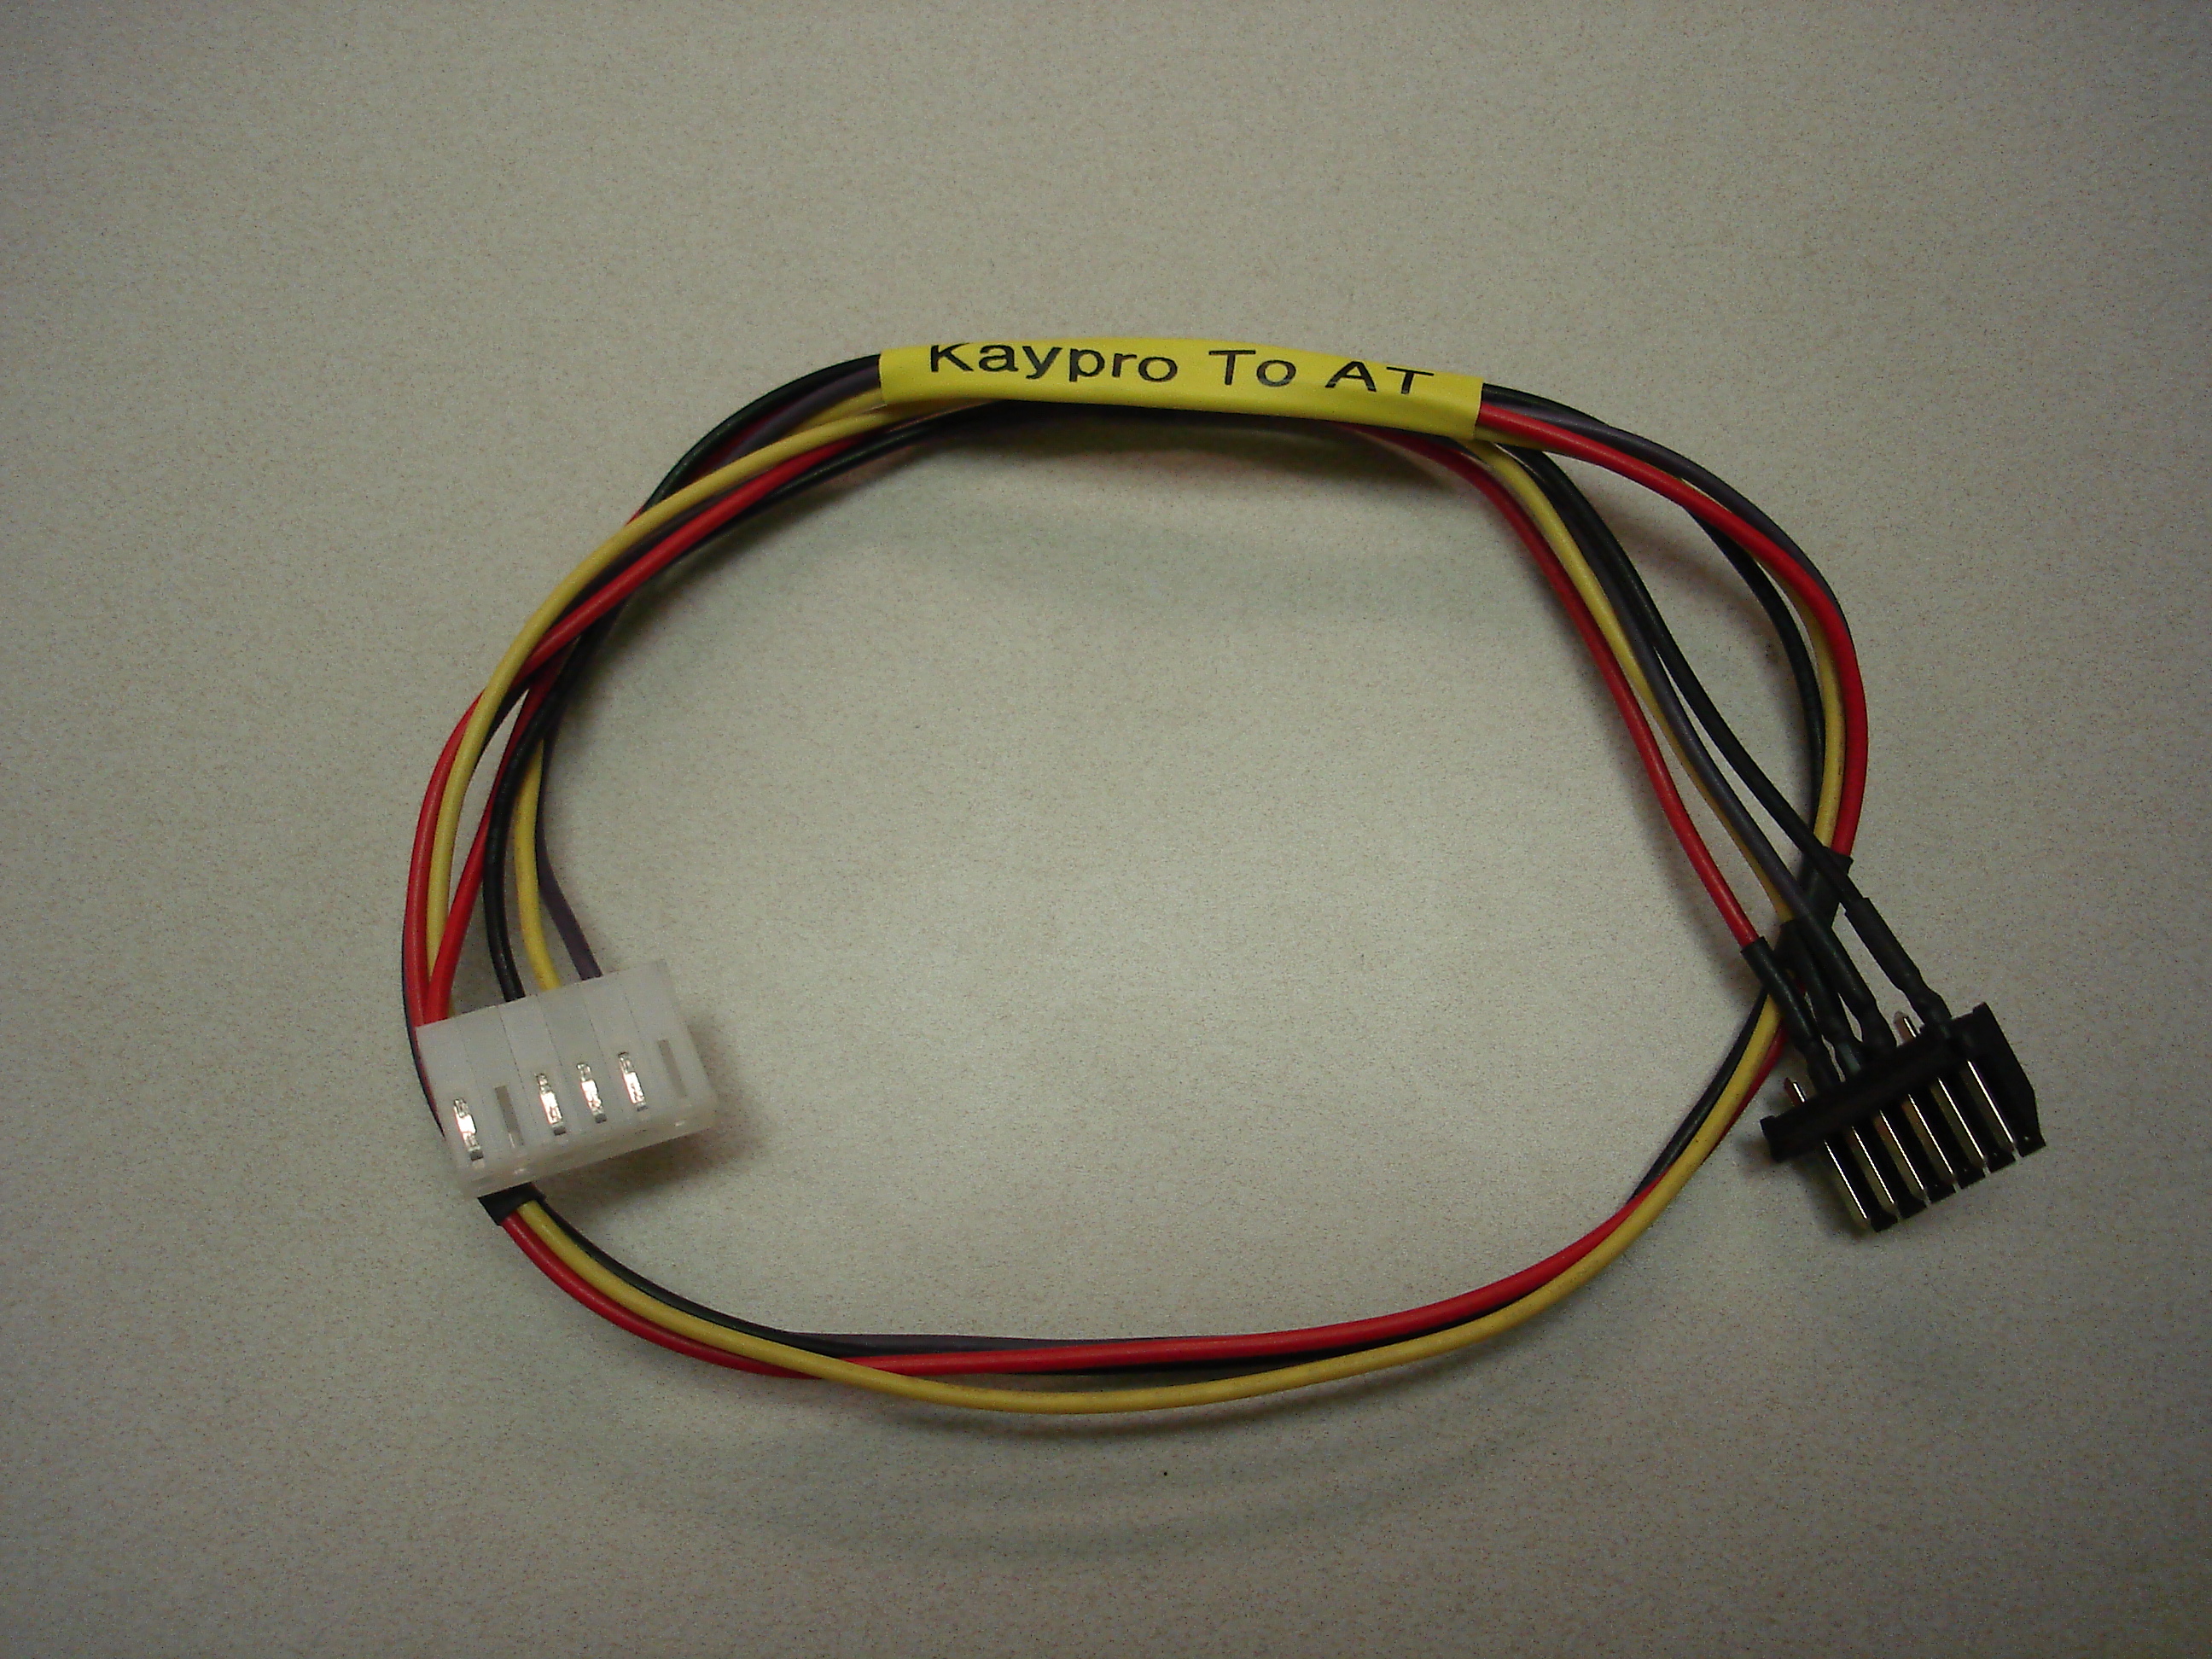
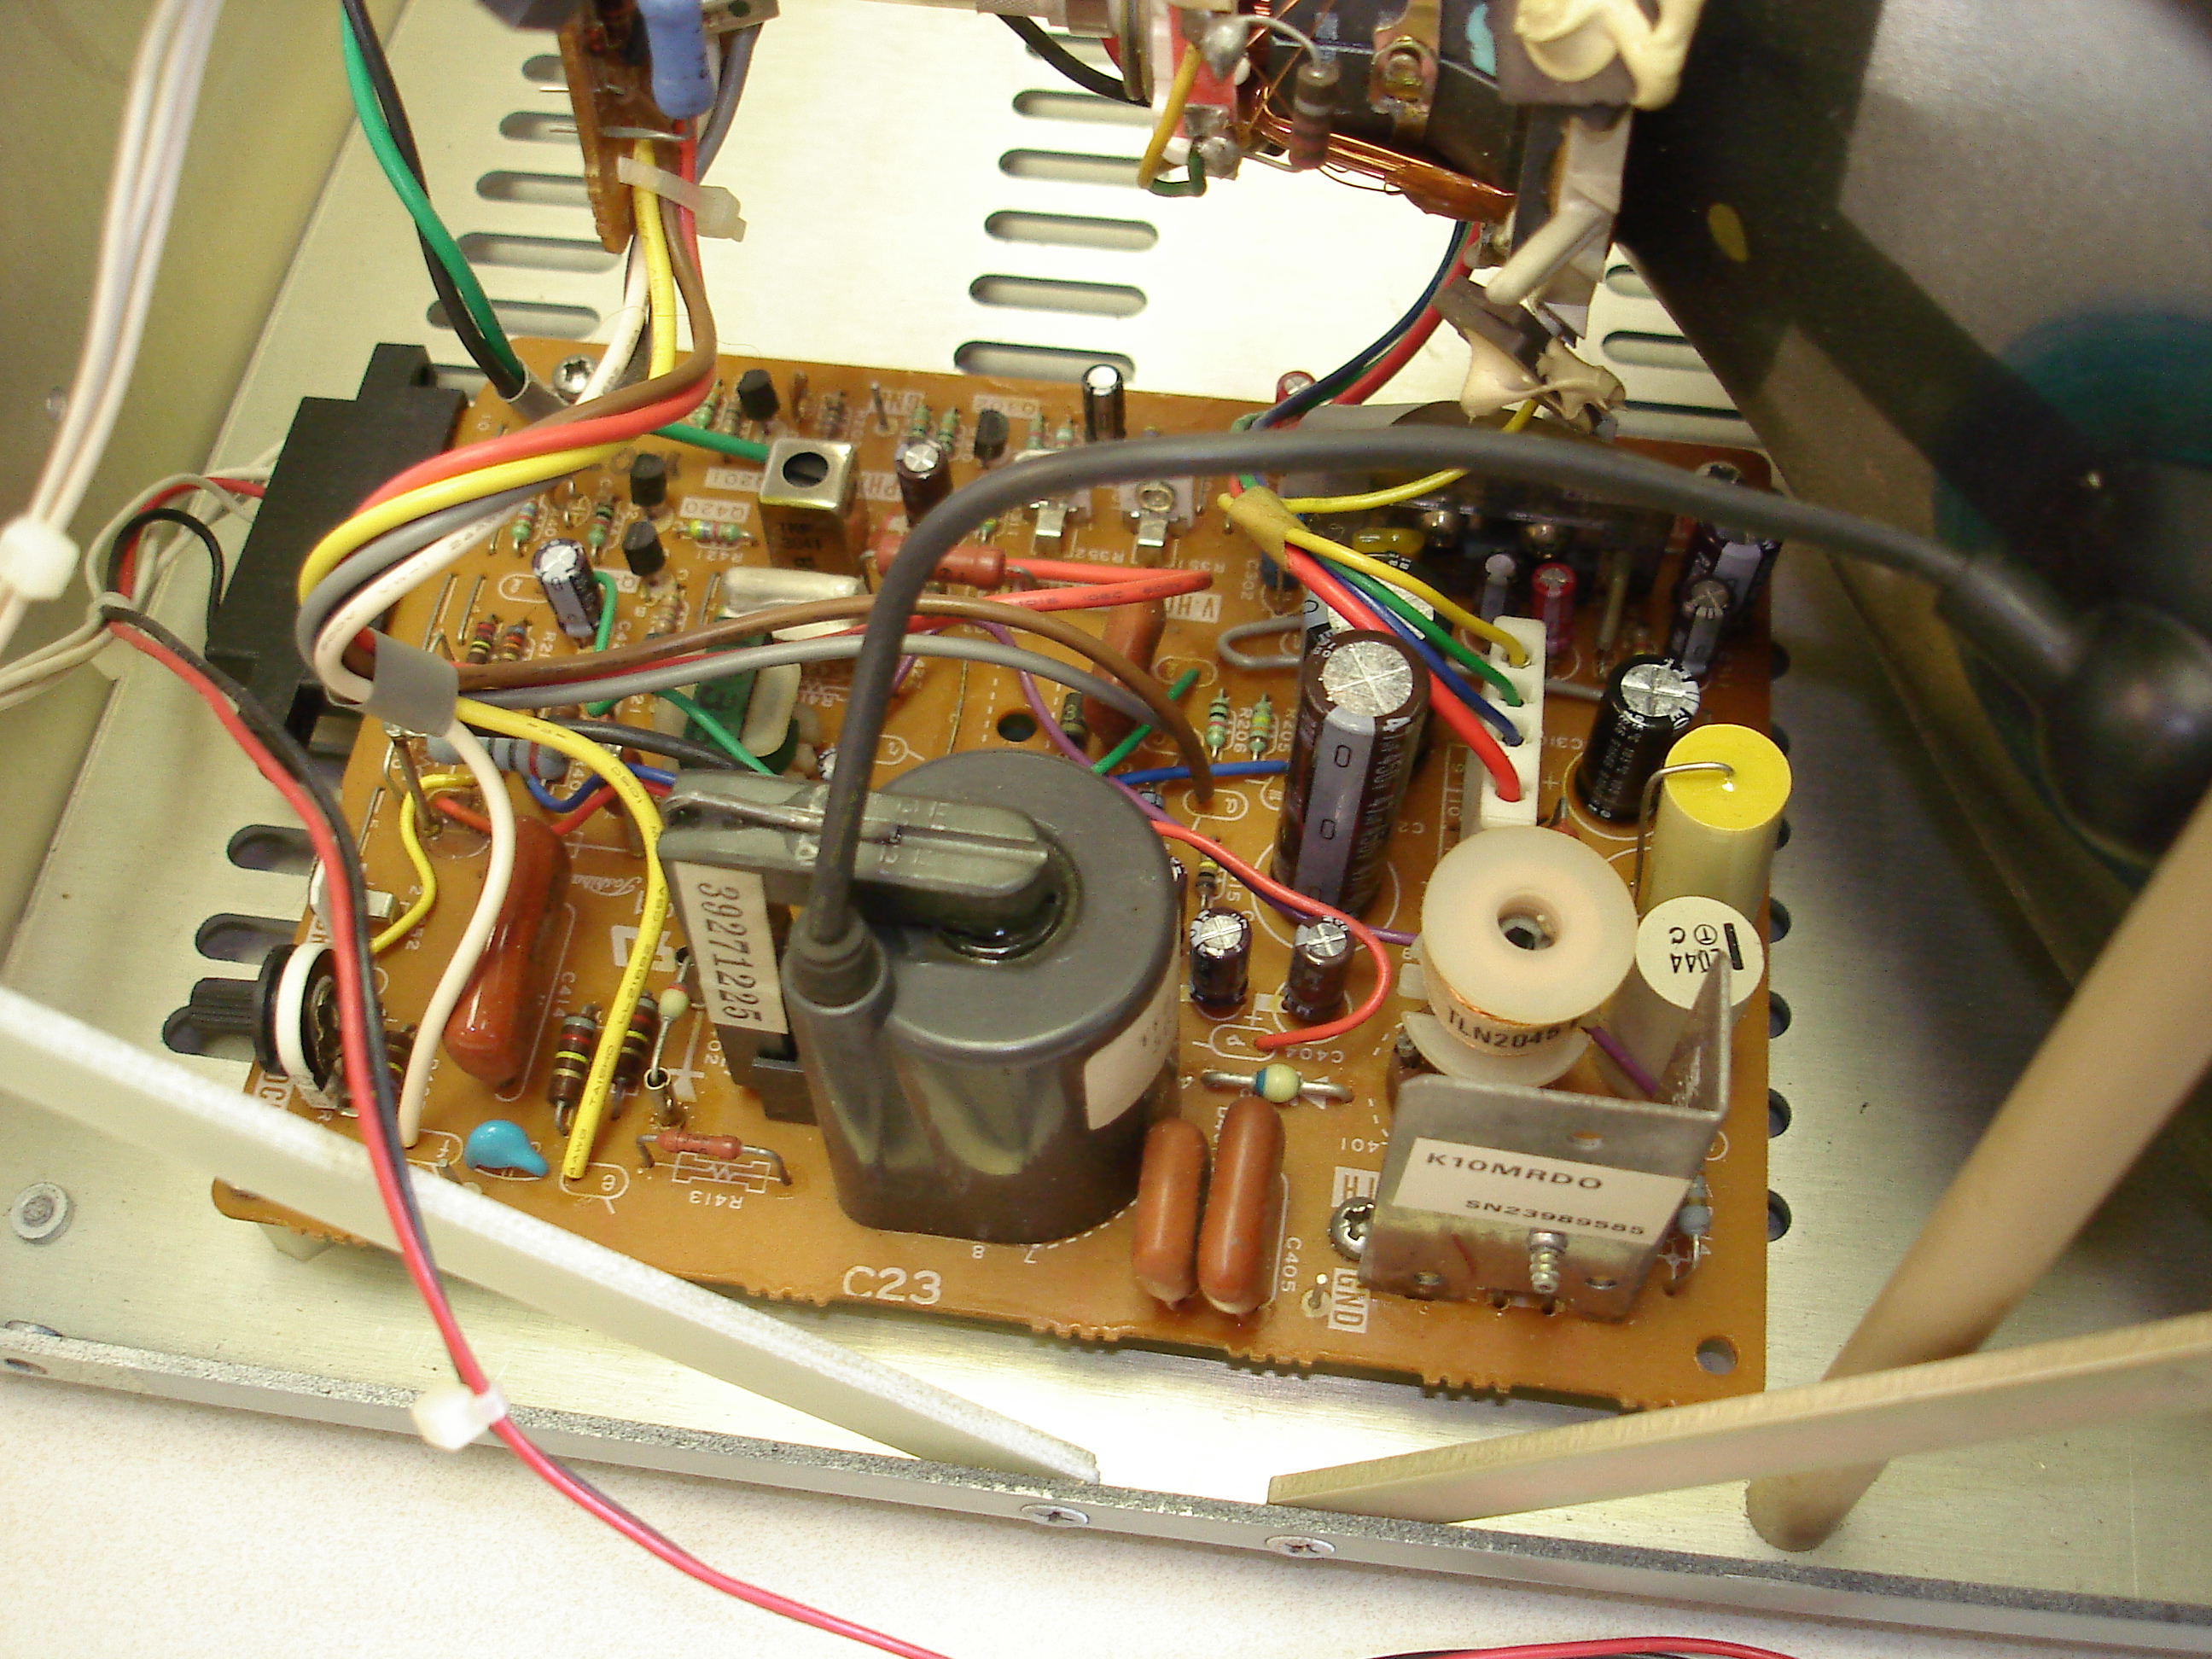
This was necessary as the power supply in the Kaypro II was completely dead. The monitor had a dead bipolar electrolytic in it, and was fully recapped for the 2021 testing. The bipolar was replaced with a film capacitor:
With the monitor operating and adjusted, the diskette drives were tested. Both were dead, so an external diskette cabinet usually used with other machines served as drives for the Kaypro II.
Software testing finished up, I wrote KERMIT-80 diskettes out for a friend, and the Kaypro II was shelved again. Bits and pieces were worked on over time. I finally had some time in June 2022 to finalize repairs – really, more to free up the shelf space it occupied!
Floppy Drive Issues
Both diskette drives had problems. They were full height Tandon TM-100 drives, single-sided, and didn’t look like they were original to the machine as they had non-Kaypro QC stickers. Both were heavily oxidized, and had that white crust that forms on aluminum exposed to high-humidity environments.
The top/A: drive had everything imaginable wrong with it:
- Blown tantalum capacitor, which took out a filter choke
- Open chokes in the read amp circuit
- Dead capacitors in the motor control board
- So much build-up on the spindle motor commutator that it would only run intermittently
- Serious alignment and track 0 sensor issues
In the end, the A: drive ended up being unrepairable. With almost every sub-component of the drive cleaned, repaired, or replaced, I was unable to get it aligned properly. Putting it in alignment for the cat’s eye track put it out for tracks further in. Azimuth alignment was unacceptable. Additionally, sometimes it would step improperly and end up between tracks. This drive was relegated to the parts heap and replaced by another single-sided Tandon TM-100 from a TRS-80 external disk cabinet.
The lower/B: drive was in better shape, though also had a lot of corrosion. The freshly rebuilt/repaired control boards from the A: drive were transferred to the B: drive, and it was aligned. This time, there were no major alignment issues!
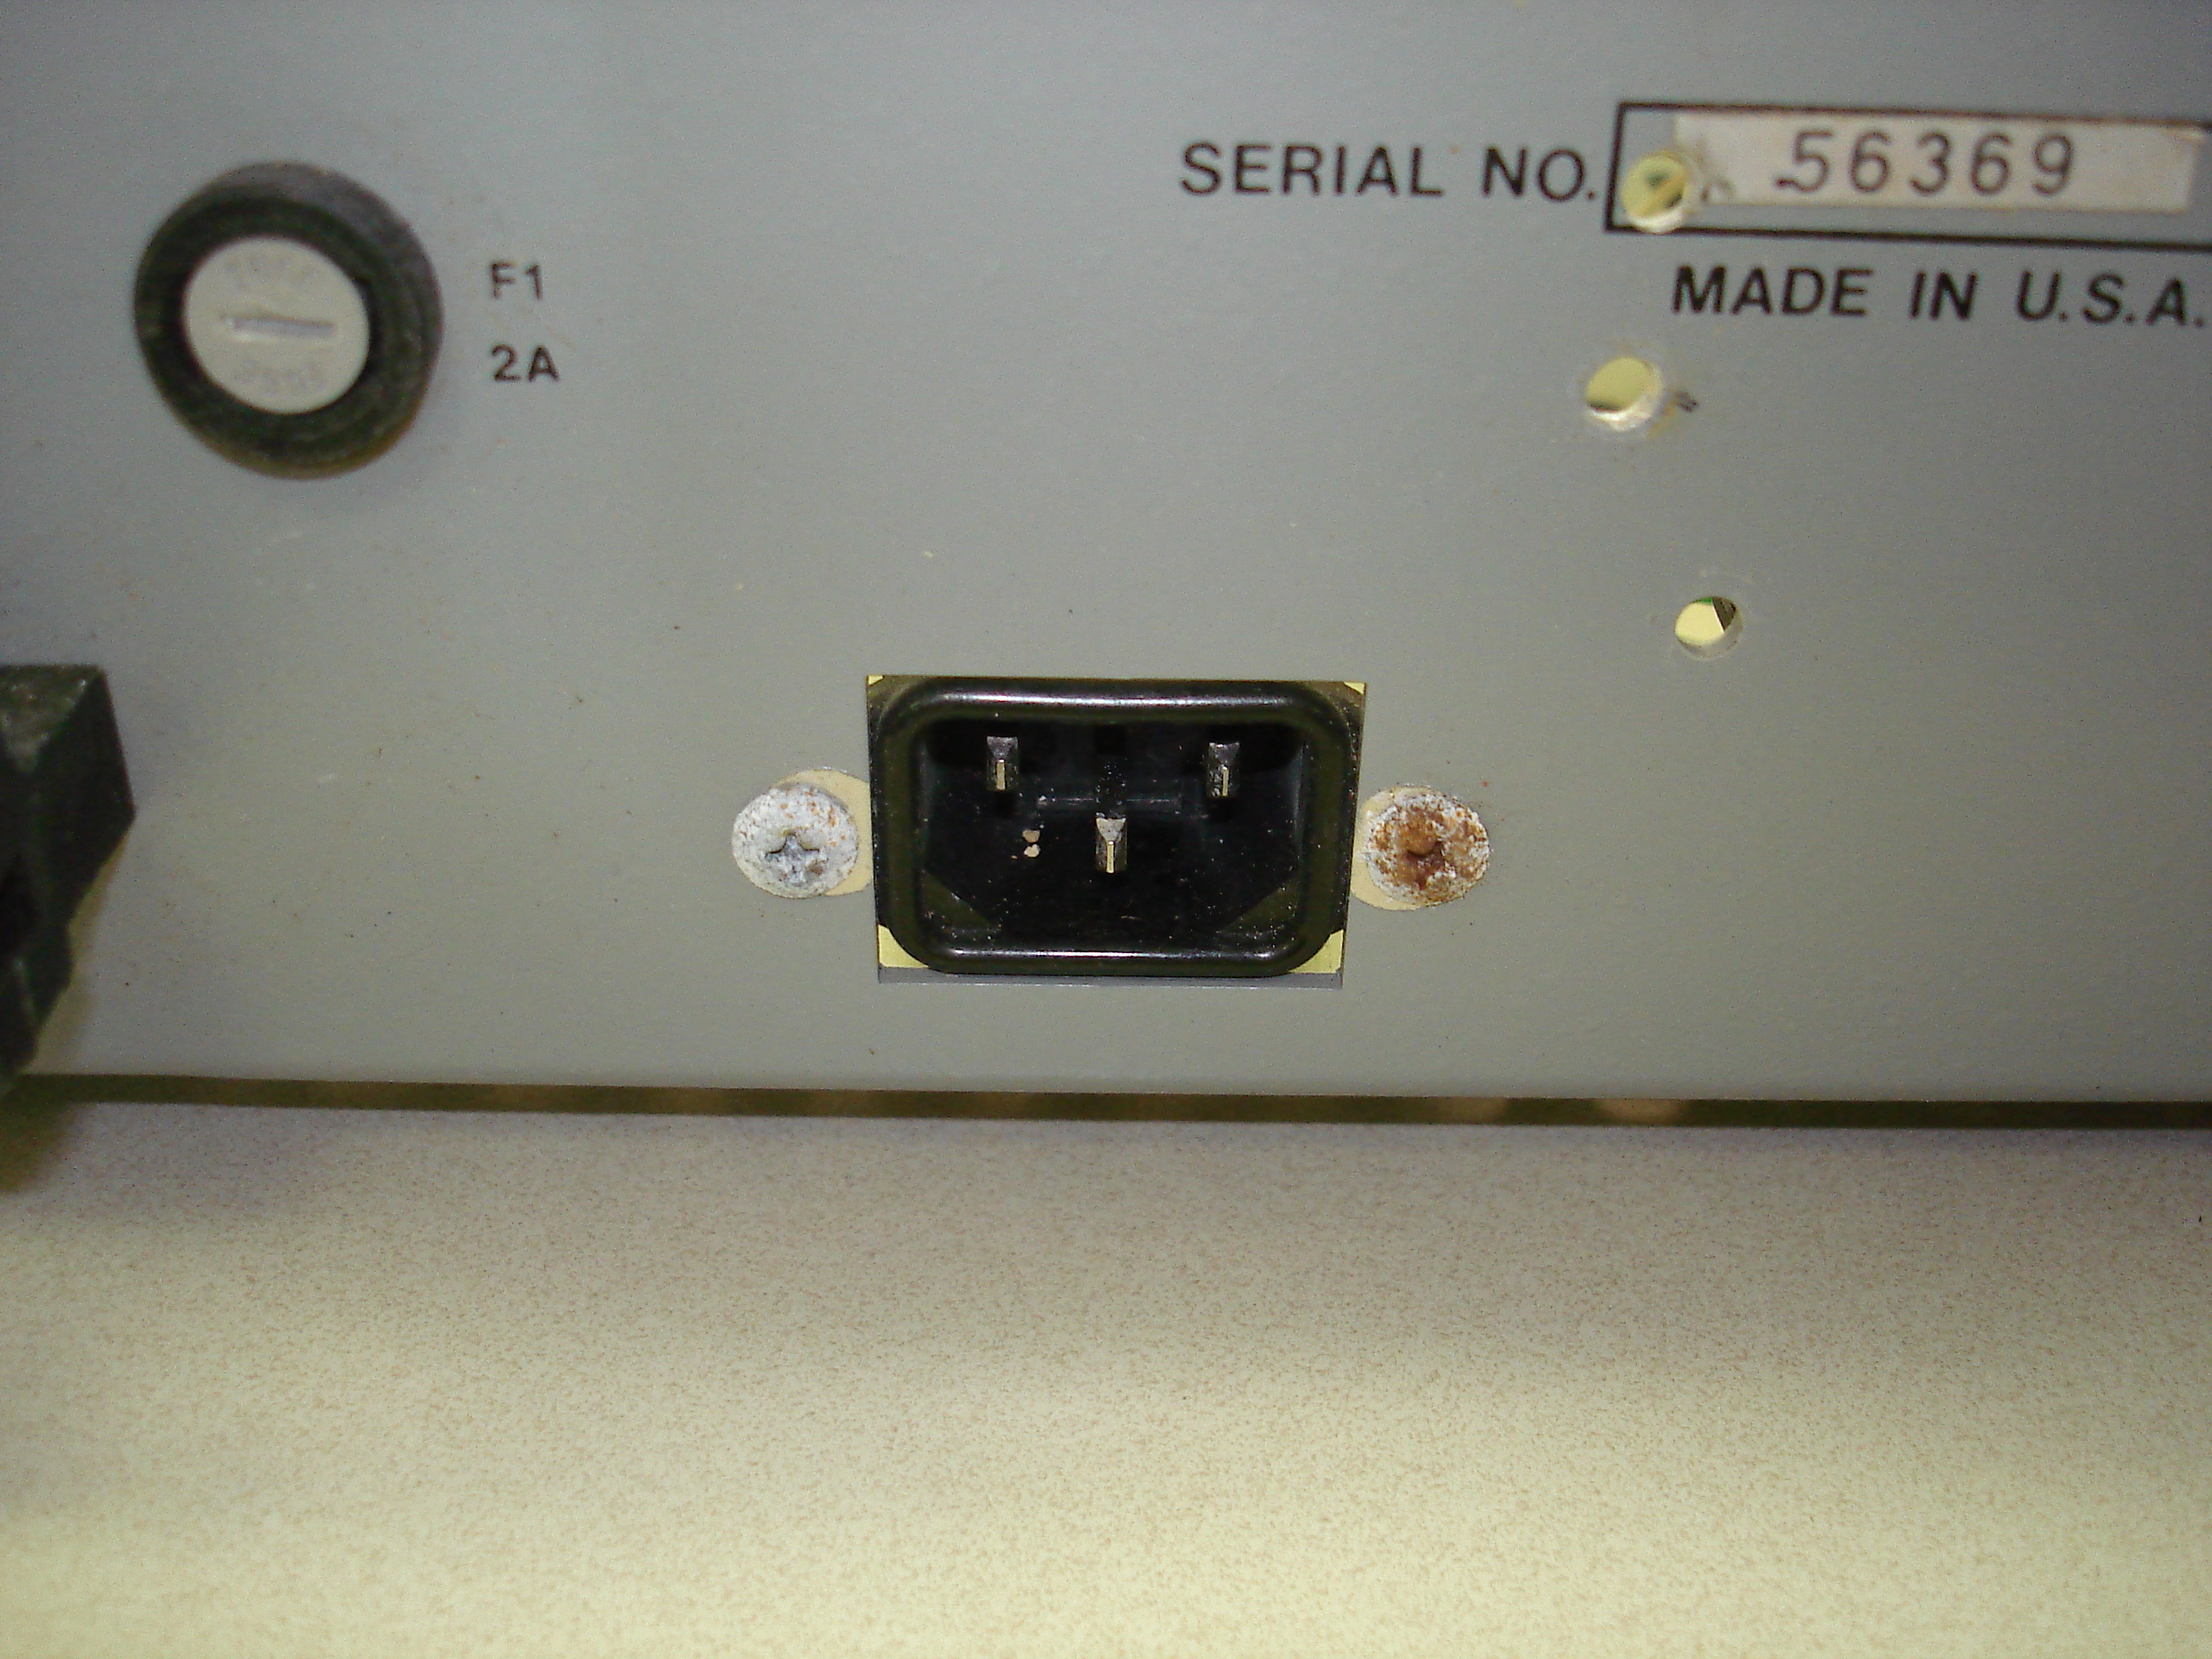
Power Supply Replacement
The power supply that was installed in this Kaypro II when purchased was not an original power supply:
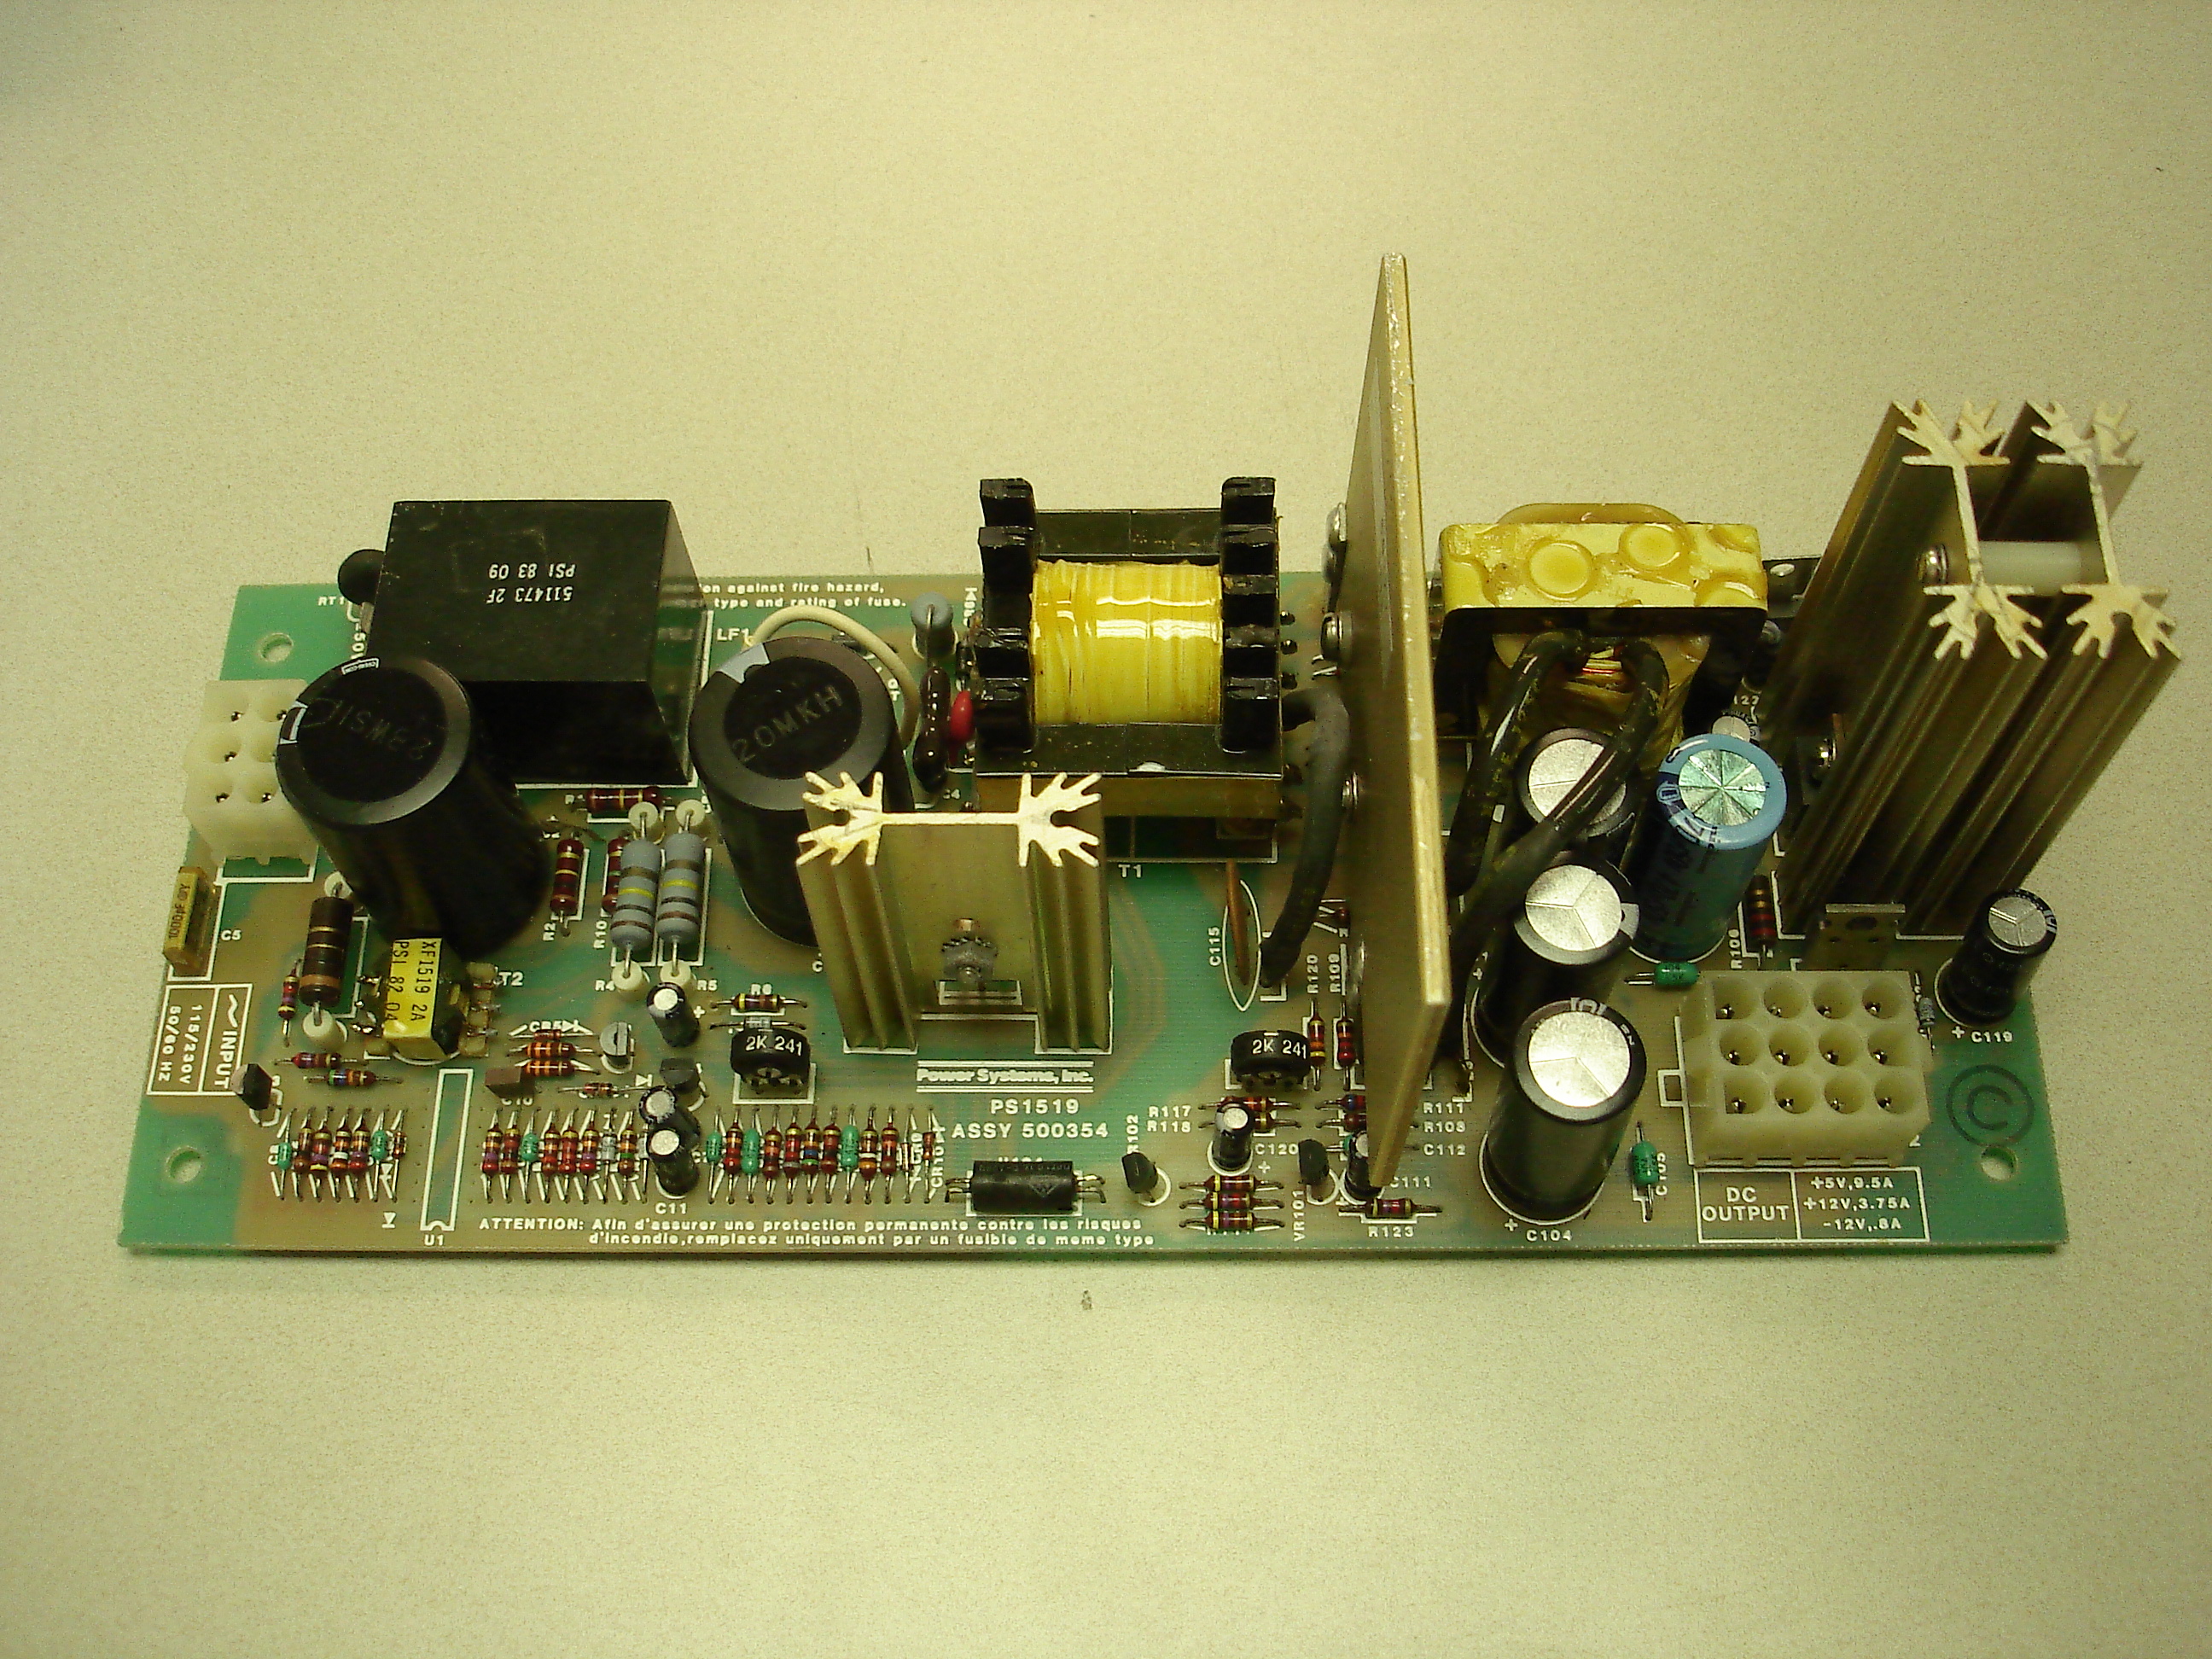
This isn’t a model listed in any of the Kaypro hardware documentation. There were extra mounting holes drilled somewhat crudely through the back of the case to accommodate it. The AC and DC wiring was hacked up to patch in the non-OEM supply. On top of all that, it no longer worked! Rather than attempt to repair it, since it was not original anyway, it was replaced with a Mean-Well RT-85B. The Mean-Well is an excellent fit and provides ample power for a Kaypro II. It has auto-ranging inputs, too. Here it is, being test fit:
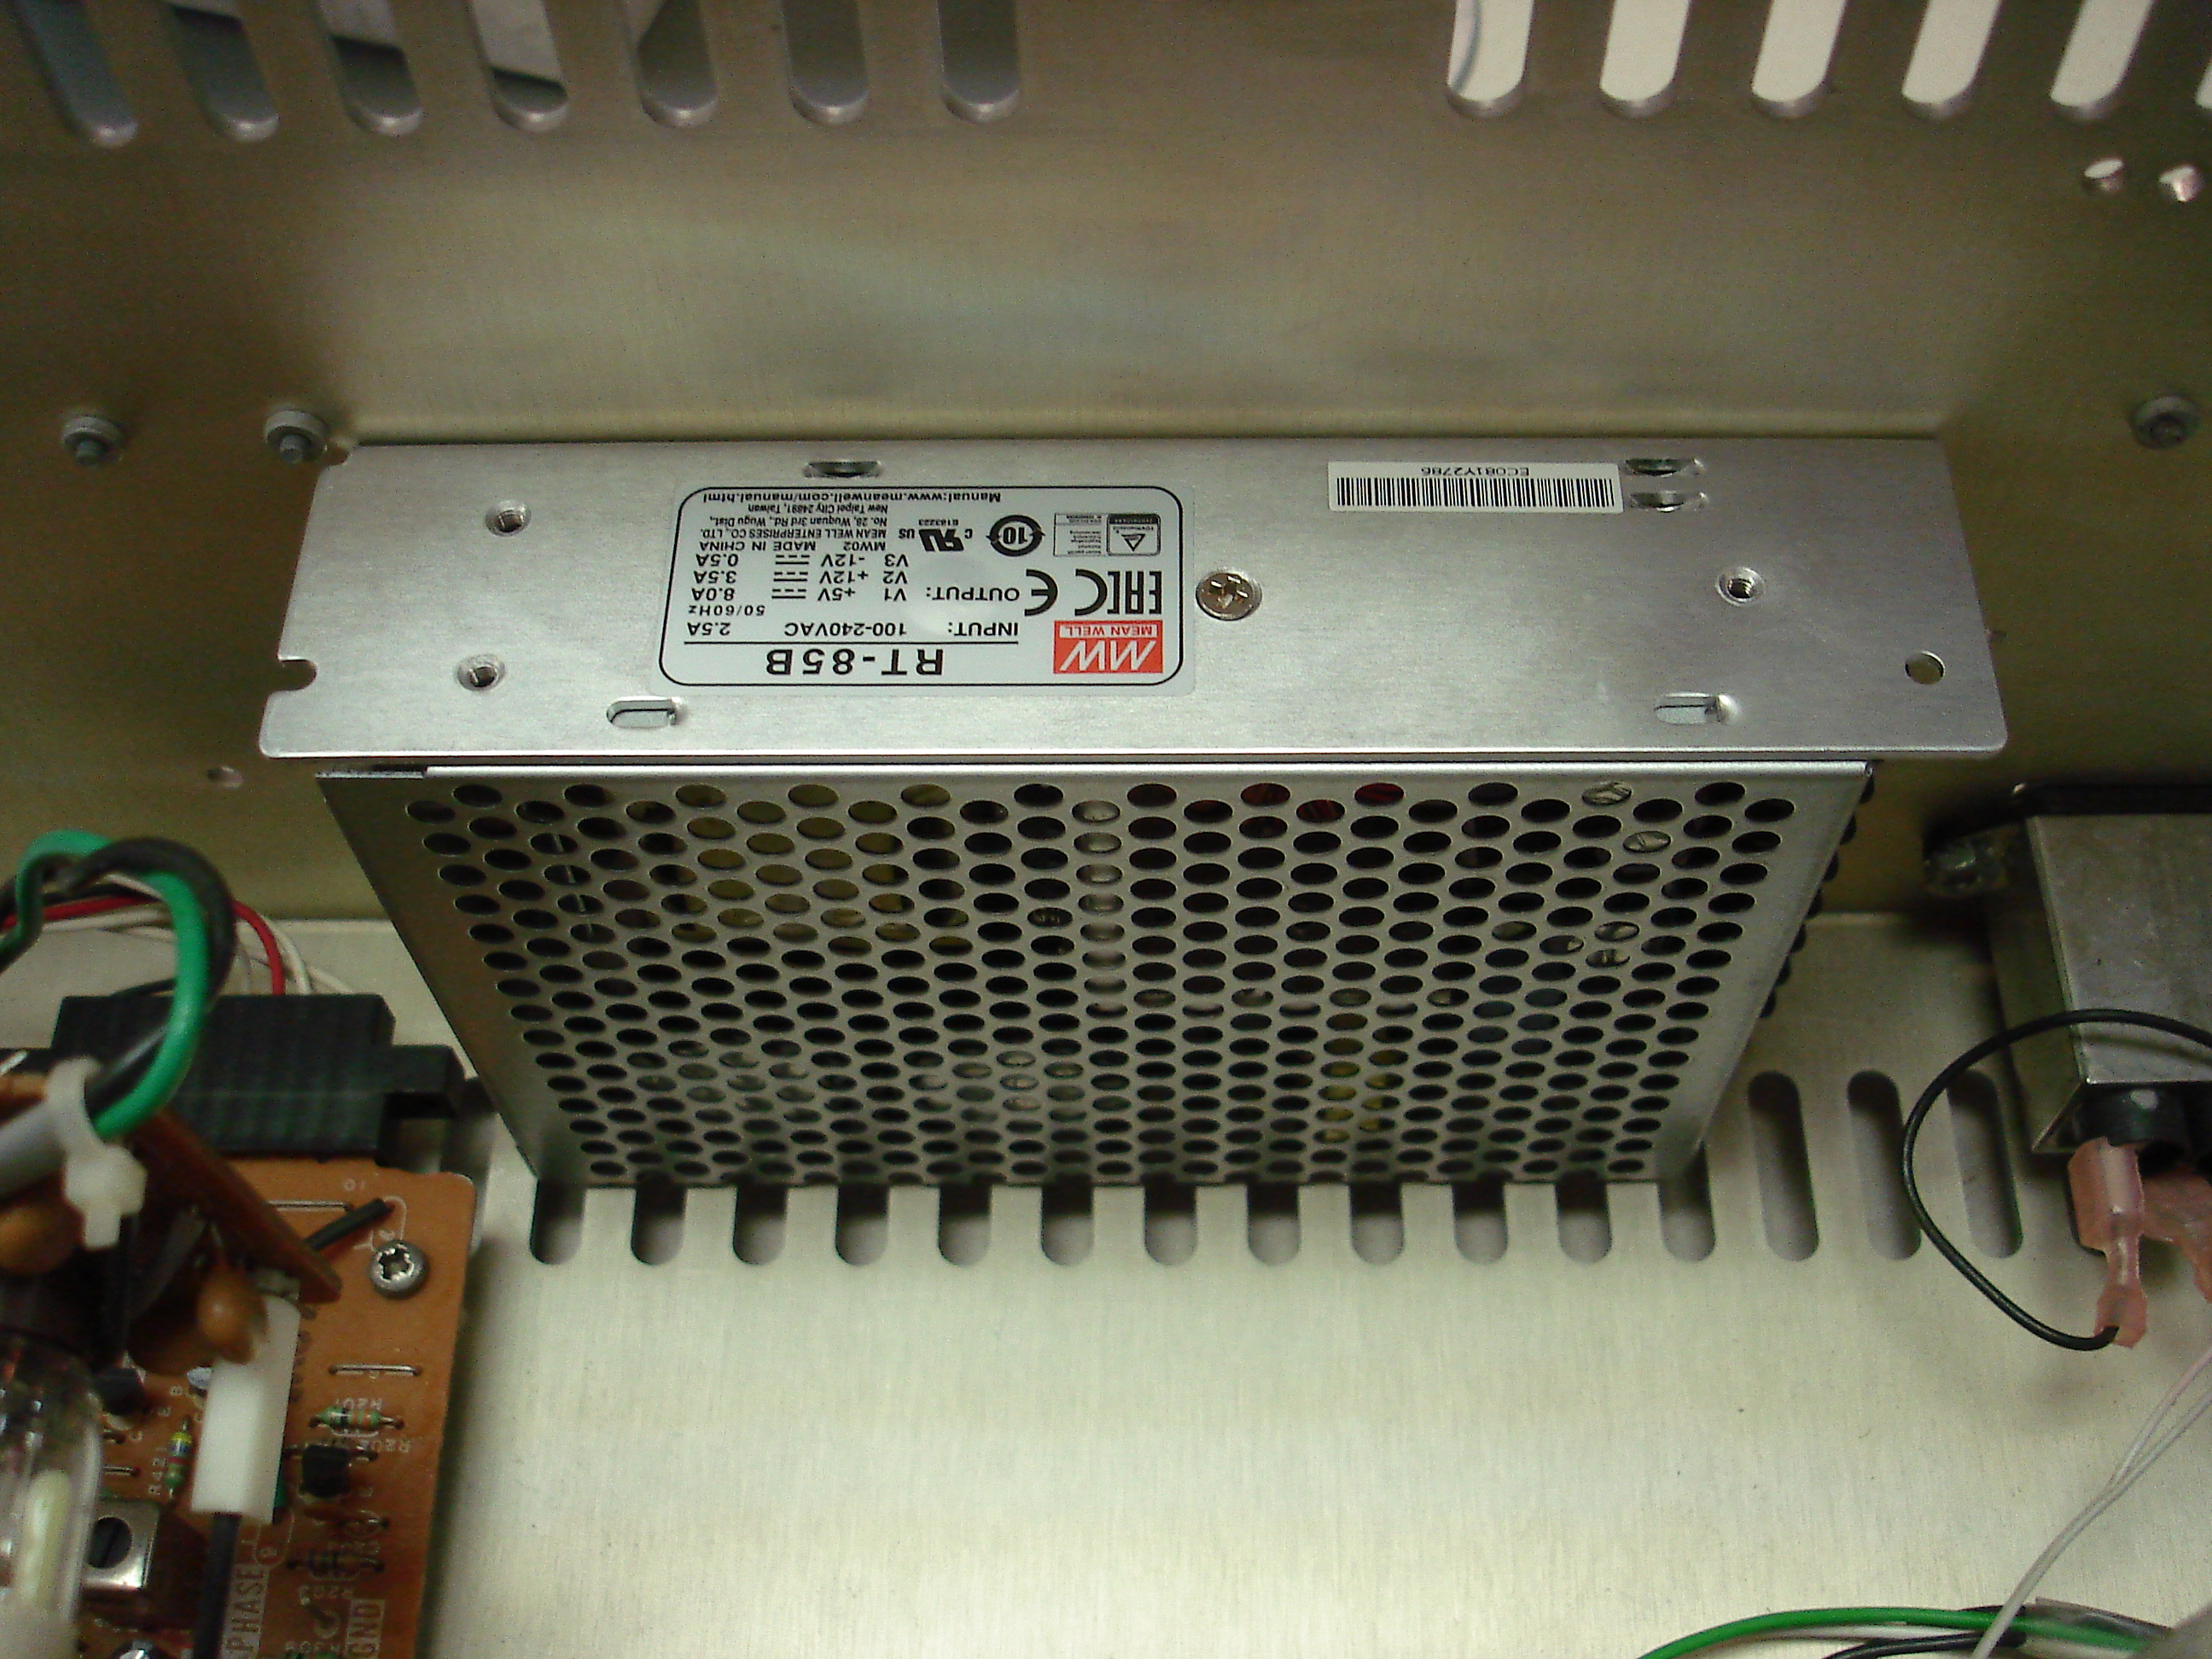
The RT-85B fits nicely between the AC inlet connector and the monitor board. The mounting holes are in such a location that one can drill through the back of the Kaypro enclosure and not hit the lettering on the back. If the case had not already been drilled for a non-OEM supply, I’d probably have mounted the RT-85B on an adapter plate, but there were already several extra holes in the back.
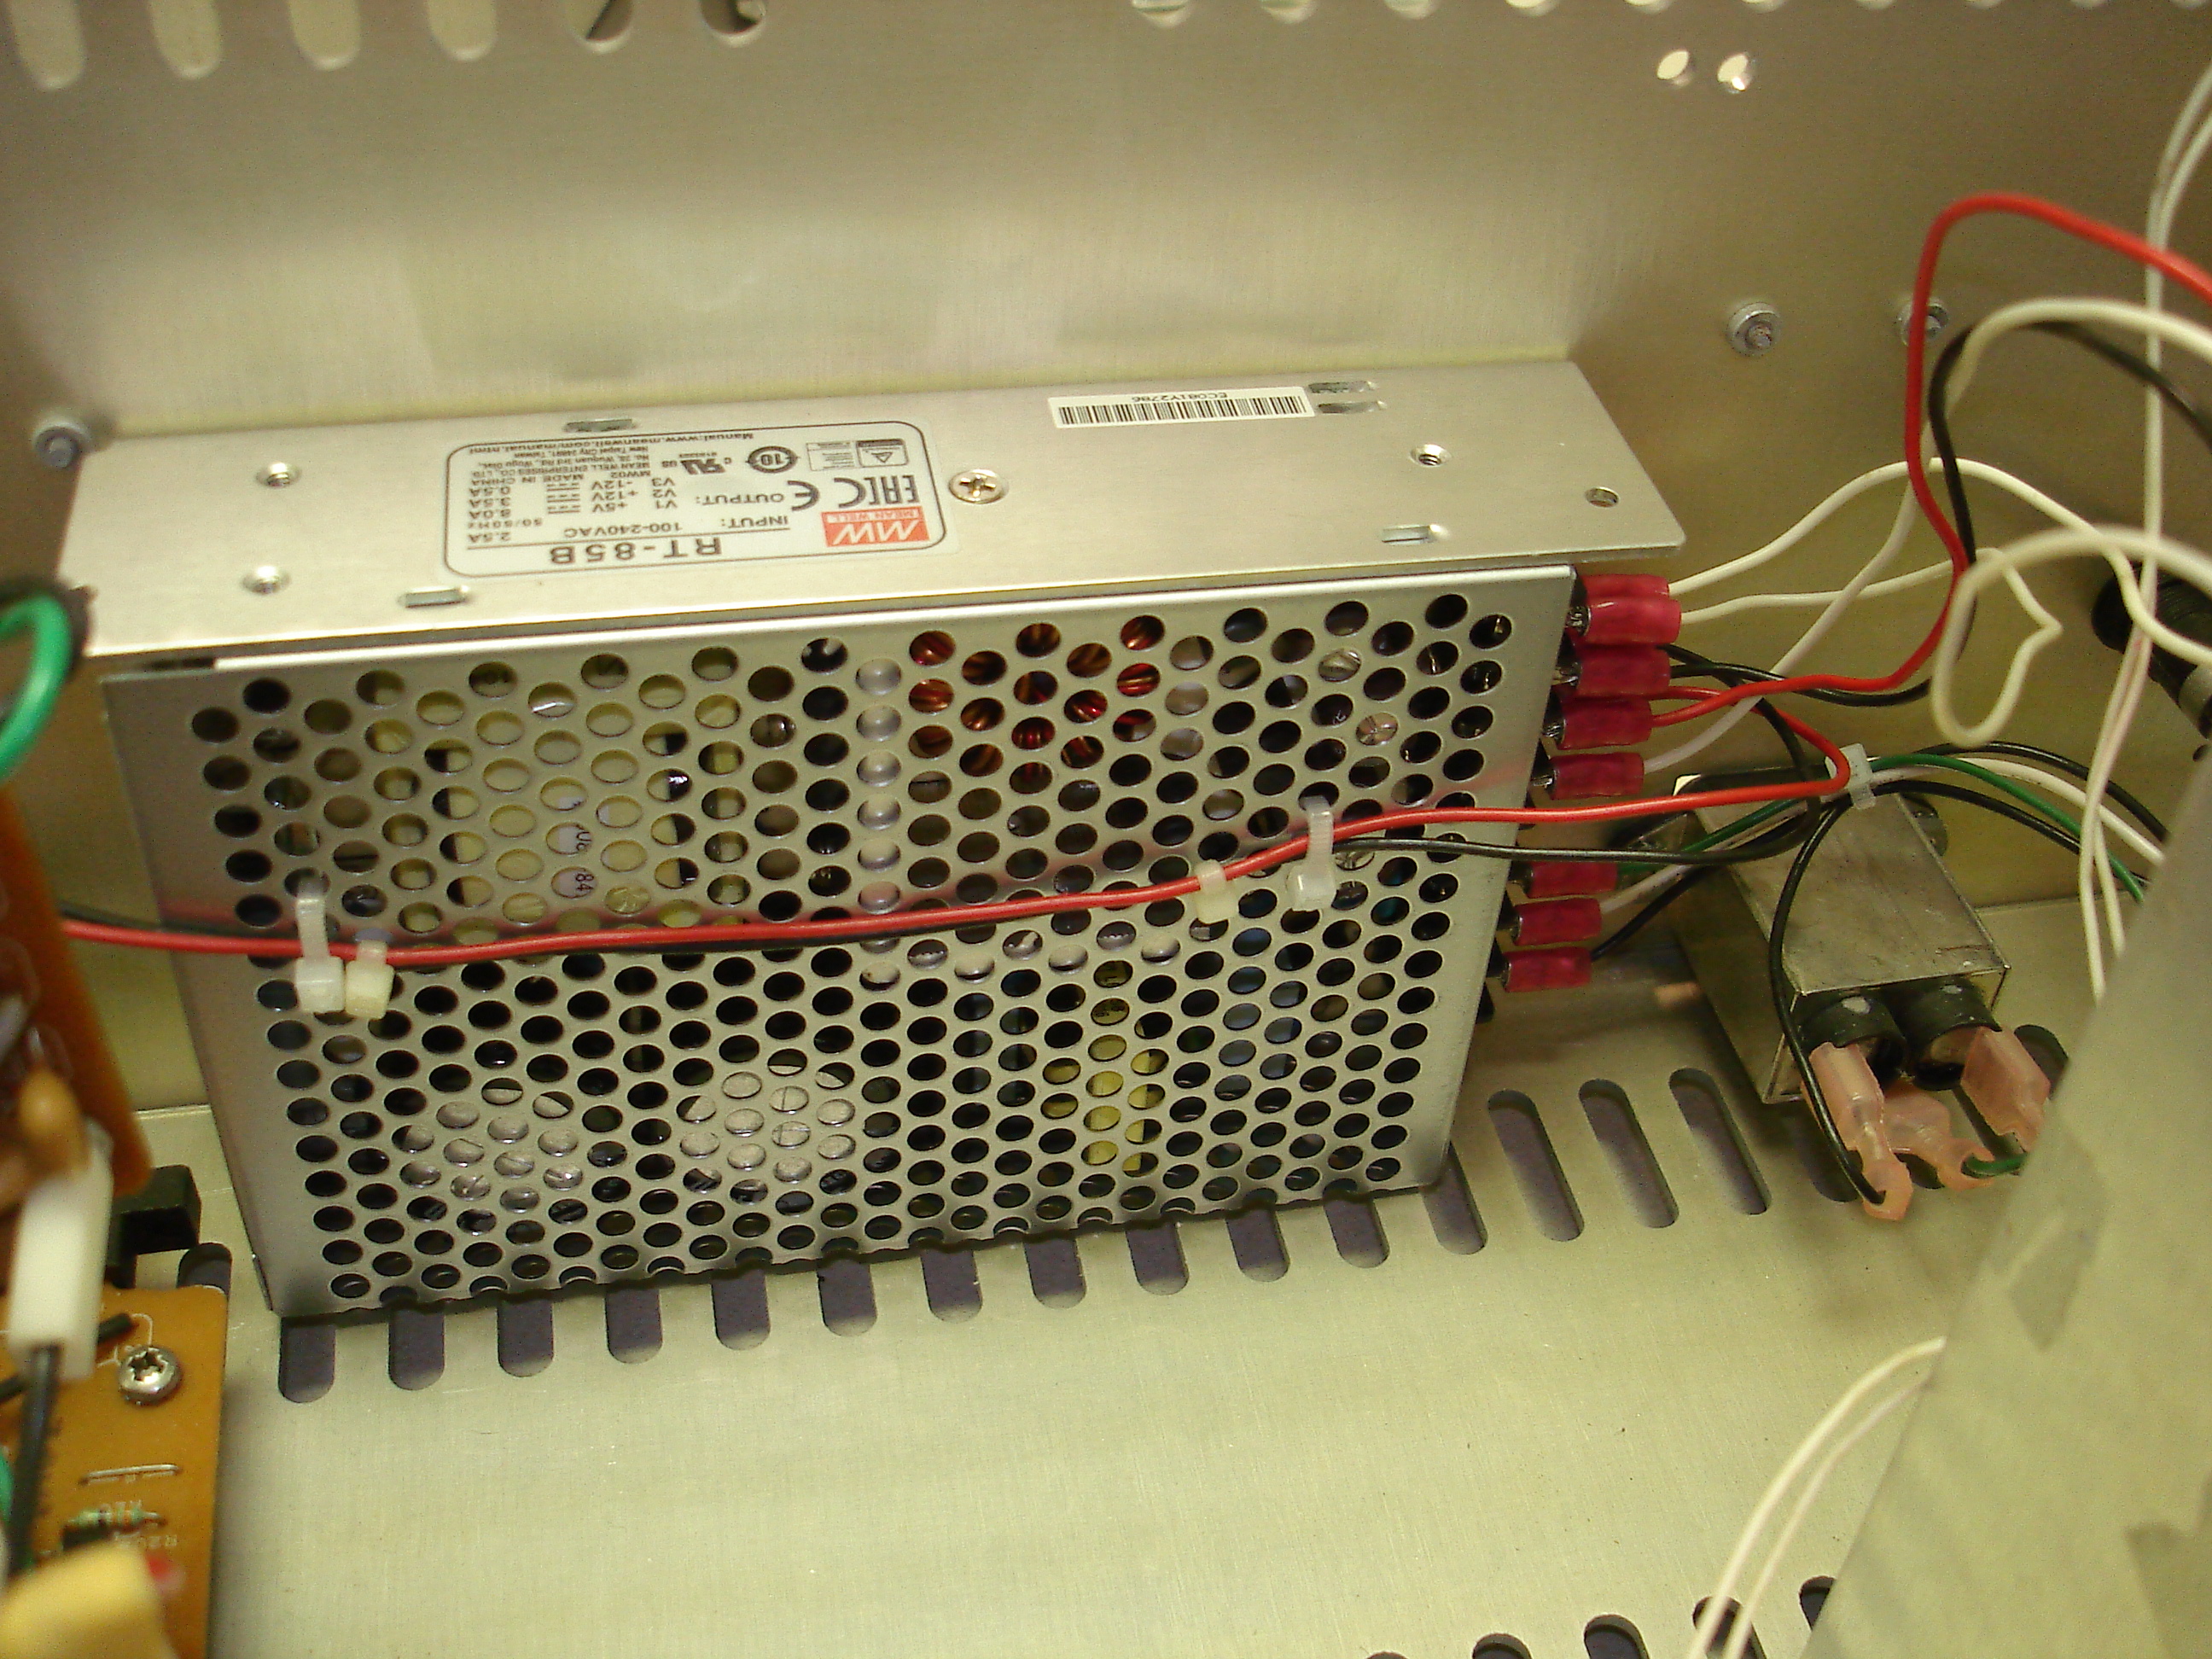
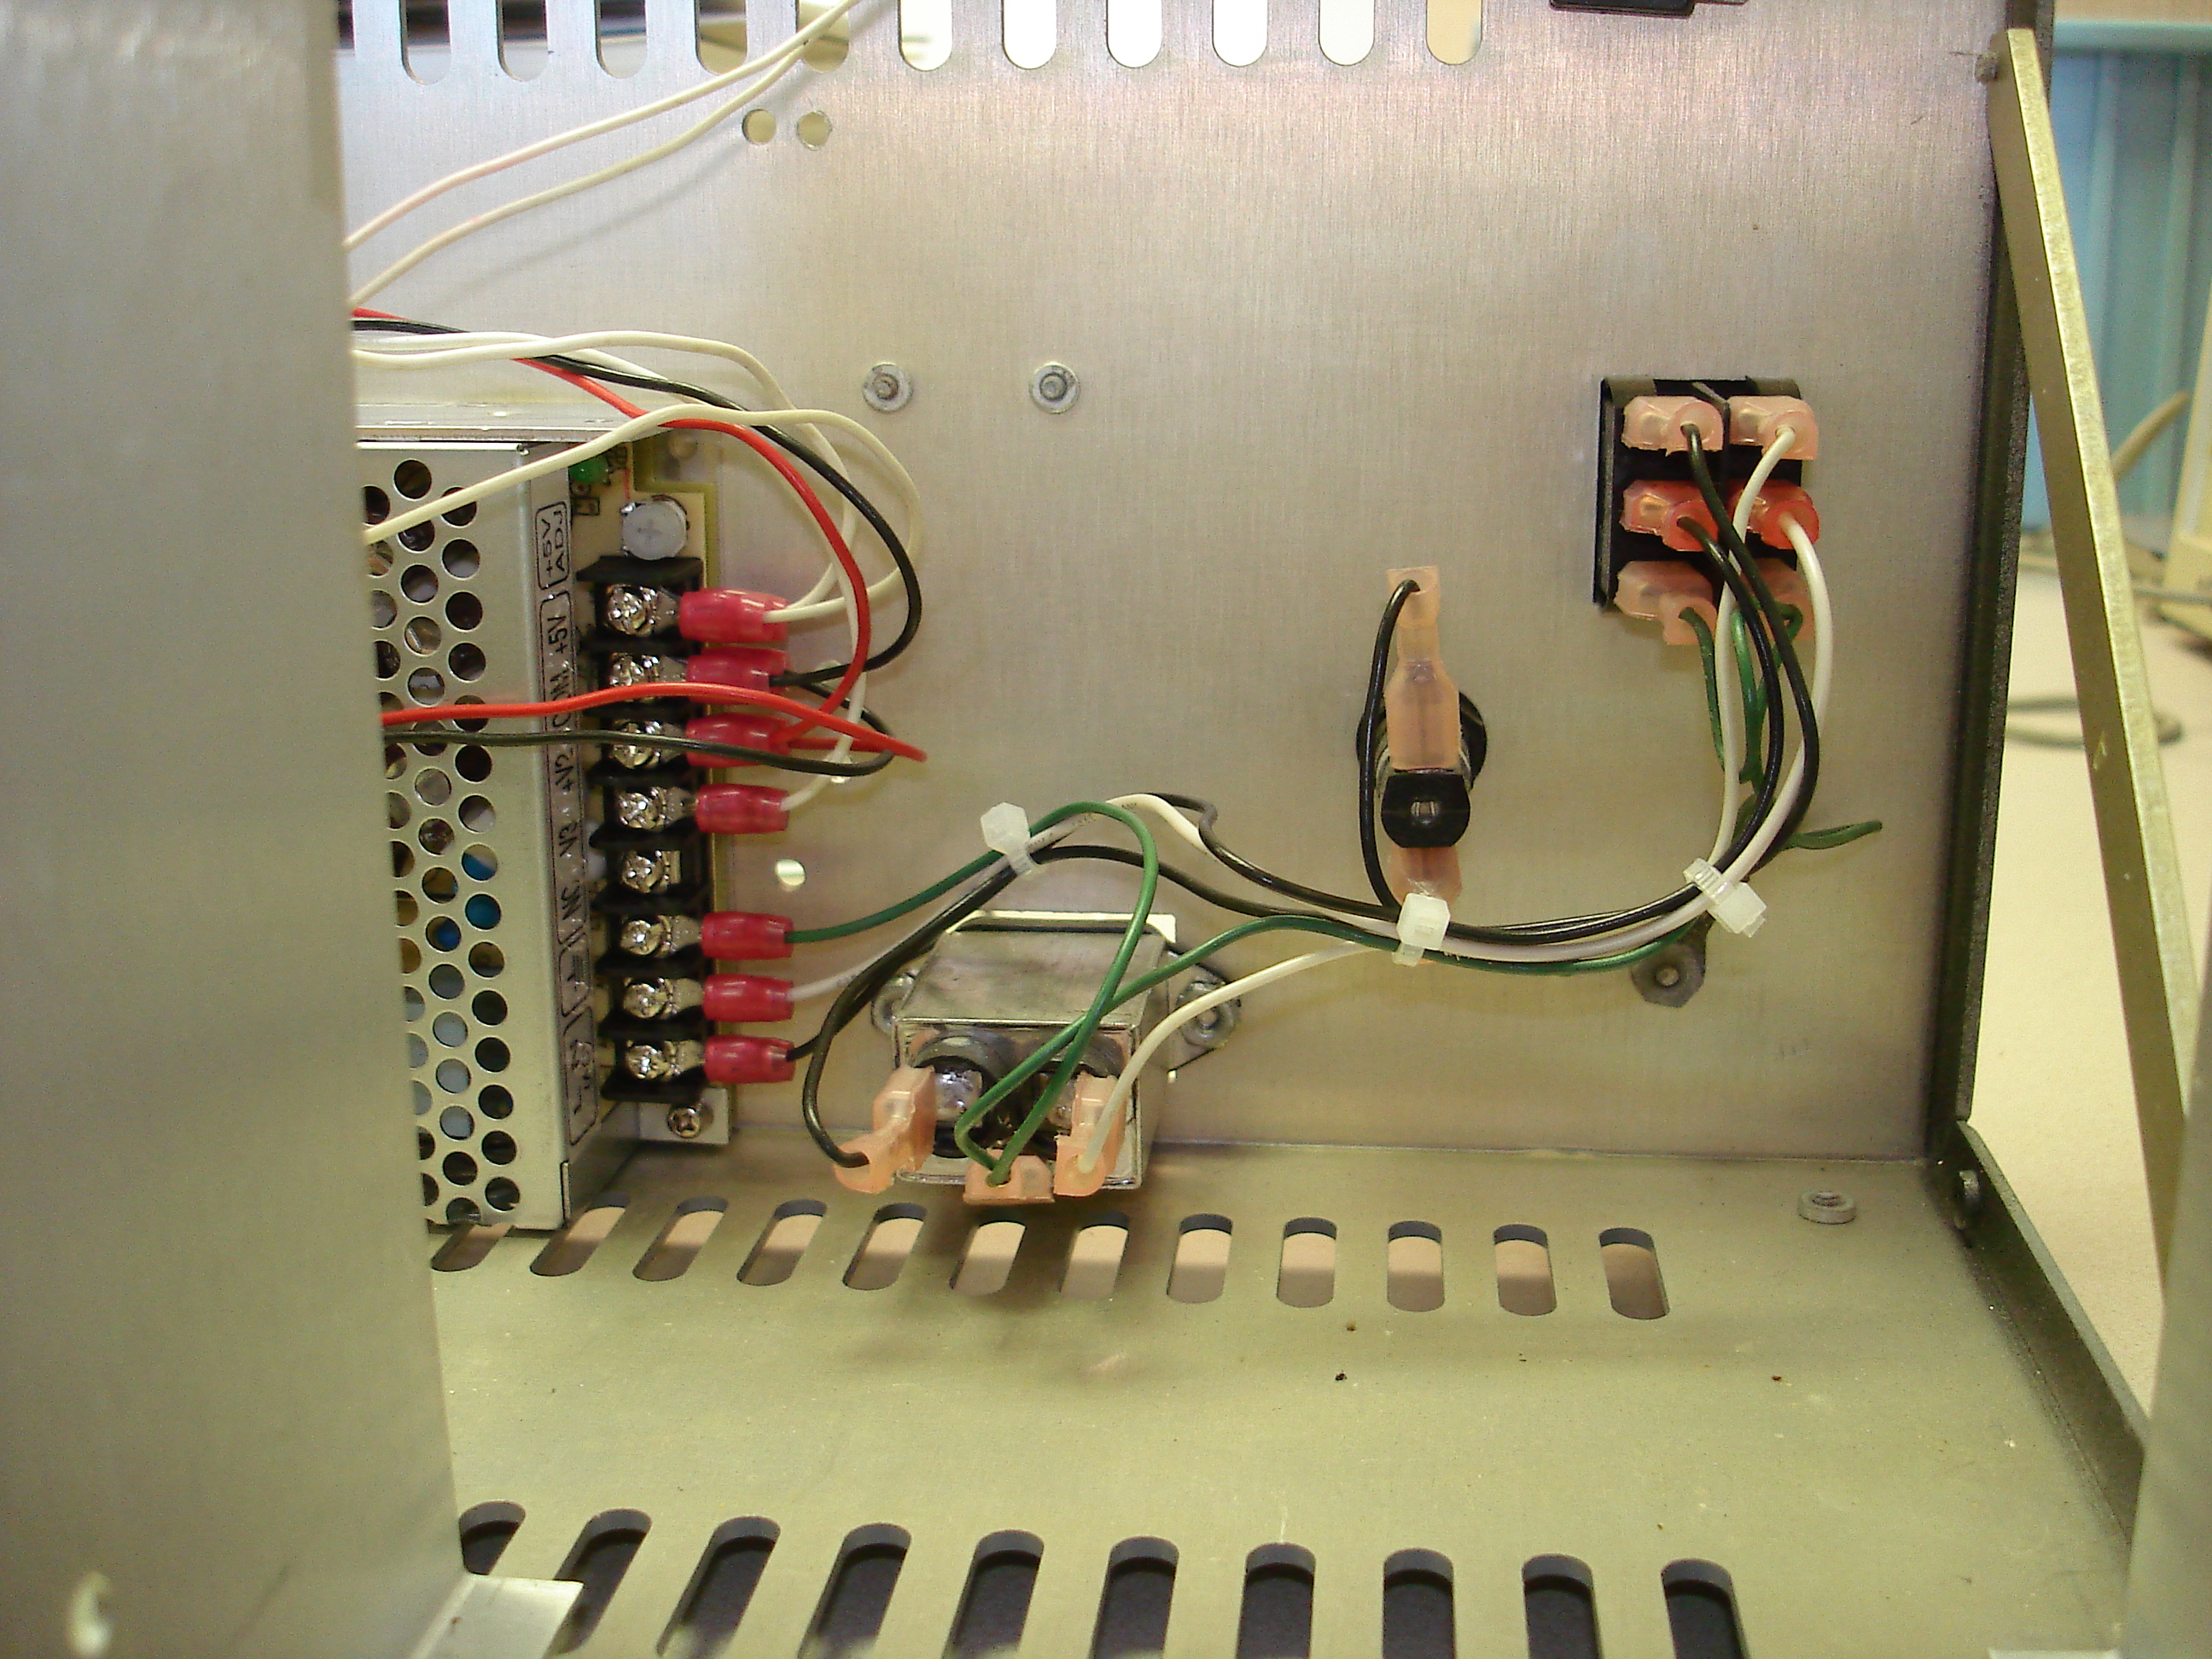
The factory Kaypro wiring is sufficiently long to add the Mean-Well supply without making up a new harness. Just cut the leads to length and crimp on terminals. I did have to make new line and neutral AC jumpers as whoever previously modified this Kaypro cut the factory wiring too short. Here’s the RT-85B wired in:
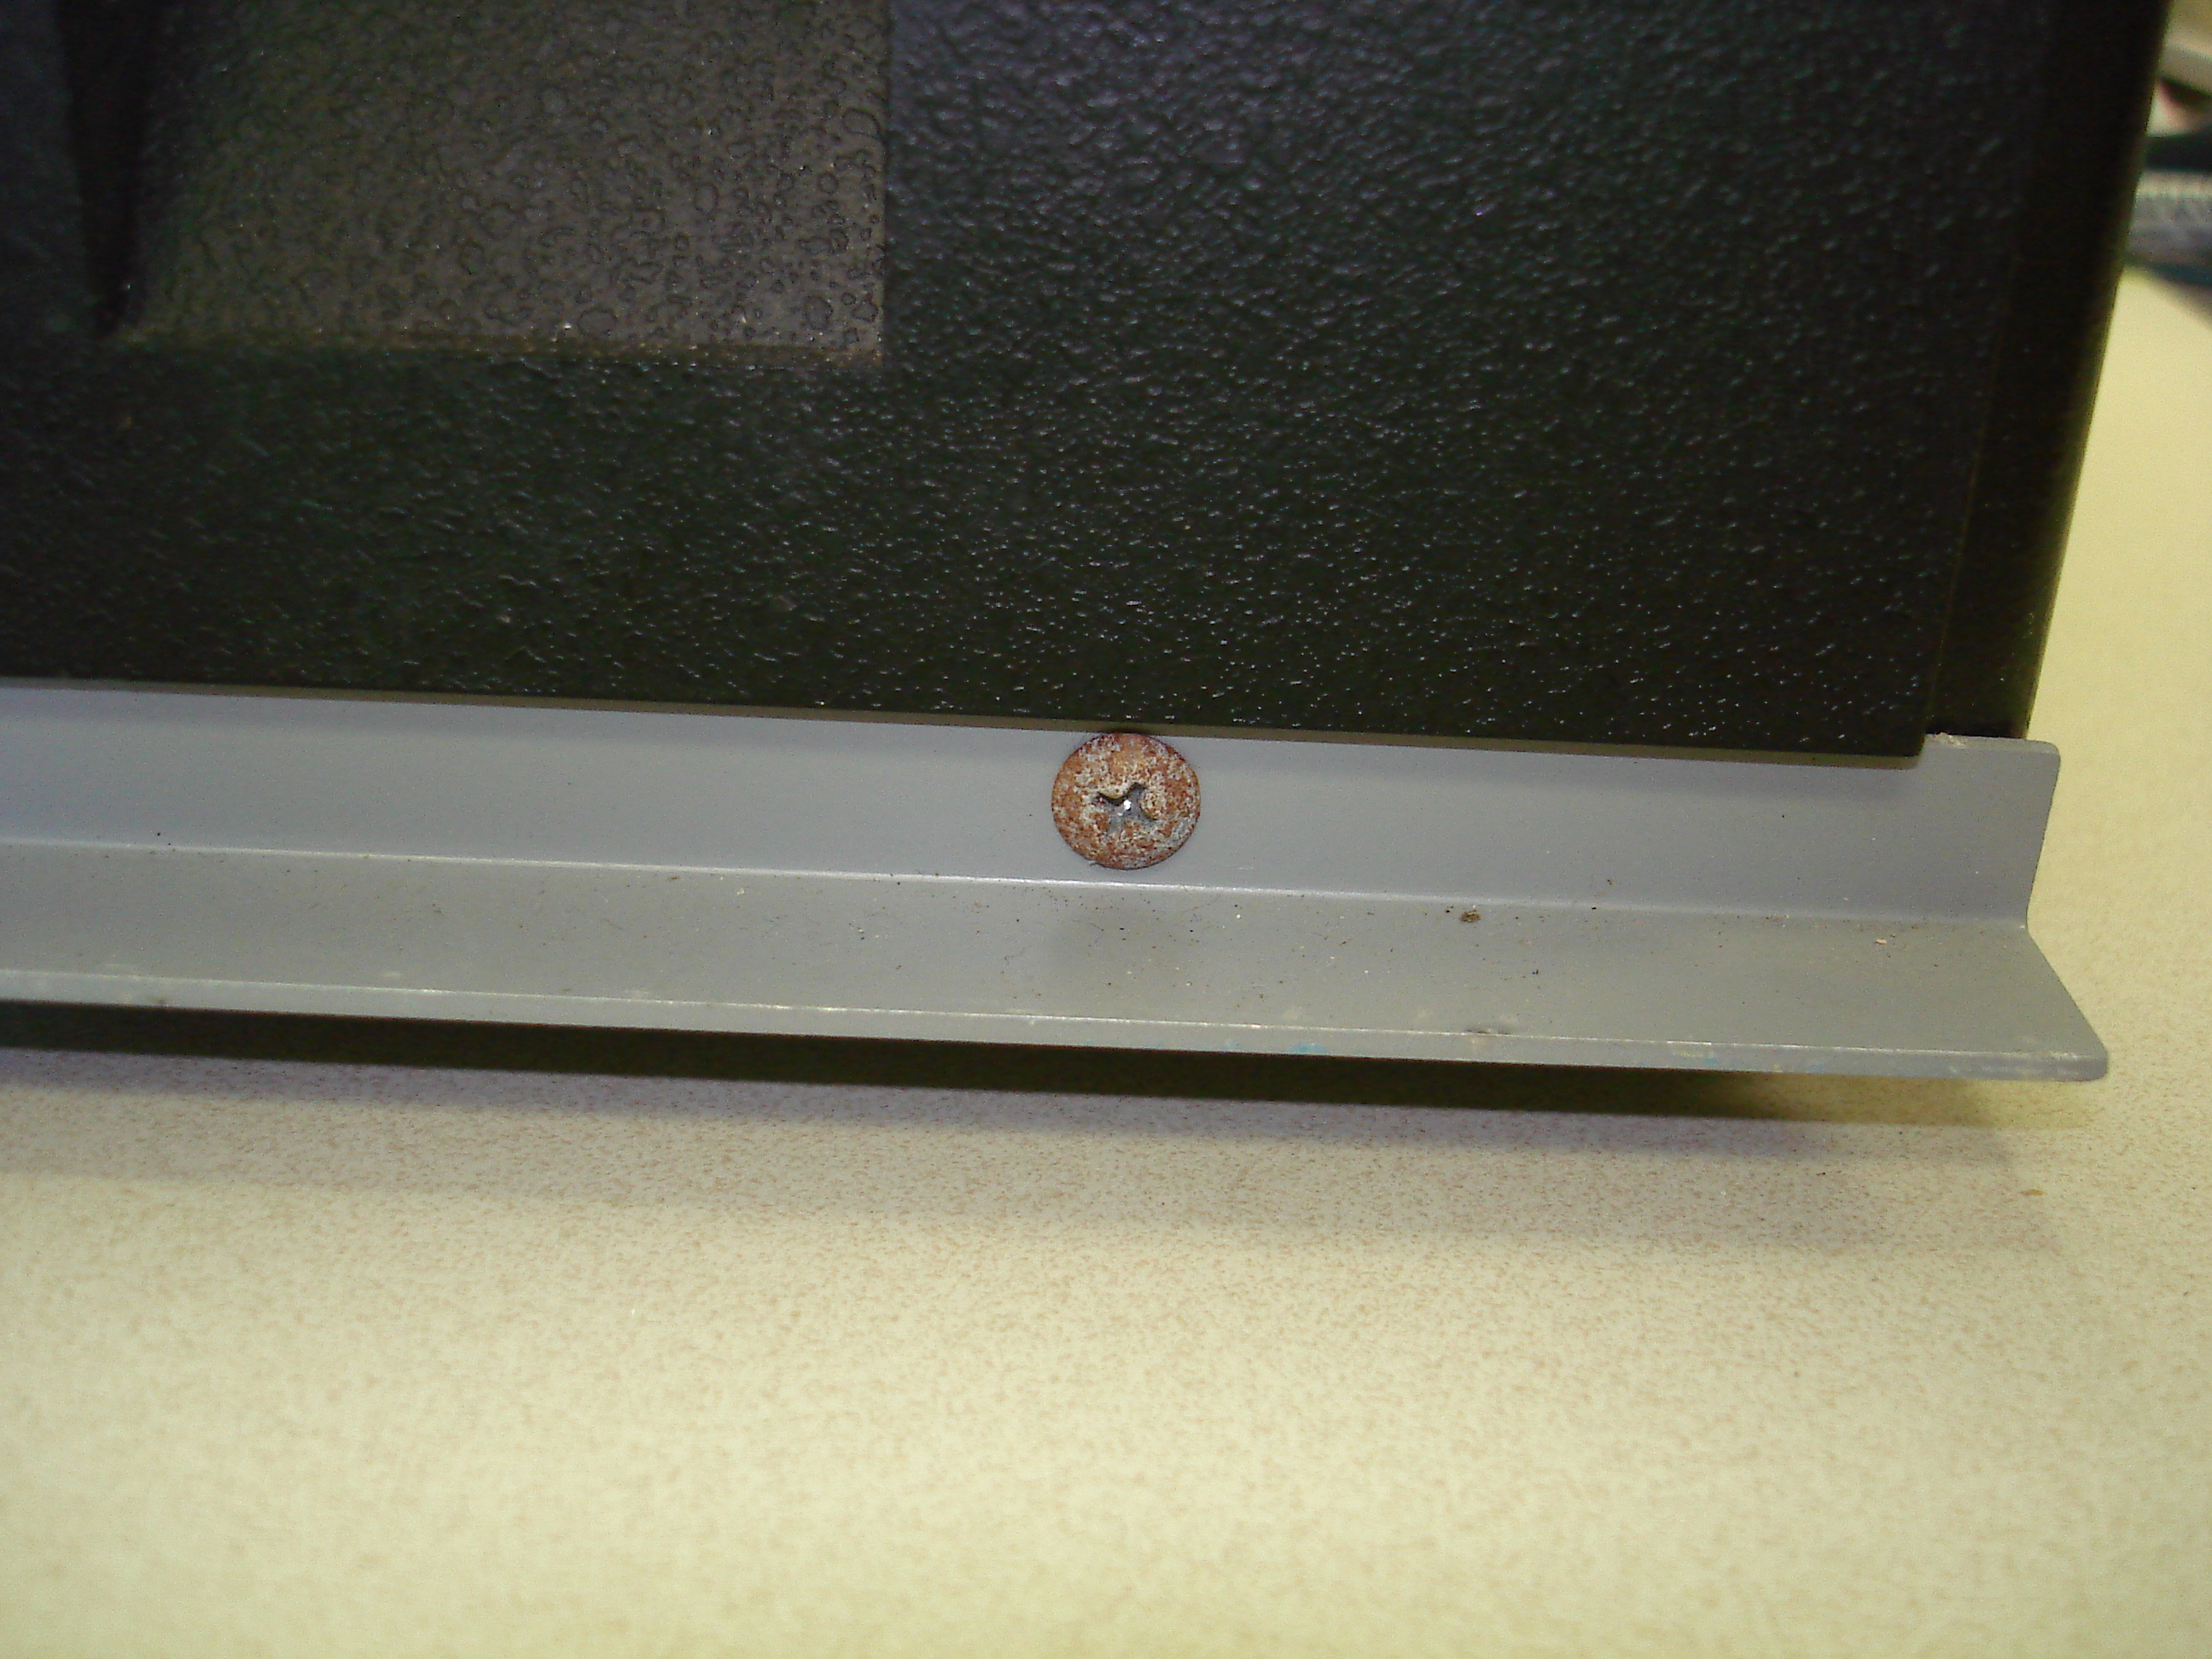
Fastener Corrosion
Basically every fastener in the Kaypro II had to be replaced. Everything was oxidized, and several fasteners were stripped either before starting or due to corrosion. Here’s a couple examples of rusty fasteners:
New truss head and socket head screws were ordered from McMaster-Carr. The replacement truss head #6-32 screws were available in 18-8 stainless steel for very little difference in price, given the quantity required. The parallel port screws were replaced with two stainless fillister head screws from inventory. The jackscrews on the DB25 serial connector were not heavily corroded and required a little cleanup with a stainless steel brush.
Motherboard Cleanup
This was by far the least damaged part of the system. The motherboard was cleaned and the two electrolytic capacitors replaced. Chips were reseated and sockets were checked for corrosion and found to be clean. The only physical damage on the motherboard was the soldered mounting bracket between the ports:
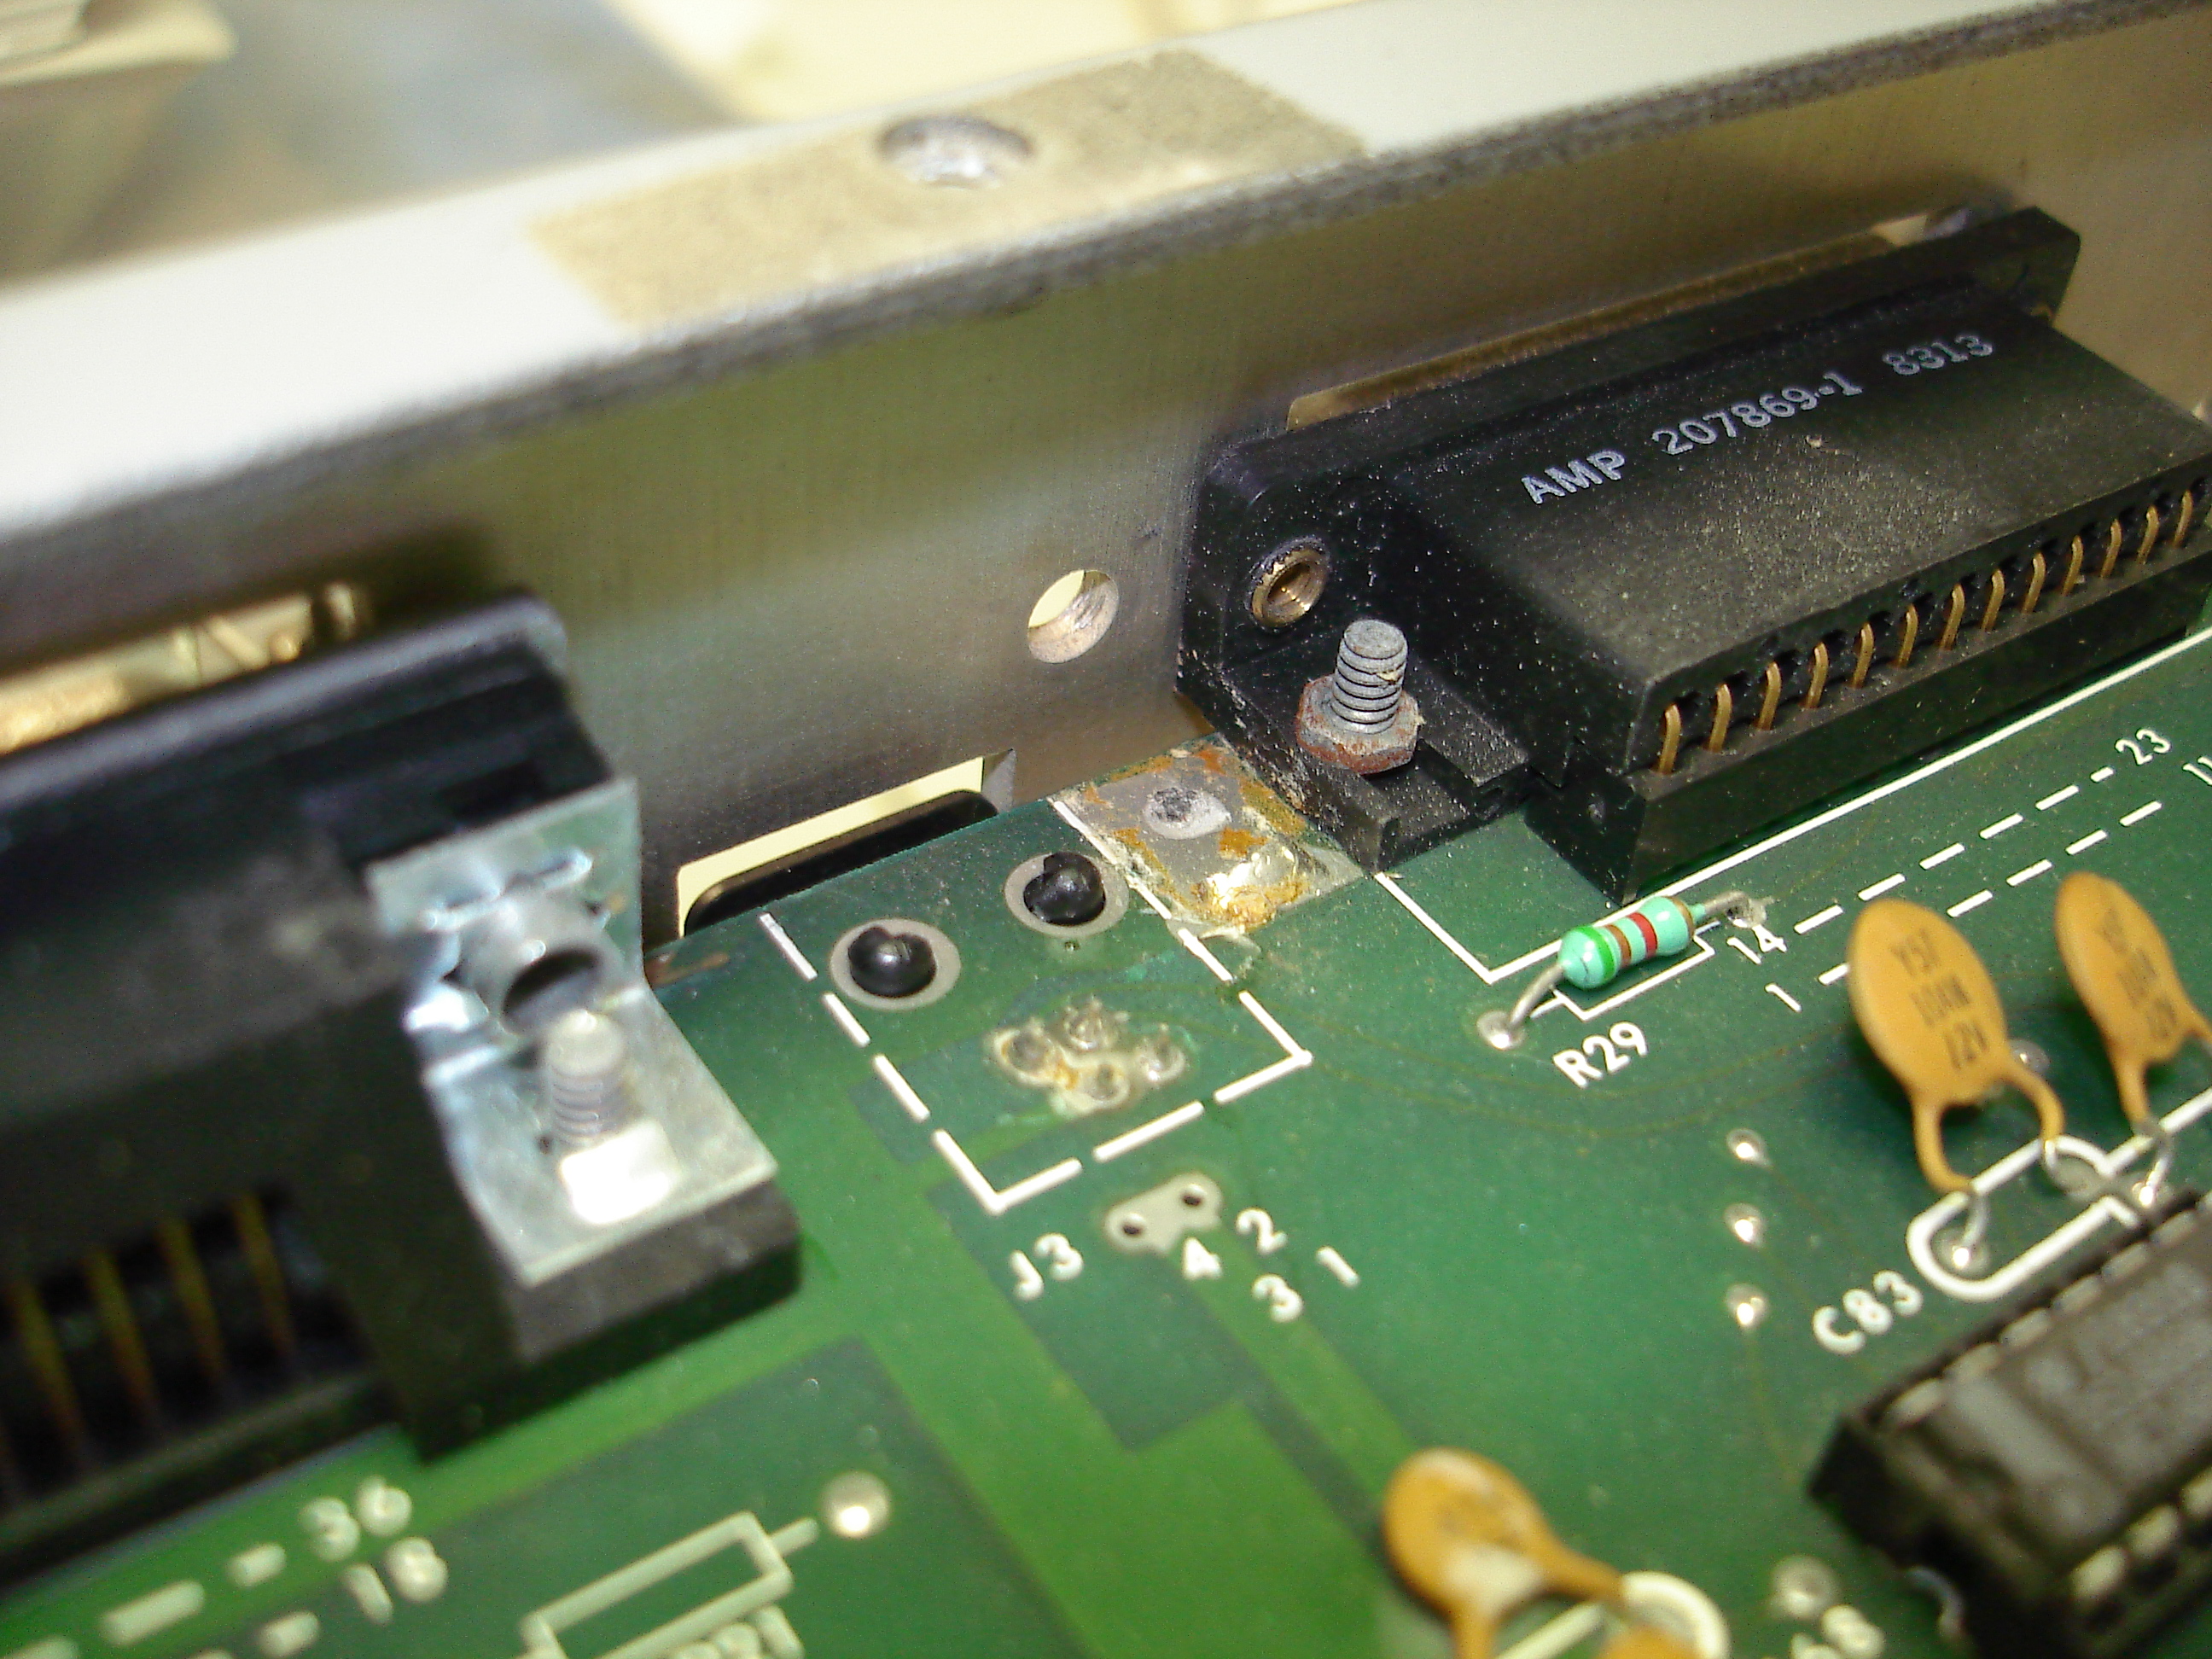
The tab was cleaned and resoldered. If one must reattach this tab, it’s easiest to do so with the motherboard mounted in the system and the tab lightly screwed to the chassis. Here’s the motherboard with all repairs finished and reinstalled:

Final Issues
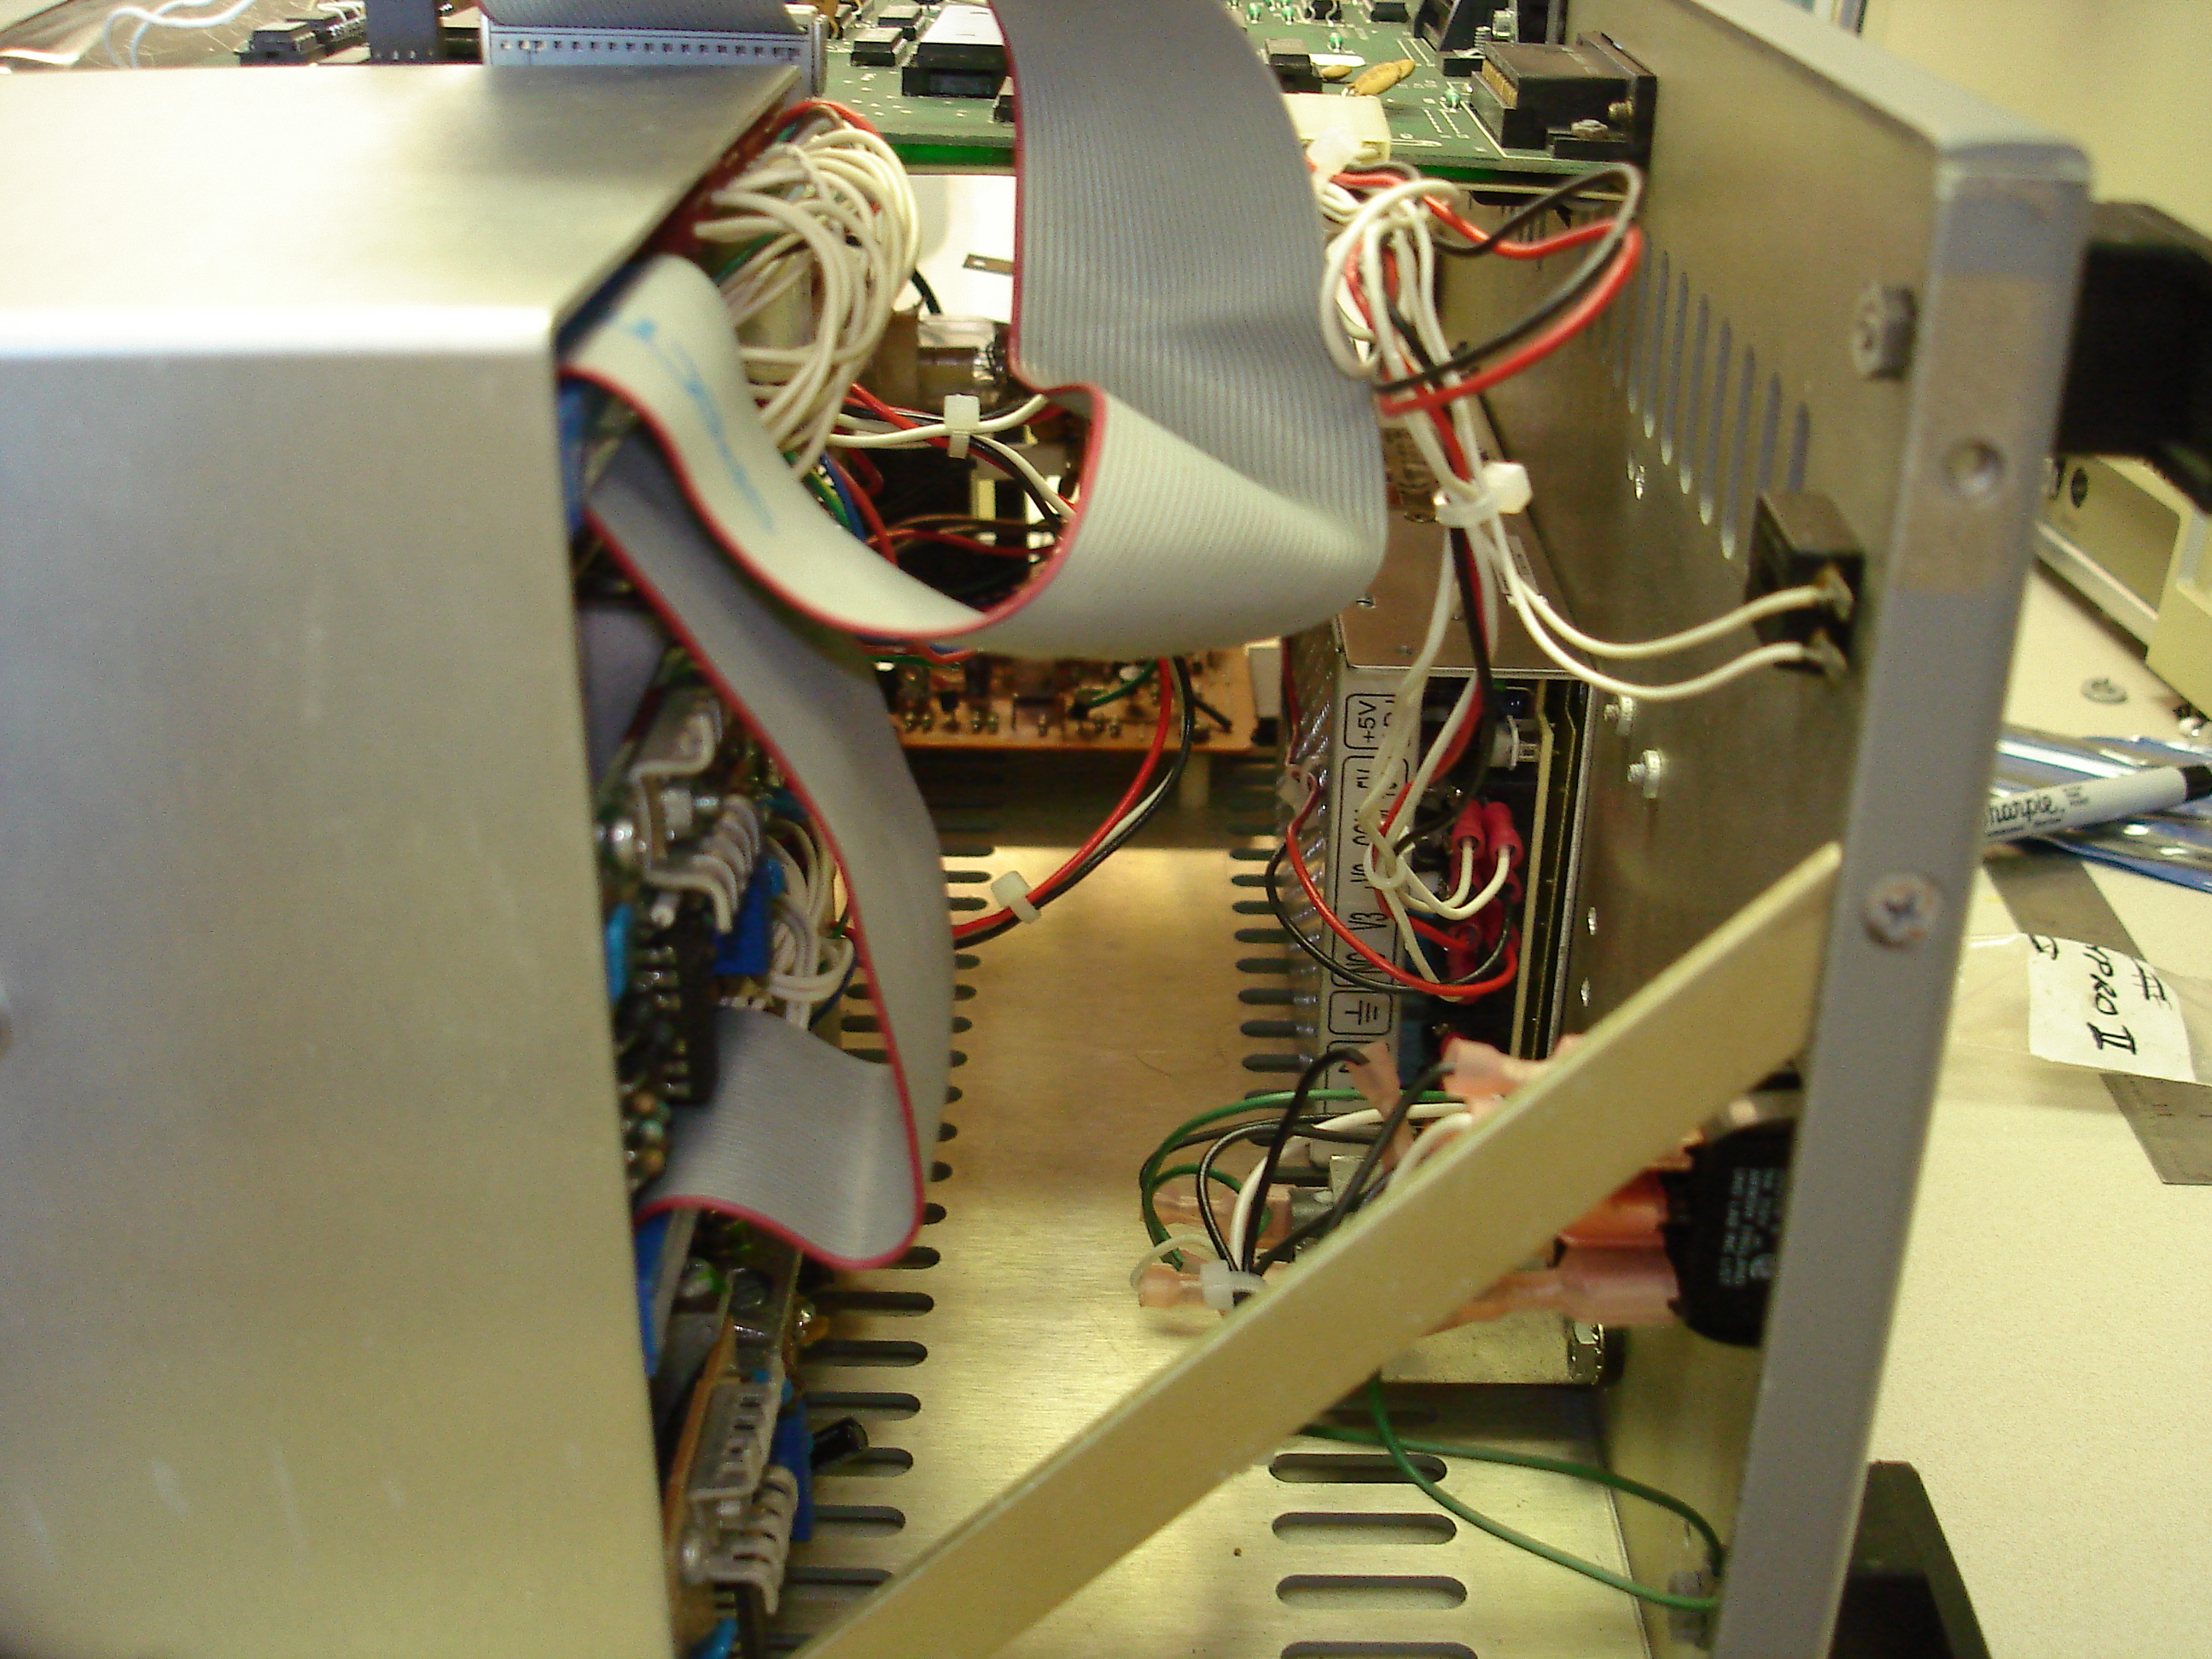
A fair quantity of time was wasted on wrapping this machine up. The floppy drives were behaving strangely, only booting intermittently. Both drives had been cleaned up and repaired on one of our bench machines, so they were both known to be in working condition. Still, swapping in another drive did produce slightly different results. This turned out to be a bad floppy cable!
A new cable was made using surplus connectors from the parts bin. The machine now booted; however, the boot took longer than it should, and B: drive was having trouble reading some diskettes. Plugging in the spare drive for B: resulted in some bizarre behavior: the drive would home and sit there slamming into the mechanical stop! It acted as if its track 0 sensor had just failed, but testing on the bench machine showed it to be fine. Turns out I’d made up a new dud cable! Third time’s a charm, and now there’s a good cable back in the machine:
Now the Kaypro II could finally go back together – only took twelve years!
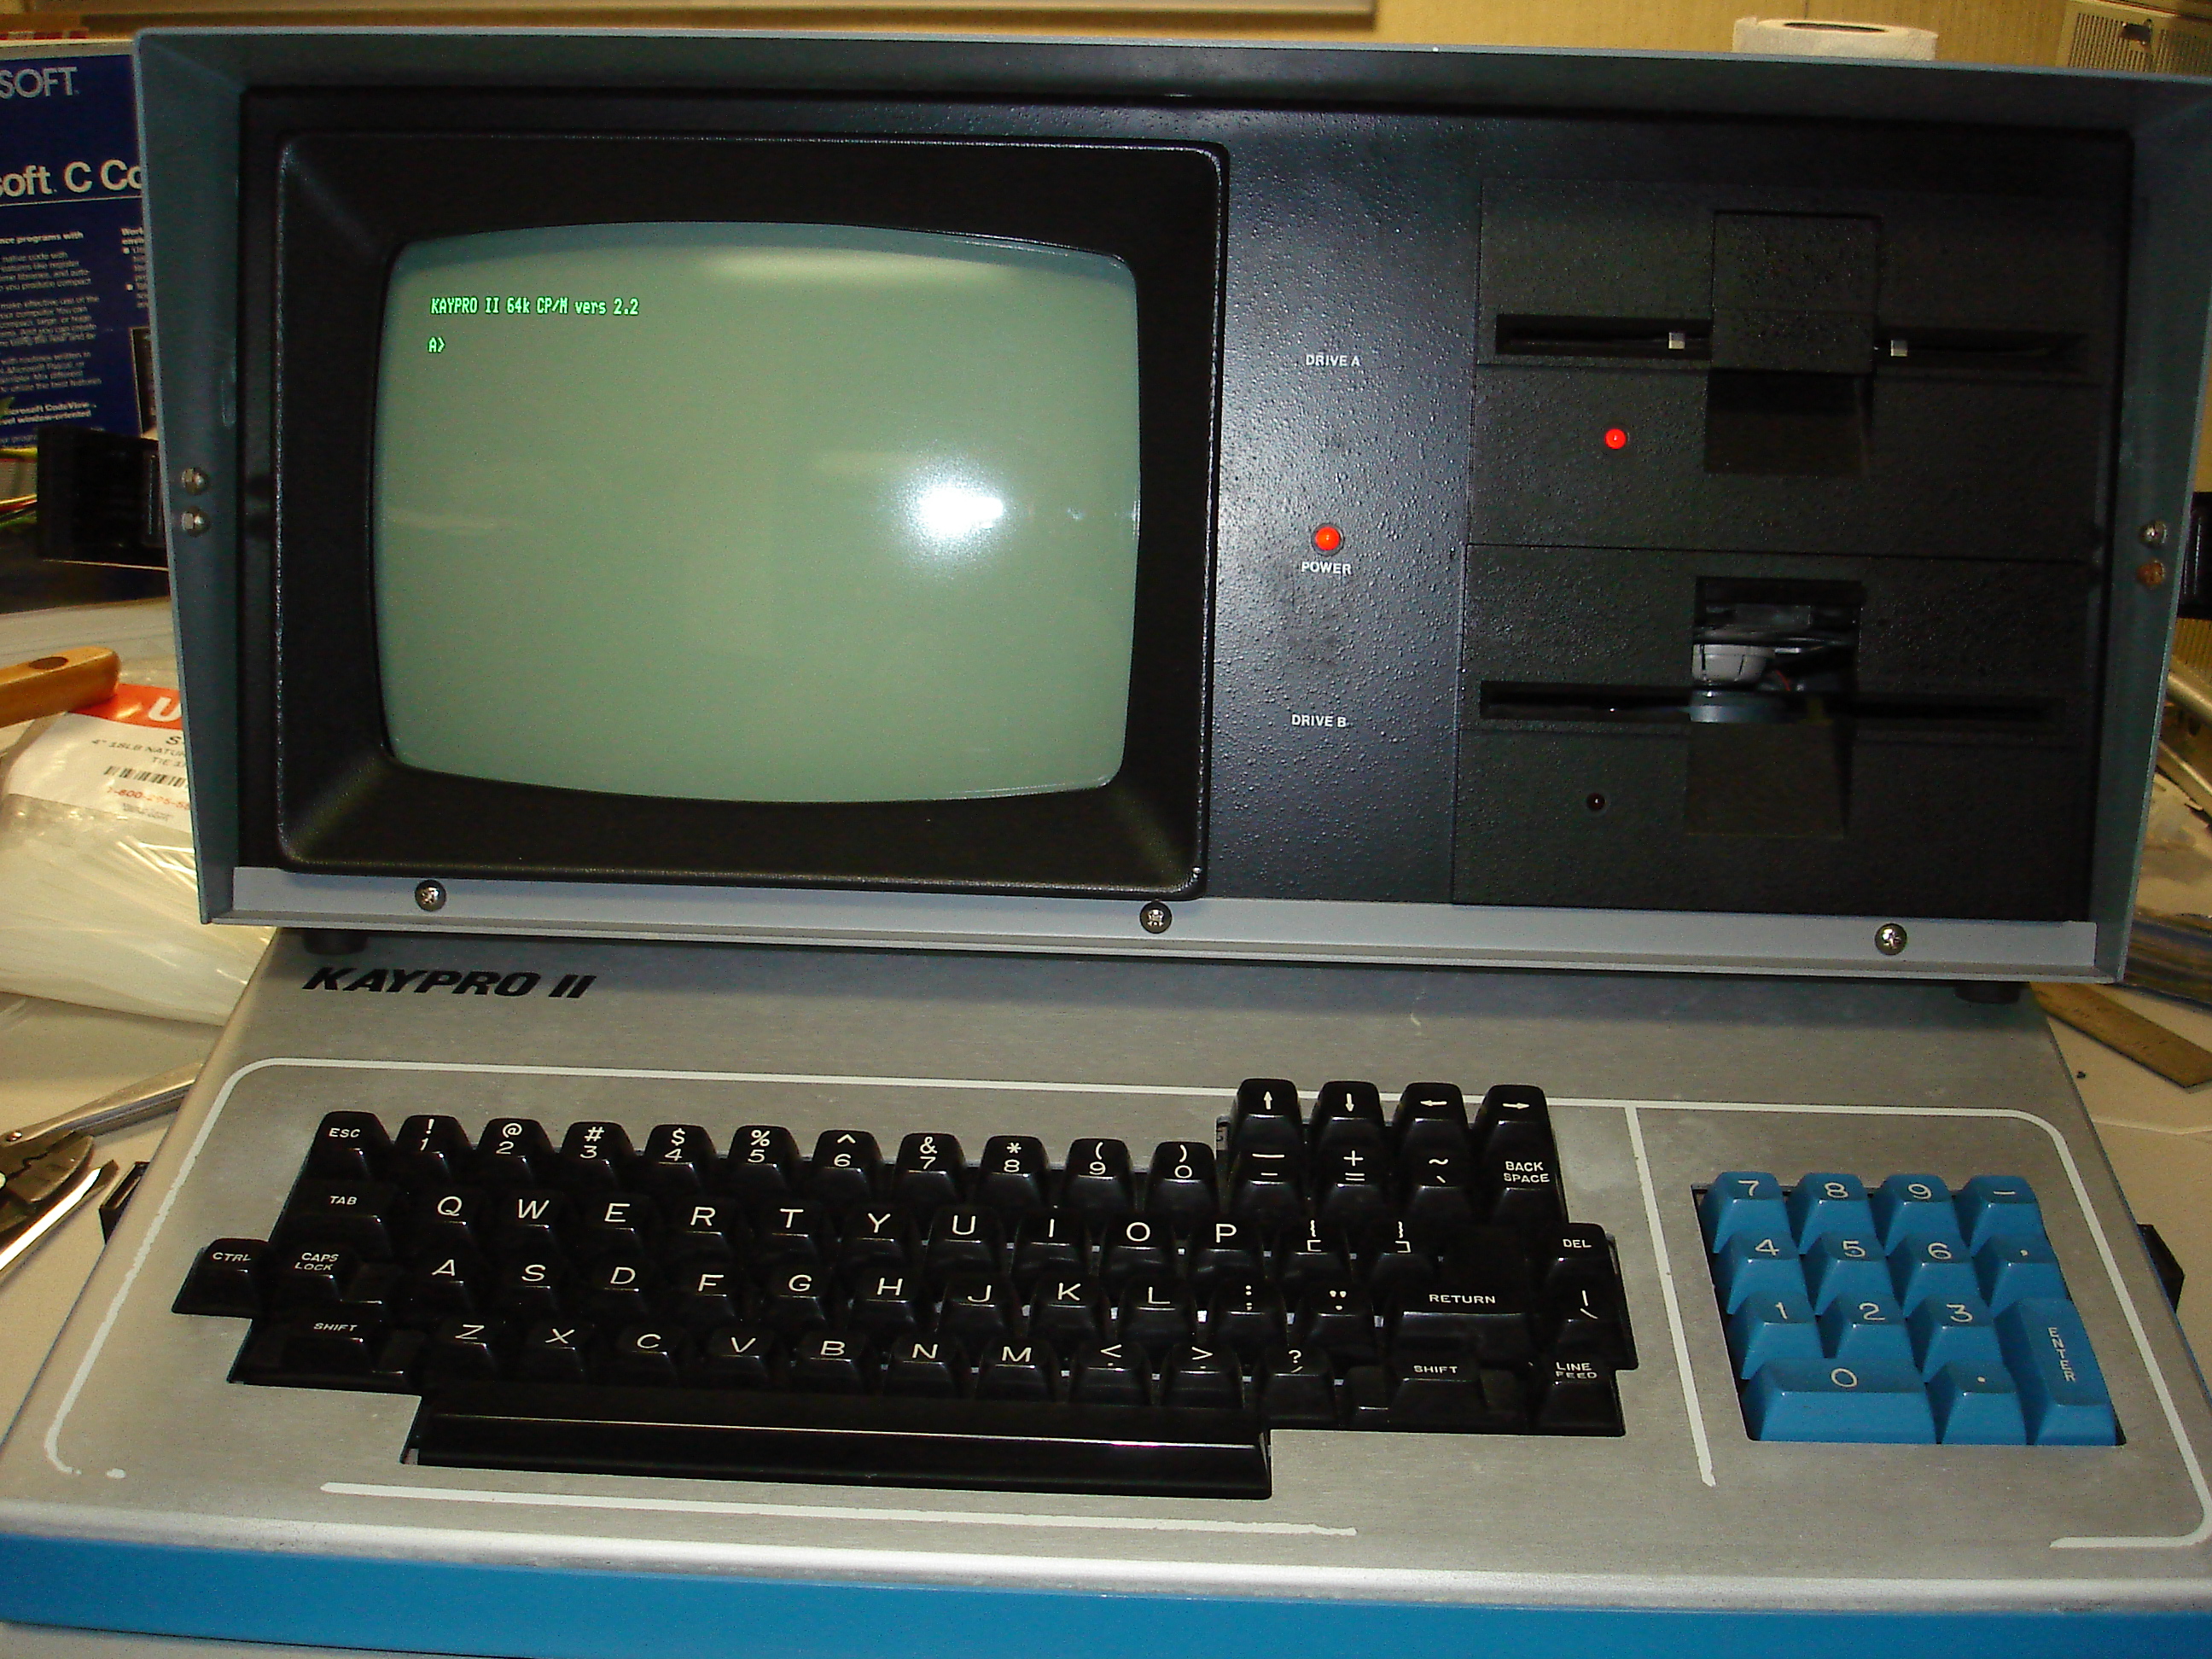

The only remaining “issue” with this Kaypro II is that screen distortion happens when the floppy drives spin up. I seem to remember this being an issue in my previous Kaypro II systems, and that I’d determined it is caused by the field from the drive motors themselves, not power supply sag.
computers in a can